Pop Art
Pop!
Let's do something modern and trendy, and create a Pop Art effect that you can use as a background.
We'll start off with a very basic coloured background.
Give it a Base Colour and CLS using that colour.
BaseColour=0

Repeat
CLS HSL(BaseColour,0.8,1.0)


Flip
Forever
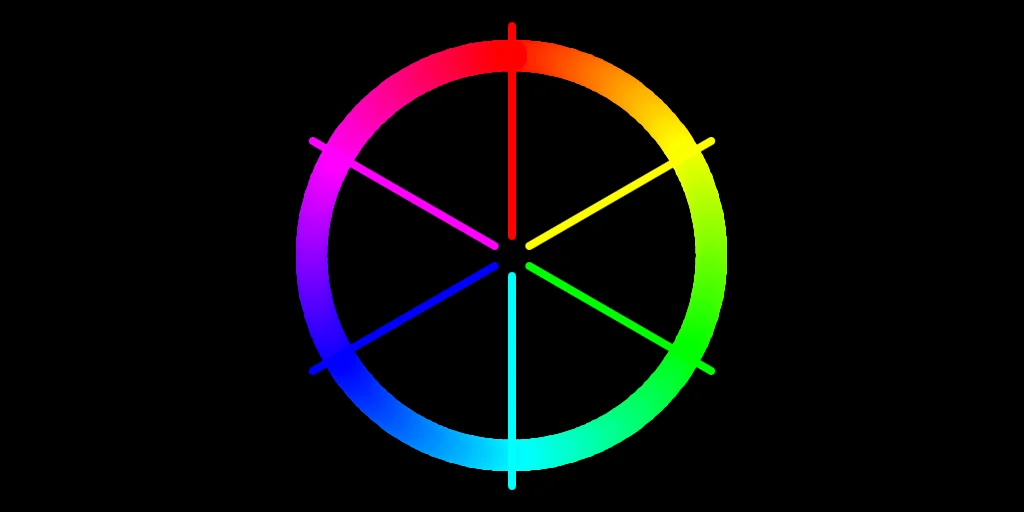
HSL Colours
Note that we're using "HSL", which is an alternative to "RGB" colours.
We set the Hue to 0, make it almost full Saturation (0.8 out of 1.0), and full Light (1.0 out of 1.0)
The Hue is the colour, and will "rotate" around a spectrum of colours using the same 0 to 360 values that Sin and Cos did, previously.
At 0 it's Red, at 120 it's Green, at 240 it's Blue, and then at 360 it's back to Red again.
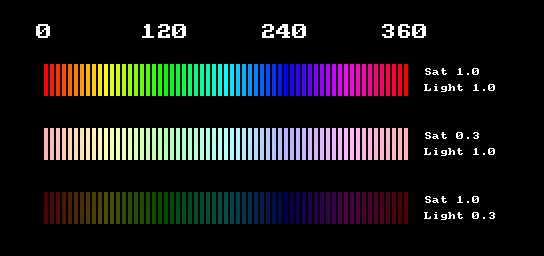
A full spectrum of colours.
Bubble
Next we'll fill the screen with some lovely contrasting bubbles.
We'll pick a second hue for the bubbles, and try one out on the screen.
BaseColour=0
BubbleColour=120

Repeat
CLS HSL(BaseColour,0.8,1)

SetHSL BubbleColour,1.0,1
Oval 320,240,32,32,16

Flip
Forever
We'll use Hue 120 for the bubble, which is a lovely bright Green colour.
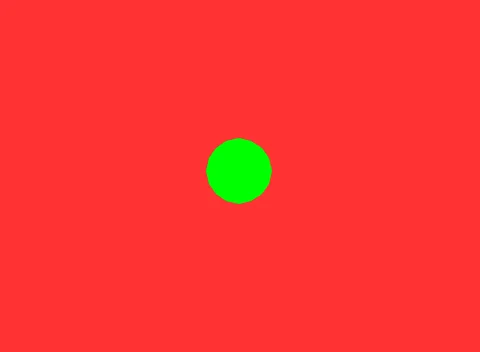
It's Green!
I guess this is why it's called Pop Art.
The contrasting colours really Pop!
More Bubbles!
One Bubble is never enough, so let's build a grid of them.
We'll make a grid by using a Nested For-Loop, which draws both X (horizontal) and Y (vertical) sets of Ovals.
Give each bubble a position, based on the X or Y value multiplied by a Space value, and added to (or taken away from) the middle of the screen.
Space=48  // The gap between each bubble
Large=32   // The size of each bubble

For X=-10 To 10
For Y=-8 To 8
  BubbleX=320 + (X*Space)   // Offset from Middle
  BubbleY=240 + (Y*Space)
  BubbleSize=Large      // Set them all the same
  Oval BubbleX,BubbleY,BubbleSize,BubbleSize,16
Next
Next
Replace our single Oval with the grid of ovals.
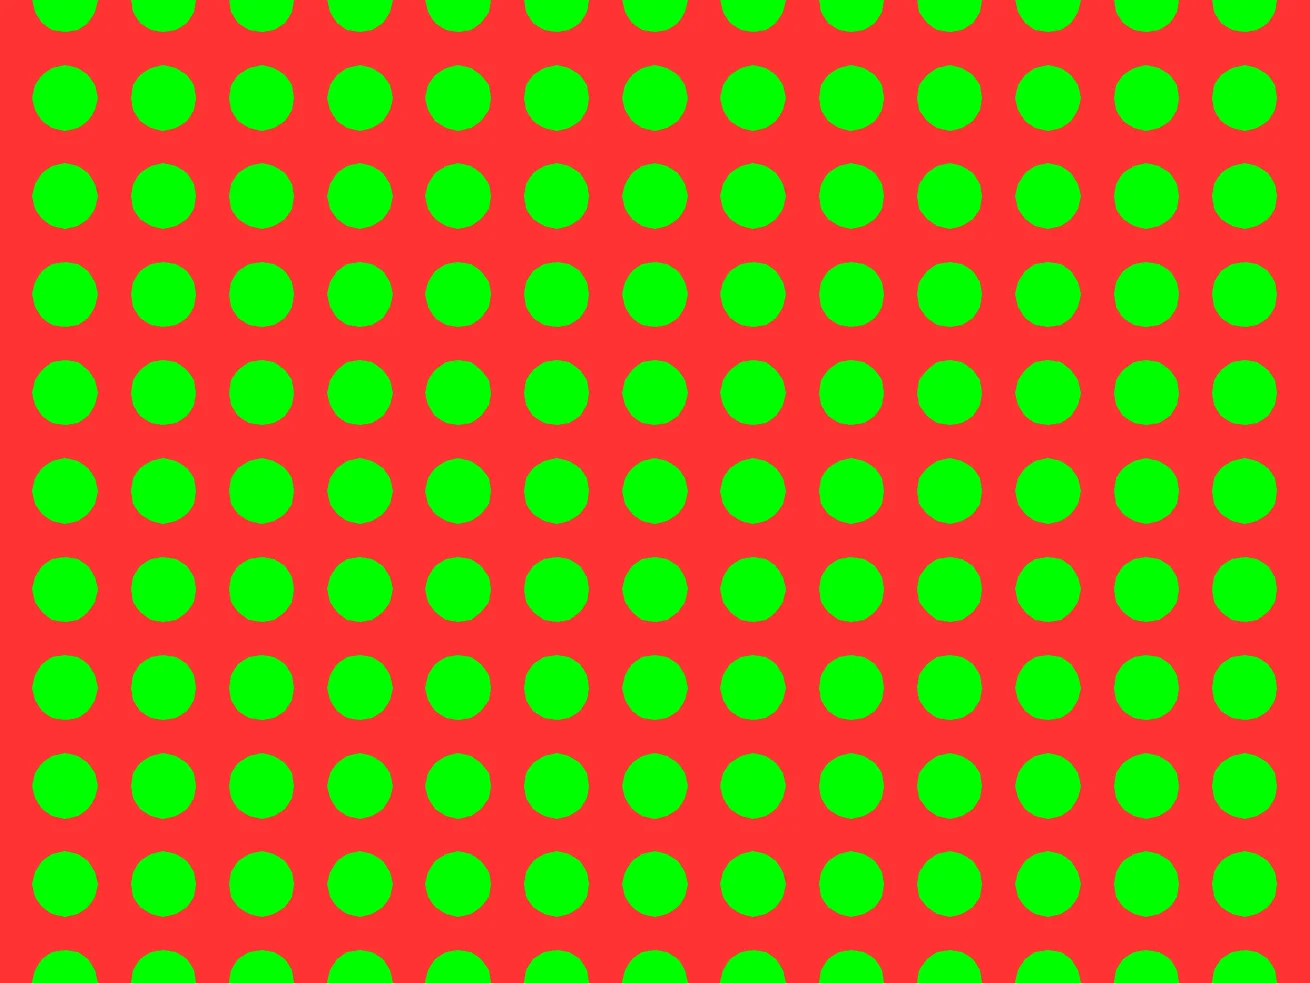
So many bubbles!
Bubble Size
Let's resize the bubbles as the grid goes down the screen.
We can easily do this by combining the BubbleSize with the Y value.
Instead of the Same Bubble Size, let's add Y*5 to the value, so that the further down the screen the bubbles are, the larger they are.
We'll also add a limit, so they don't get too small or too big.
  BubbleSize=Limit(Large+(Y*5),0,Space*2)
      // Add an increase to the size,
      // Based on the Y value.
      // Also limit it between 0 and "Too big"
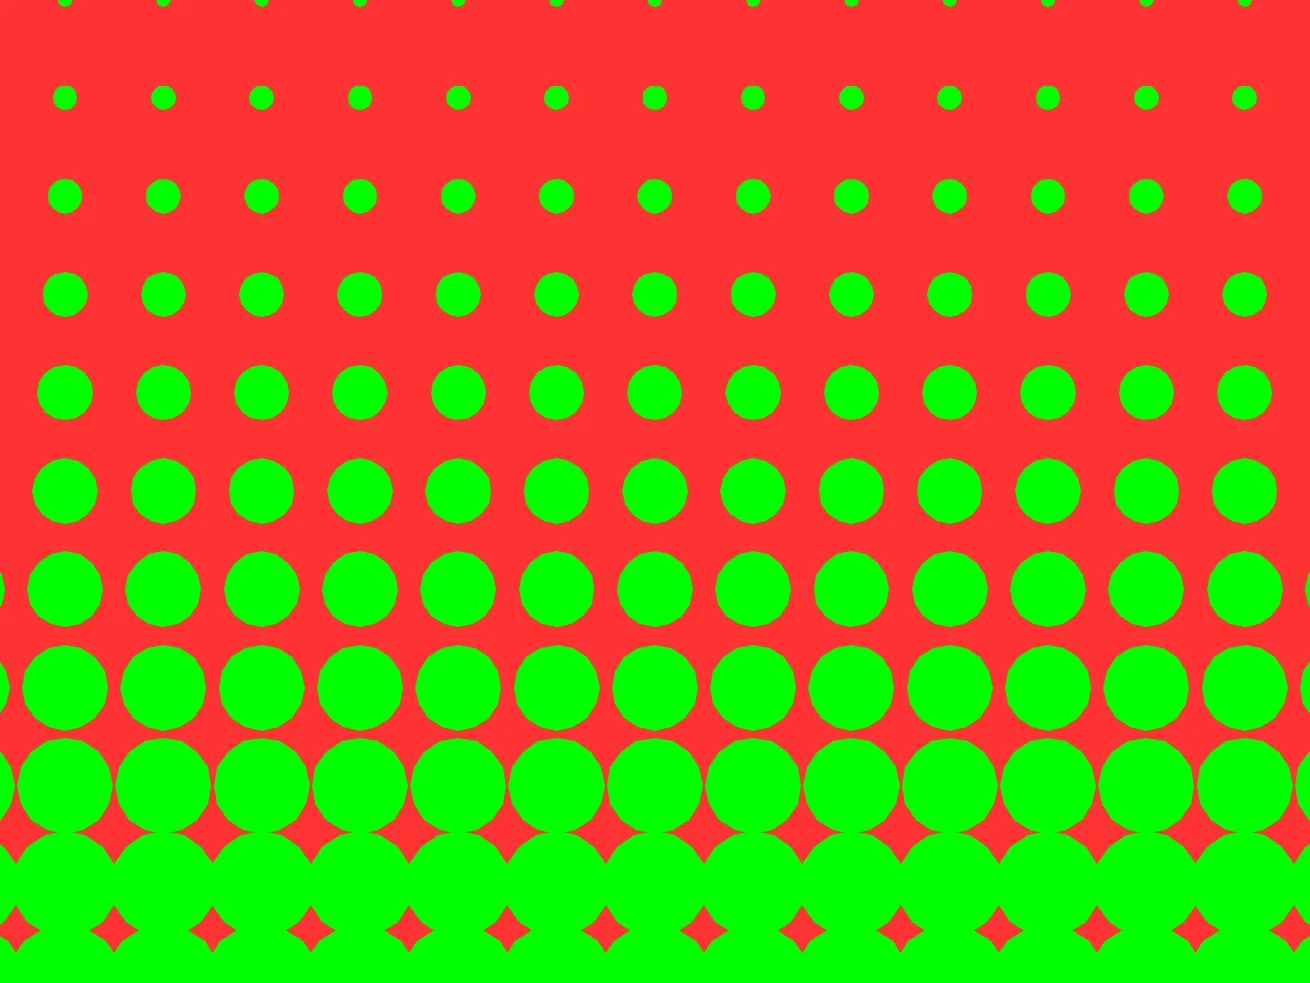
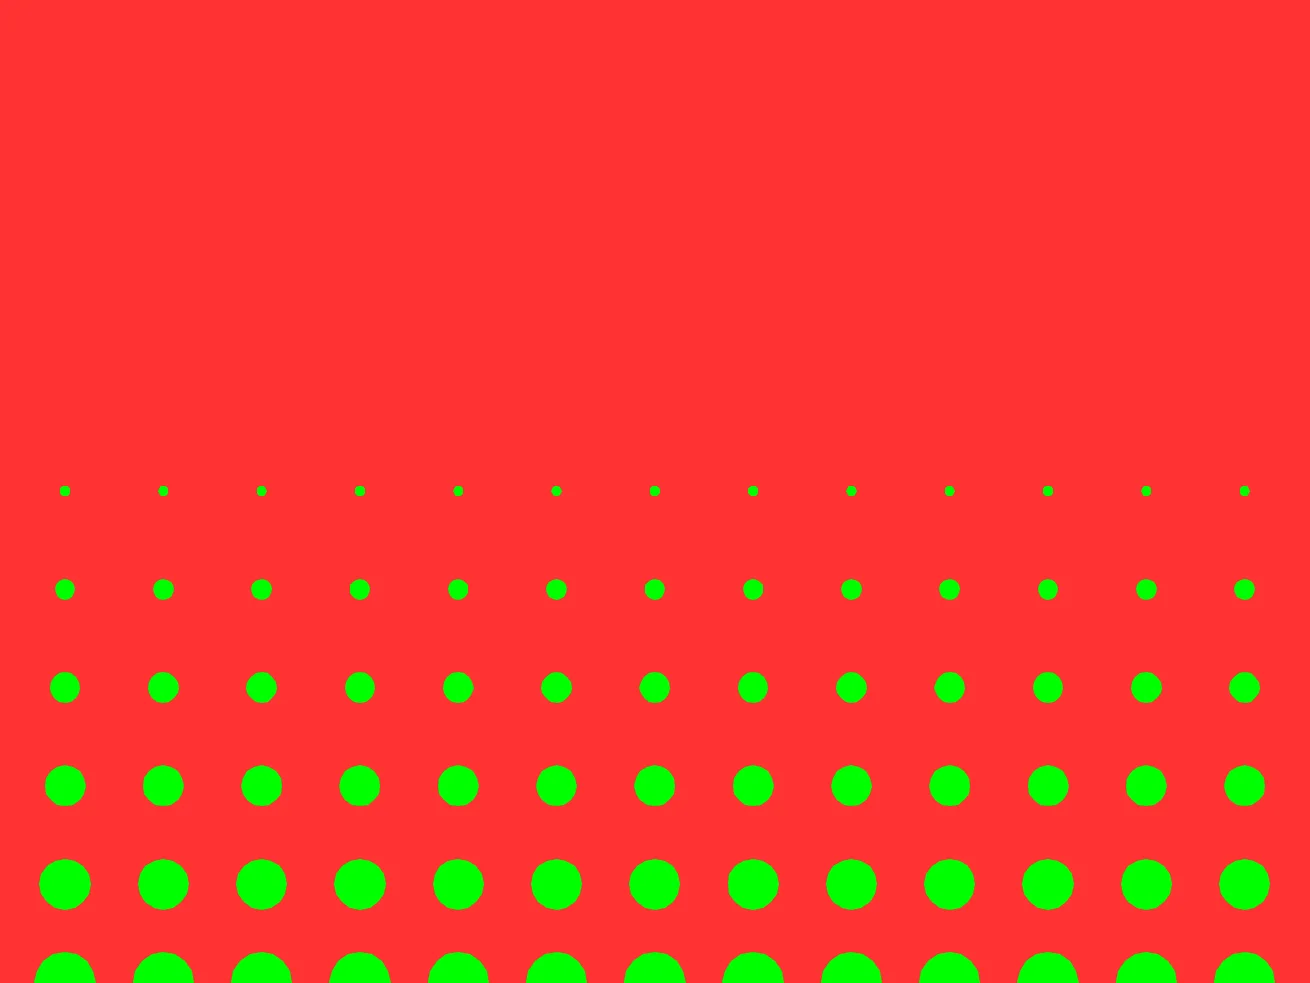
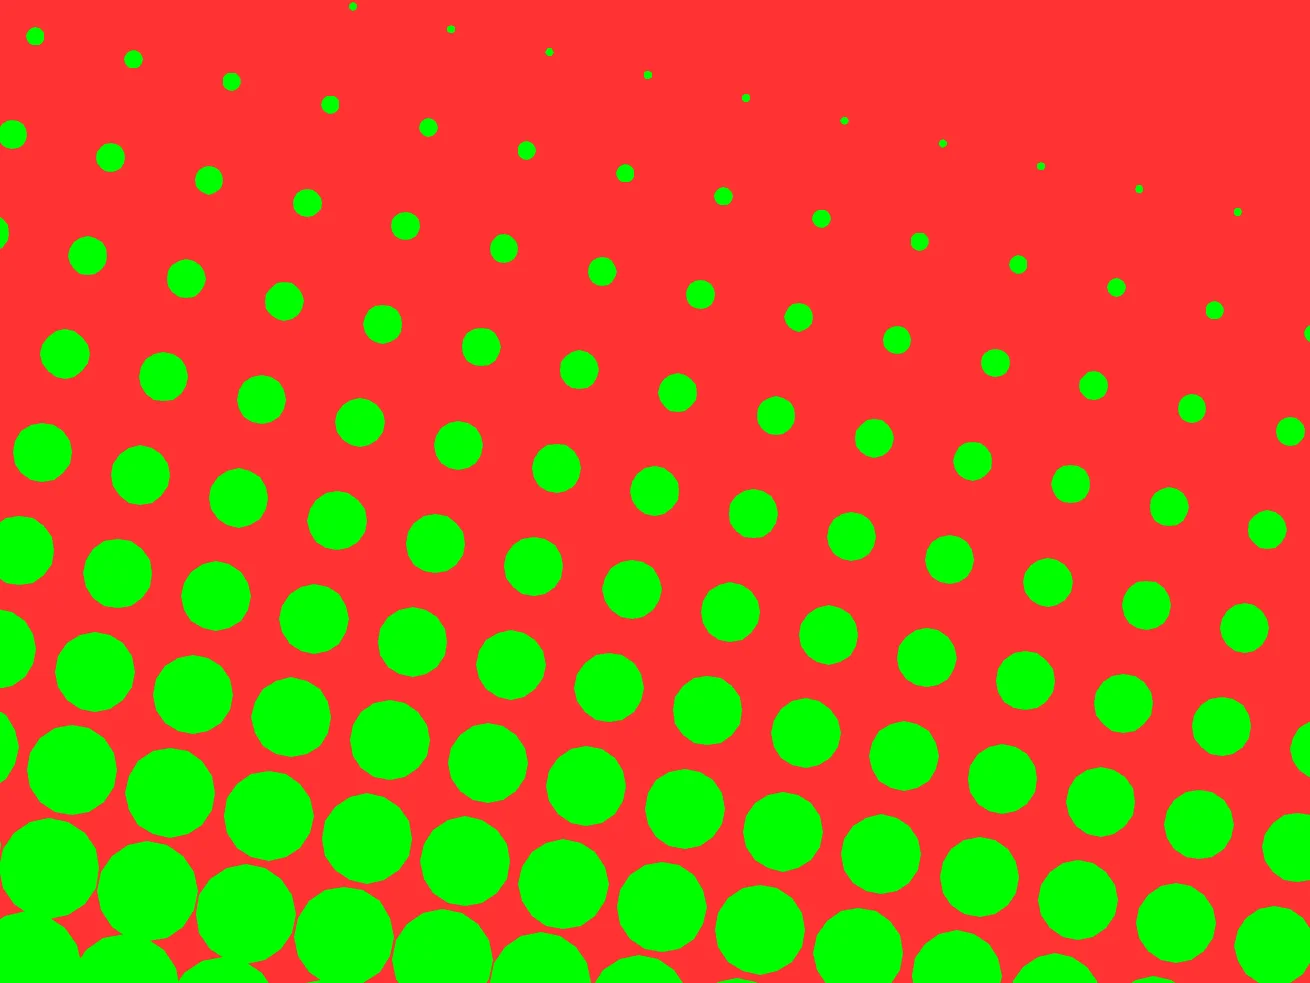
Bigger and Smaller
We've made a Pop Art Gradient!
Getting Animated
Now that we're looking a bit more Pop Art, let's add the ability to fade between the two colours.
This is simply a case of changing the size of the bubbles, and we can do this based on the Mouse's Y position.
Let's add a "Bump" value.
Bump=MouseY()-240
And then simply add the Bump onto the BubbleSize.
BubbleSize=Limit(Large+Bump+(Y*5),0,Space*2)
Now if you hover your mouse around the middle of the screen, you'll see the bubbles grow or shrink depending on how high or low you have the mouse.
They're moving!
Only the sizes change.
Angles
Let's add an angle to our Pop Art Gradient.
We can simply use the Mouse's X position as a Tilt value, and then add that to the Bubble's Y position, so that each bubble is slightly offset from the last.
Tilt=(MouseX()-320)/20 // How much to "tilt" the bubbles
We've offset the position from the middle of the screen like we did for the Bump, but also divided it by 20 to make the tilt smaller.
You can, of course, experiment with this value to see the different effects.
Now we need to add this to the BubbleY value.
If we just add Tilt, then all the bubbles will move the same value. What we want, however, is to have the left hand bubbles tilt in the opposite direction of the right hand ones.
Luckily, we already have an X value that we can multiply the tilt by.
BubbleY=240 + (Y*Space) + (X*Tilt)
If you try it here, you'll notice things don't "quite" look right.
The Tilt effect is only changing the up and down-ness, and it seems like the bubbles are rocking without rolling.
To improve the effect, we should also invert the tilt for the Bubble's X position.
BubbleX=320 + (X*Space) - (Y*Tilt) // Offset from Middle
We subtract Y * Tilt from the Bubble's X position, so that the tilt value "rotates" the whole grid, instead of just tilting it up and down.
Simple angles without using any angles!
complementary
And finally, let's play with the colours.
We'll create an If-End section, so that when the player clicks the mouse, the colours change.
First, we'll pick a random colour. Remember that the colours cycle around from 0 to 360, so picking a background colour is as easy as Rand(0,360)
If MouseHit()
  BaseColour=Rand(0,360)
Endif
complementing Colours
Colours tend to complement each other well if they're in 60 degree steps away from each other on the Hue spectrum.
So, to make the BubbleColour match the BaseColour well, we should add a random multiple of 60 to the Base.
BubbleColour=BaseColour+Rand(1,5)*60 // complementary colour
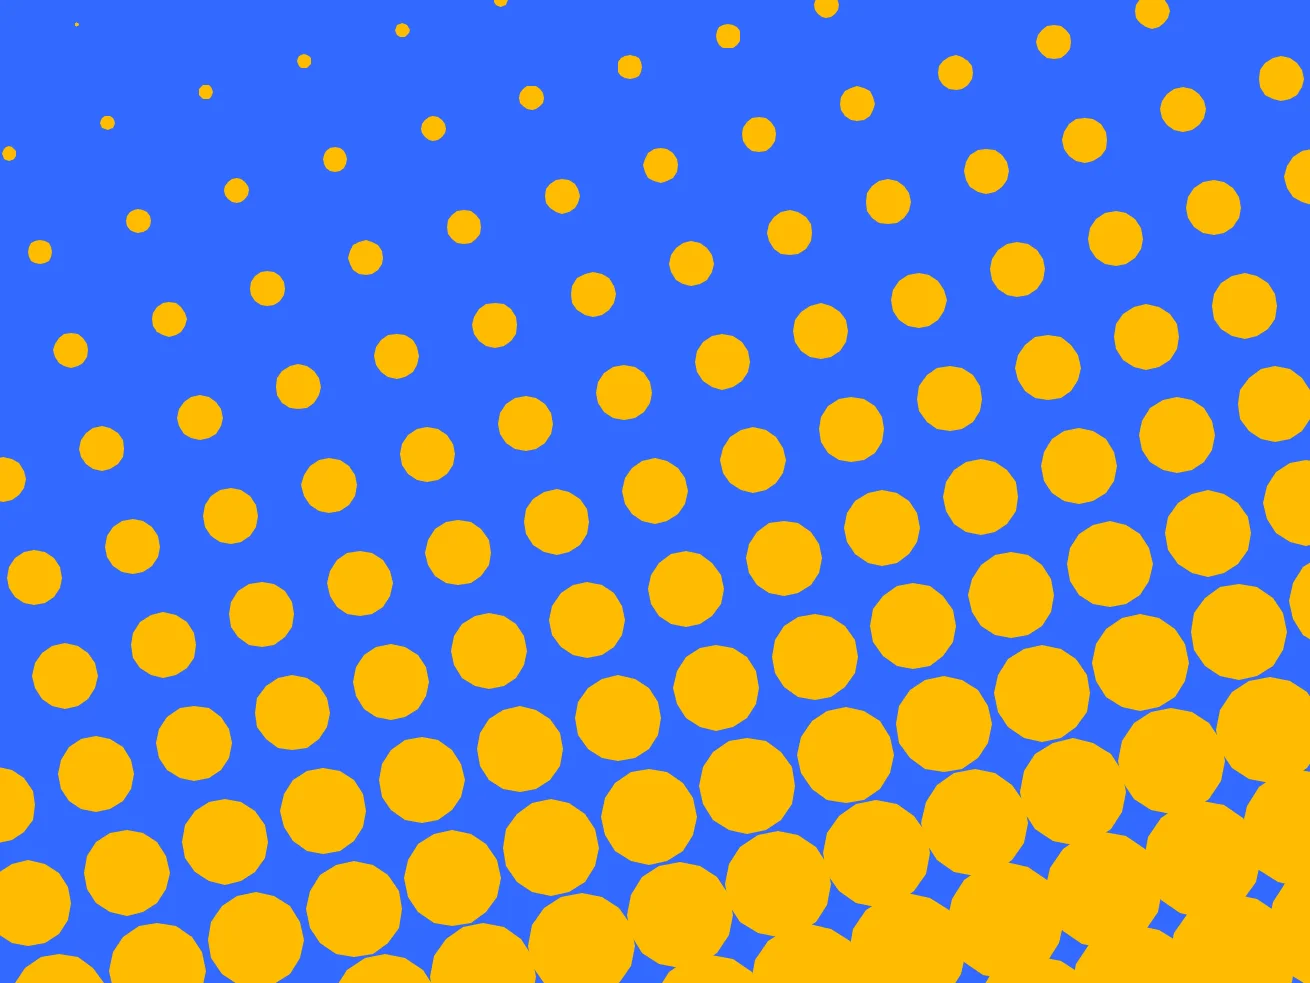
Lovely Colours!
Our Finished PopArt
// Pop Art
// by Mr Green
// Created 2026/3/24

BaseColour=0
BubbleColour=120

Repeat
CLS HSL(BaseColour,0.8,1)

SetHSL BubbleColour,1.0,1

Space=48  // The gap between each bubble
Large=32   // The size of each bubble
Bump=MouseY()-240     // How much to bump the size of all the bubbles
Tilt=(MouseX()-320)/20   // How much to "tilt" the bubbles

For X=-10 To 10
For Y=-8 To 8
  BubbleX=320 + (X*Space)  - (Y*Tilt) // Offset from Middle
  BubbleY=240 + (Y*Space) + (X*Tilt)
  BubbleSize=Limit(Large+Bump+(Y*5),0,Space*2)
      // Add an increase to the size,
      // Based on the Y value.
      // Also limit it between 0 and "Too big"

  Oval BubbleX,BubbleY,BubbleSize,BubbleSize,16
Next
Next


If MouseHit()
  BaseColour=Rand(0,360)
  BubbleColour=BaseColour+Rand(1,5)*60  // complementary colour
Endif

Flip
Forever
Try different shapes.
We're using the Oval command to draw our circles, but the Oval command can draw triangles and rectangles and more.
Why not experiment with different shapes.
Add rotation
If you're playing with different shapes, you can also play around with rotating them by different offsets.
Experiment with all kinds of things, and see if you can make a crazy PopArt Creation.
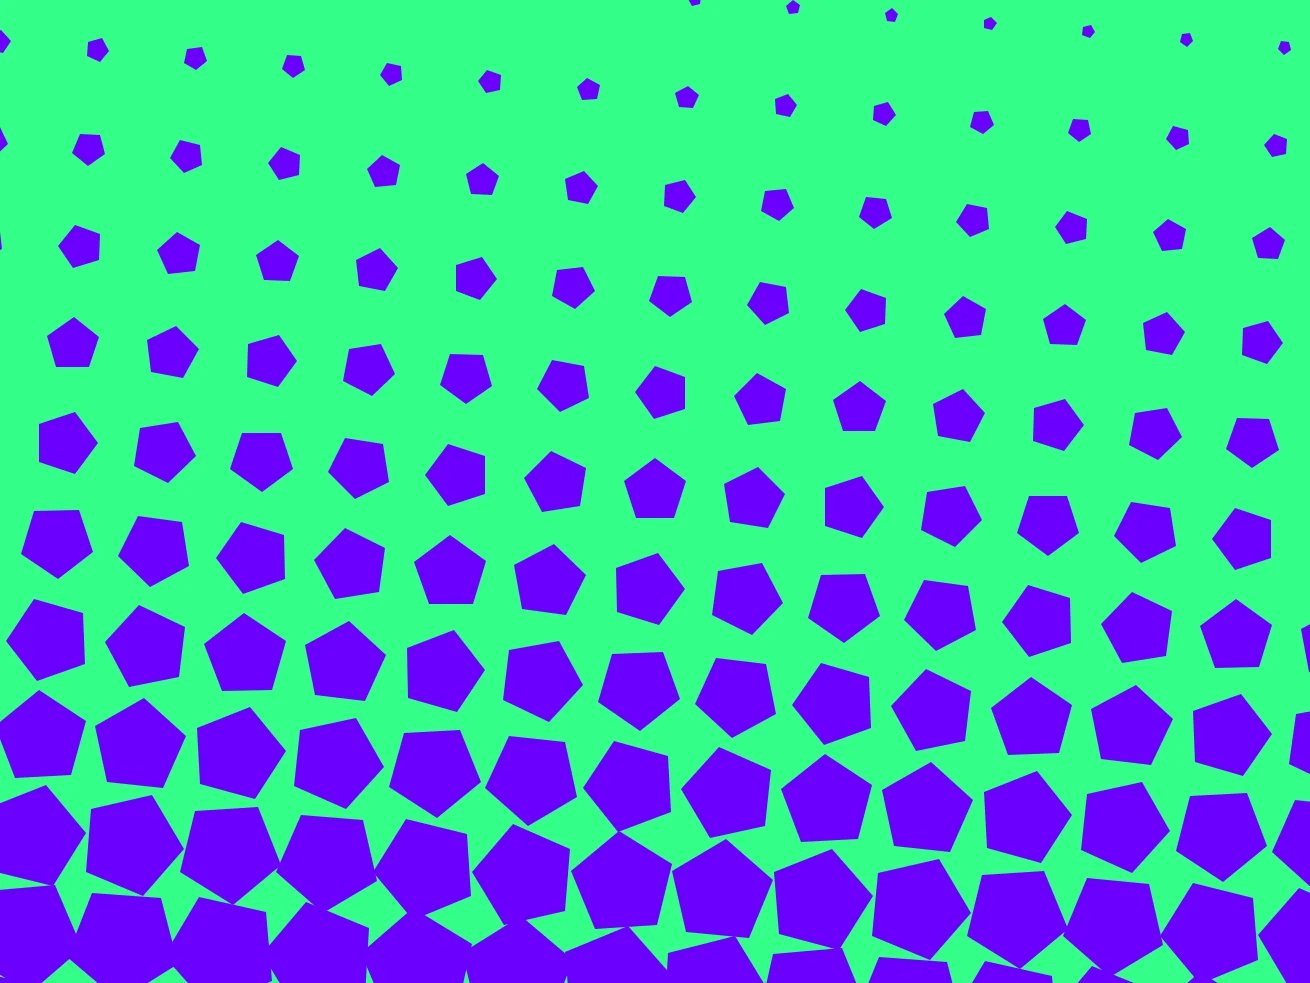
Pretty Shapes!