3D Starfield
Setup
JSE's Starfield command only draws 2D stars that pan in a direction.
If we want a starfield that looks 3D, with stars coming outwards towards up, we're going to have to build our own.
Let's build this!
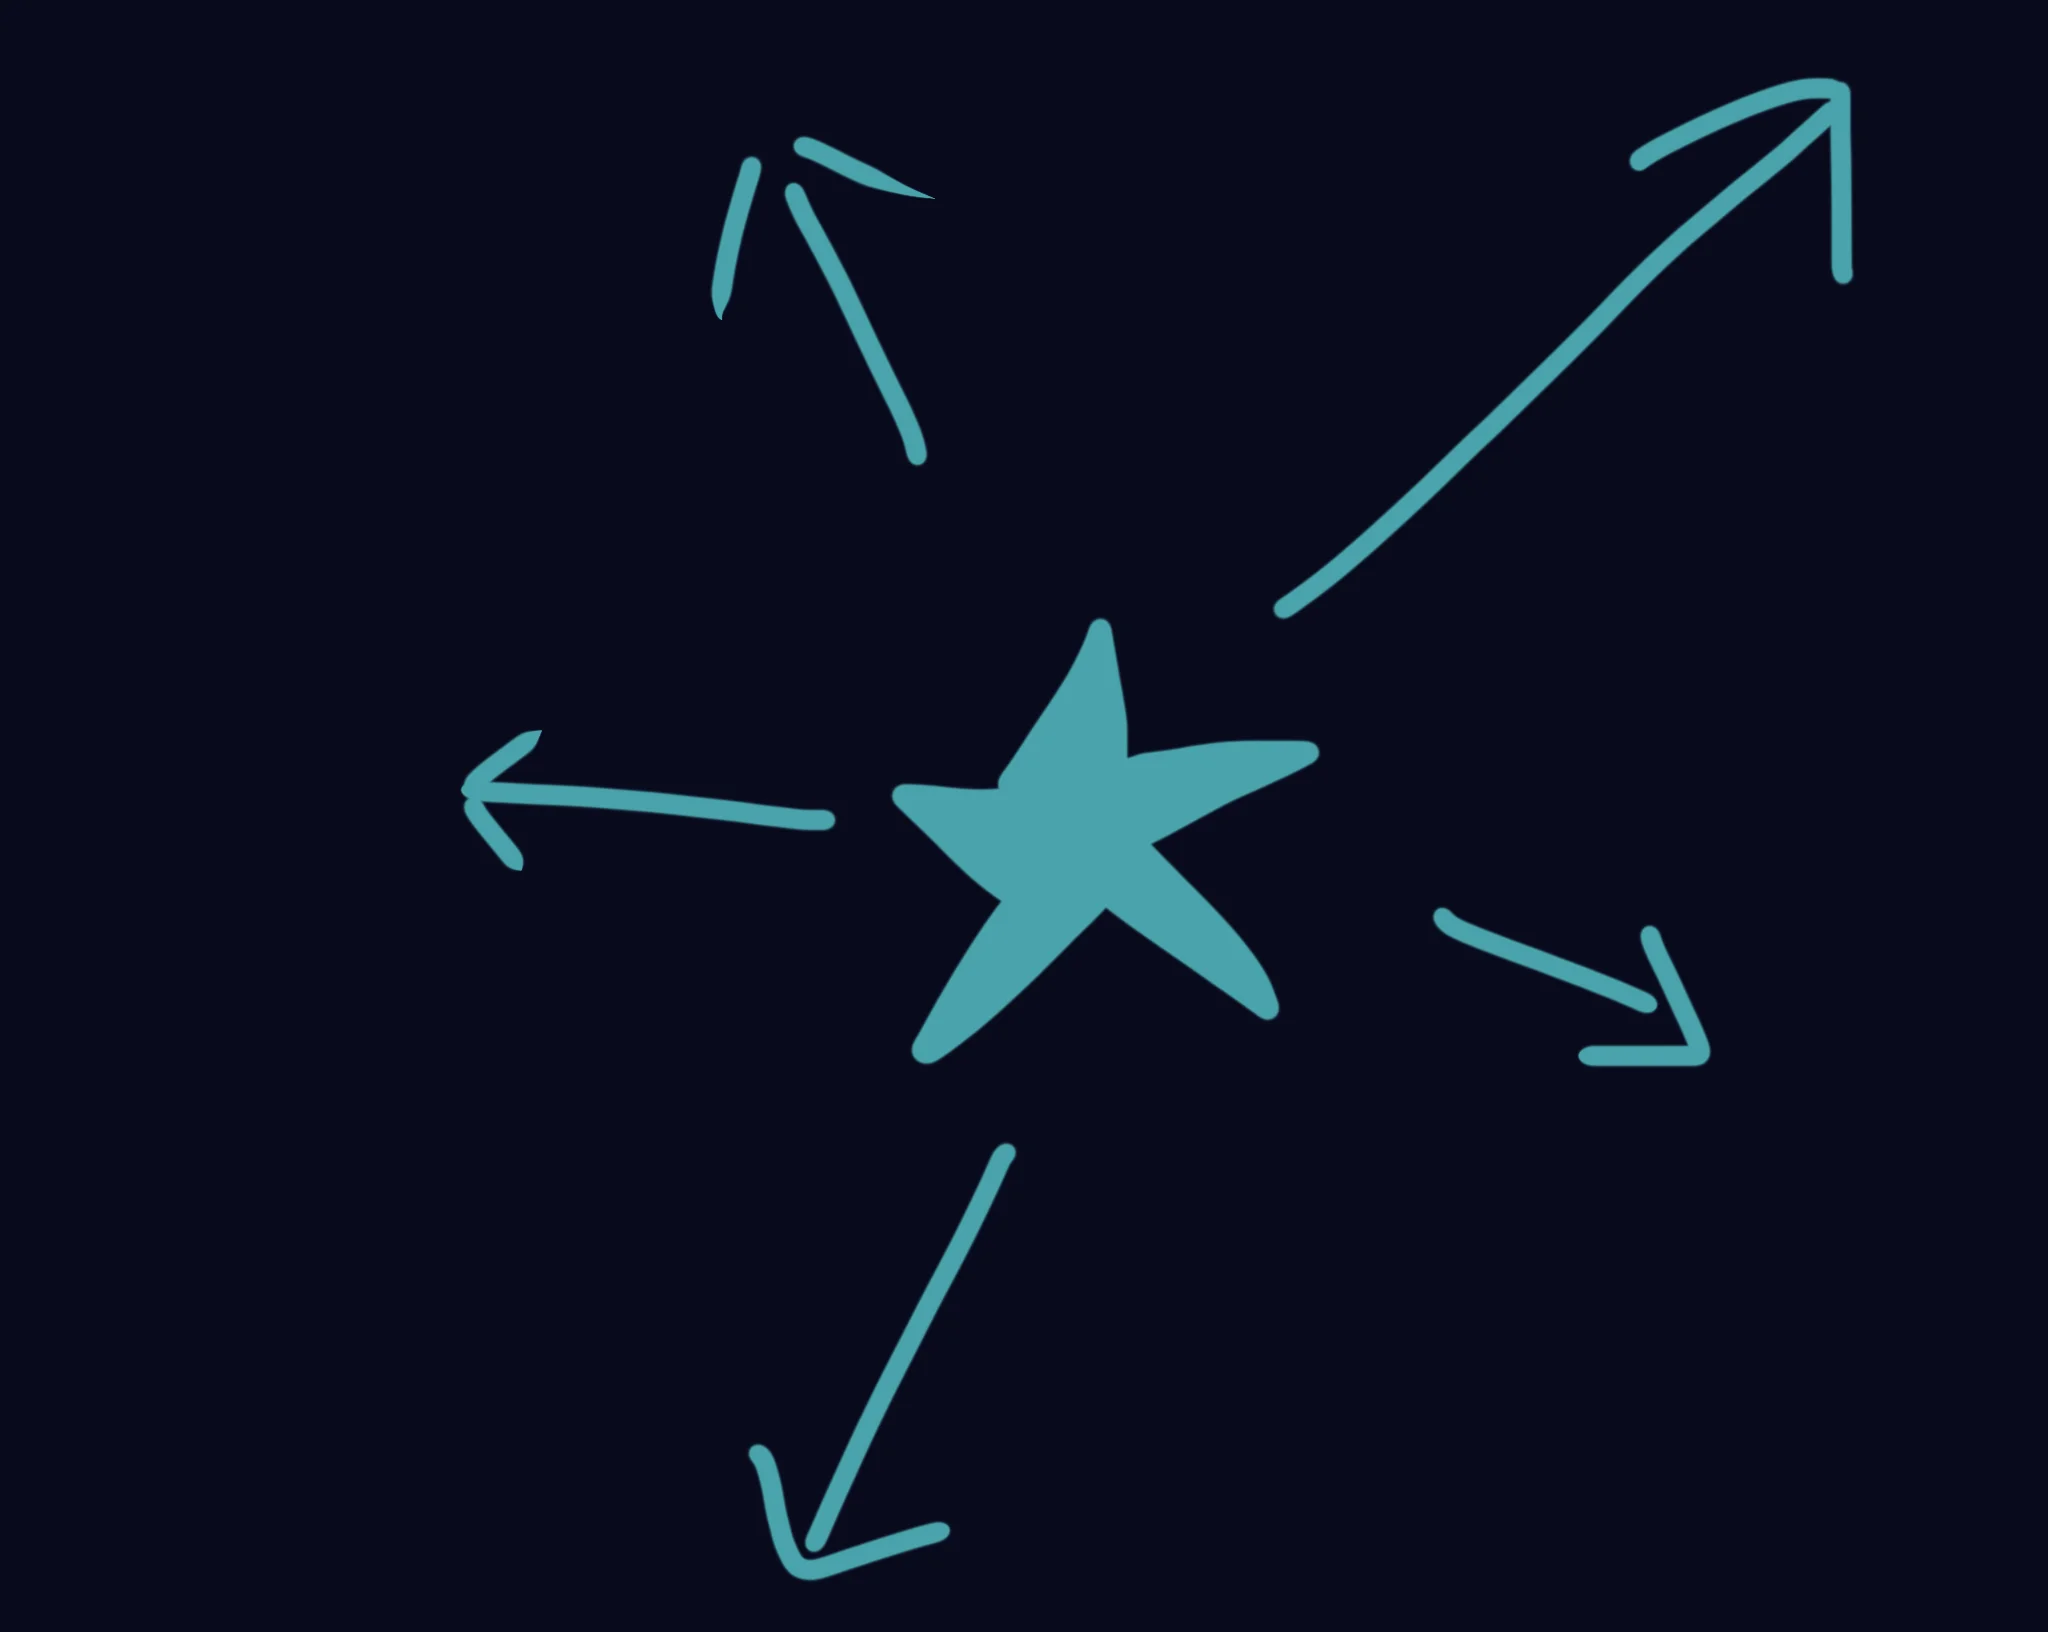
The concept will be stars coming from a central point, and moving in a straight line with a random direction and speed.
As they continue, they get subtly larger, then once they're off the edge of the screen, they reset back to the middle again.
Visually, this should look quite lovely!
Let's start with our usual setup.
Repeat
CLS
ResetDraw

  Star 320,240,16

Flip
Forever
Array of Stars
OK, first thing we'll need is an array.
We need to be careful naming this array, though. We can't call it "Star" because "Star" is already a command.
Instead, we'll call it Stars. Though it's only one single letter's difference, GotoJSE can understand the difference between the two words.
Dim Stars(100,10)
// Slot names
  StarX=1
  StarY=2
  StarXSpeed=3
  StarYSpeed=4
As always, define the array at the top of the program, so that the rest of the program knows how to handle it.
We've also set up Slot Names so we can keep track of things as we go.
// Star Creation
For J=1 to 100
  Stars(J,StarX)=0
  Stars(J,StarY)=0
  // Next bit goes here!
Next
We should place this bit of code underneath the Slot Names, but before our main loop.
We don't want all the stars resetting all the time!
Setting a Direction
Each of our stars is going to move in a particular direction, but in a straight line.
We've previously tackled angles with Sin and Cos, so let's use those to find the speed at which our stars should move.
First, we need a random angle, and from there we can use Cos(Angle) to tell us how fast the X position should move.
Similarly Sin(Angle) tells us the Y speed for that angle.
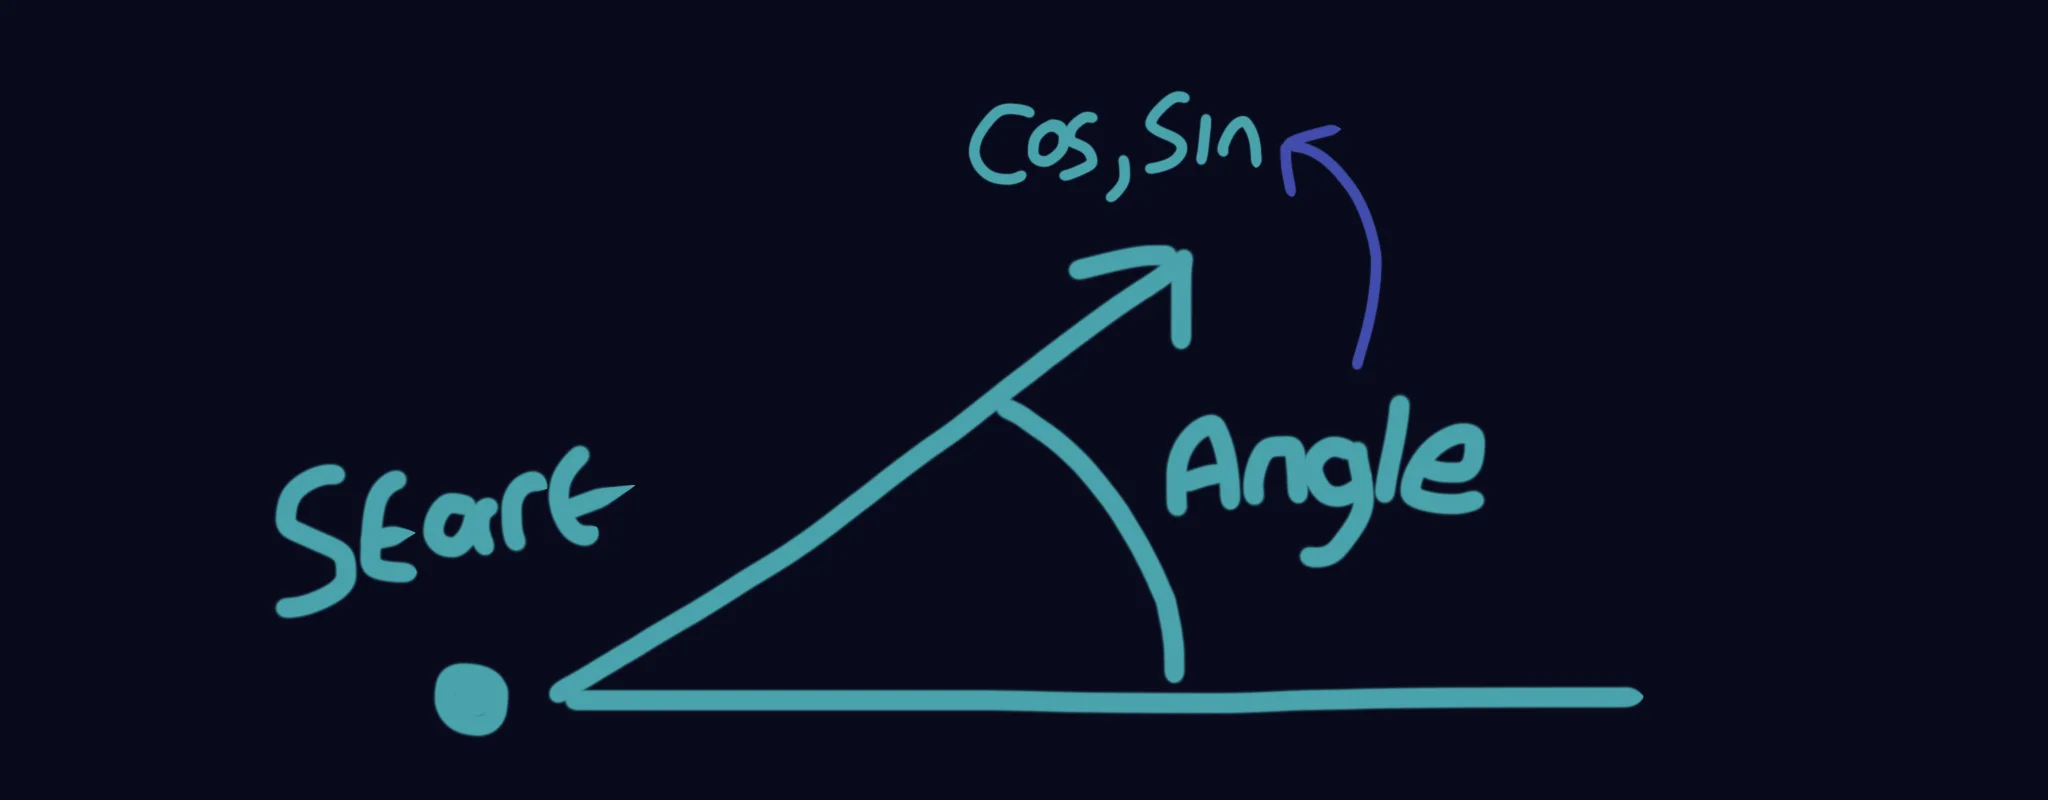
Angles, Sin and Cos
Later when we loop the stars, we'll keep adding the same X Speed to the X Position, and the Y Speed to the Y Position, and the position will move in the direction we've asked for.
  Angle=Rnd(0,360)  // The angle the star should move in.
  Stars(J,StarXSpeed)=Cos(Angle)  // Cos is X
  Stars(J,StarYSpeed)=Sin(Angle)  // Sin is Y
Note that we only need the Angle for this moment. Once we've set the StarXSpeed and StarYSpeed, we no longer need to know the Angle.
Seeing Stars
Let's add a drawing loop into our main program loop.
  // Drawing Loop
  For J=1 to 100
    Star Stars(J,StarX),Stars(J,StarY),16
  Next
If you run it from here, you'll notice all the stars stuck up on the top left of the screen.
That's because they're starting from 0,0 which is the top corner.
We need to move all the draw commands to the middle of the screen.
Let's change the Drawing Loop to include a Middle.
  // Drawing Loop
  MiddleX=320
  MiddleY=240

  For J=1 to 100
    DrawX=Stars(J,StarX)+MiddleX
    DrawY=Stars(J,StarY)+MiddleY
    Star DrawX,DrawY,16
  Next

Back to the Middle!
Get a Move On
Now let's start moving our stars.
All we have to do is add our Star X and Y Speed to the position each loop.
  // Add speed to position
    Stars(J,StarX)=Stars(J,StarX)+Stars(J,StarXSpeed)
    Stars(J,StarY)=Stars(J,StarY)+Stars(J,StarYSpeed)
If we run the program now, the stars will continue outwards in a circle, until they reach the infinite edge of the universe!
What we can do, is check if they're too far from the middle of the screen.
We'll use the Distance command, to check how far DrawX,DrawY is from 320,240 (The middle of the screen.)
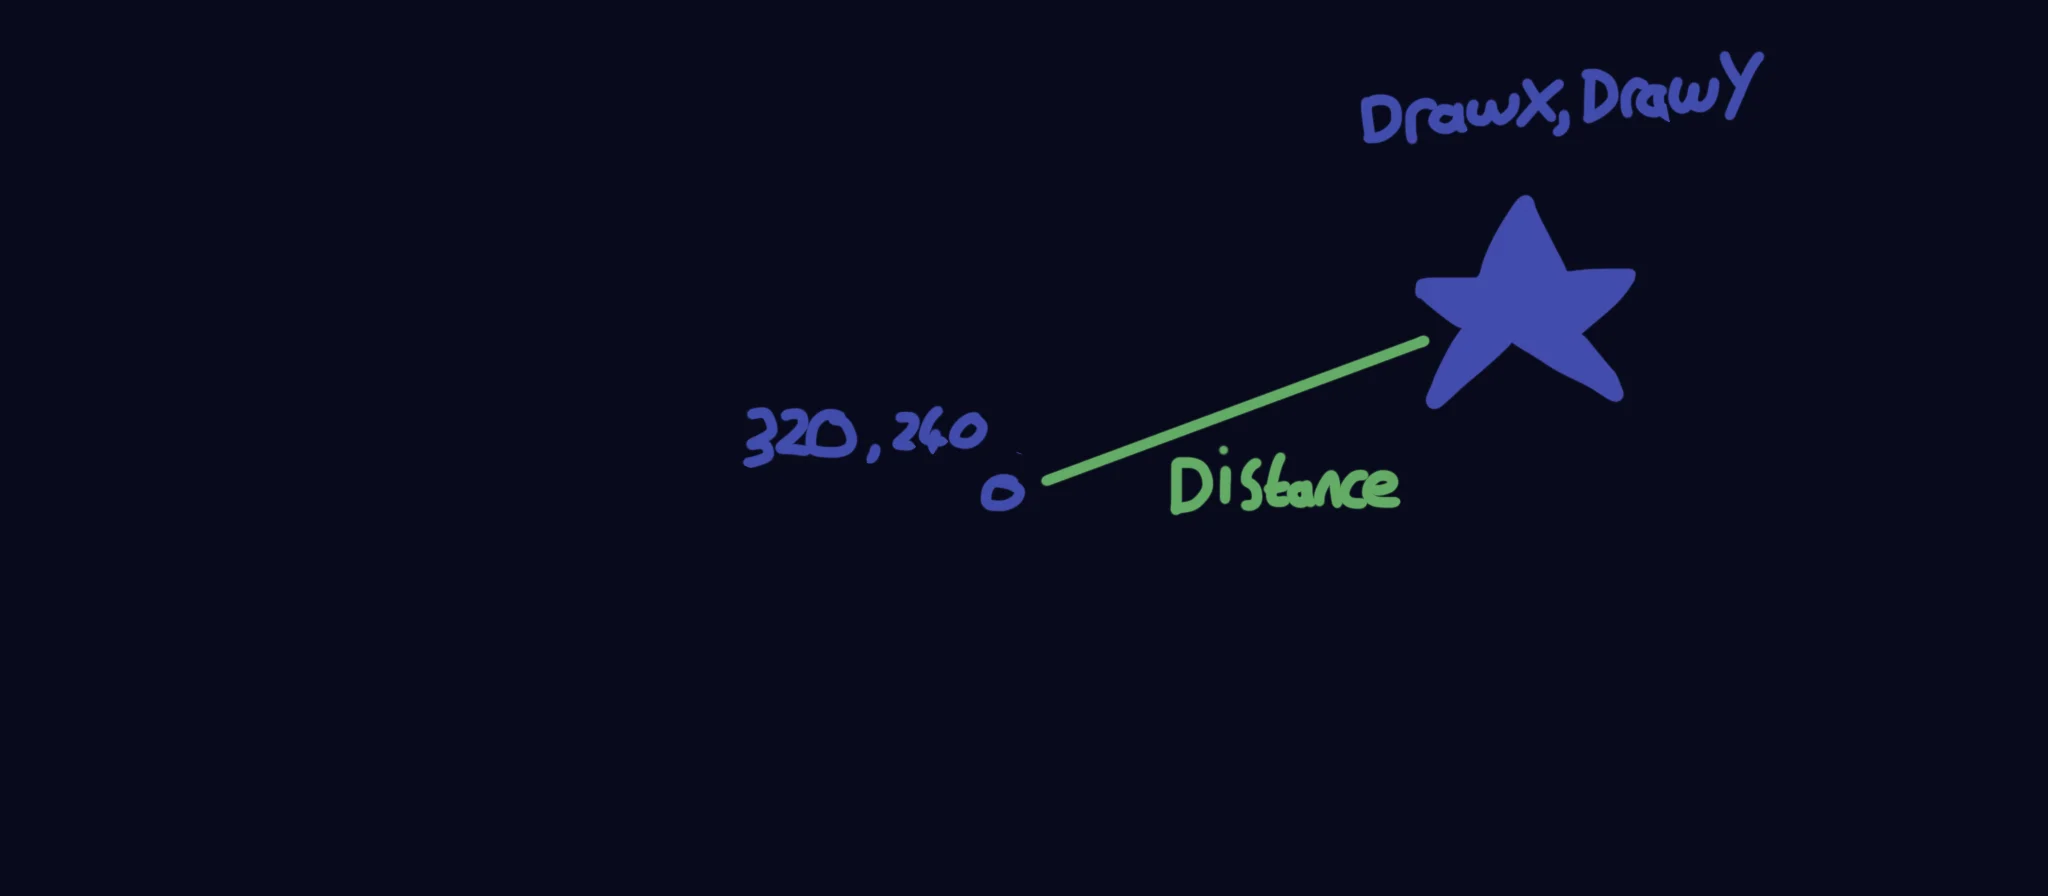
The distance between two points.
  // Check if this star is too far
    Far=Distance(DrawX,DrawY, 320,240)
    // Finds the distance between X1,Y1 and X2,Y2
    If Far>500
      // Reset the Star
      Stars(J,StarX)=0
      Stars(J,StarY)=0
    EndIf
Now when we run our program, if you wait a bit, the stars will pop back to the middle of the screen after a while.
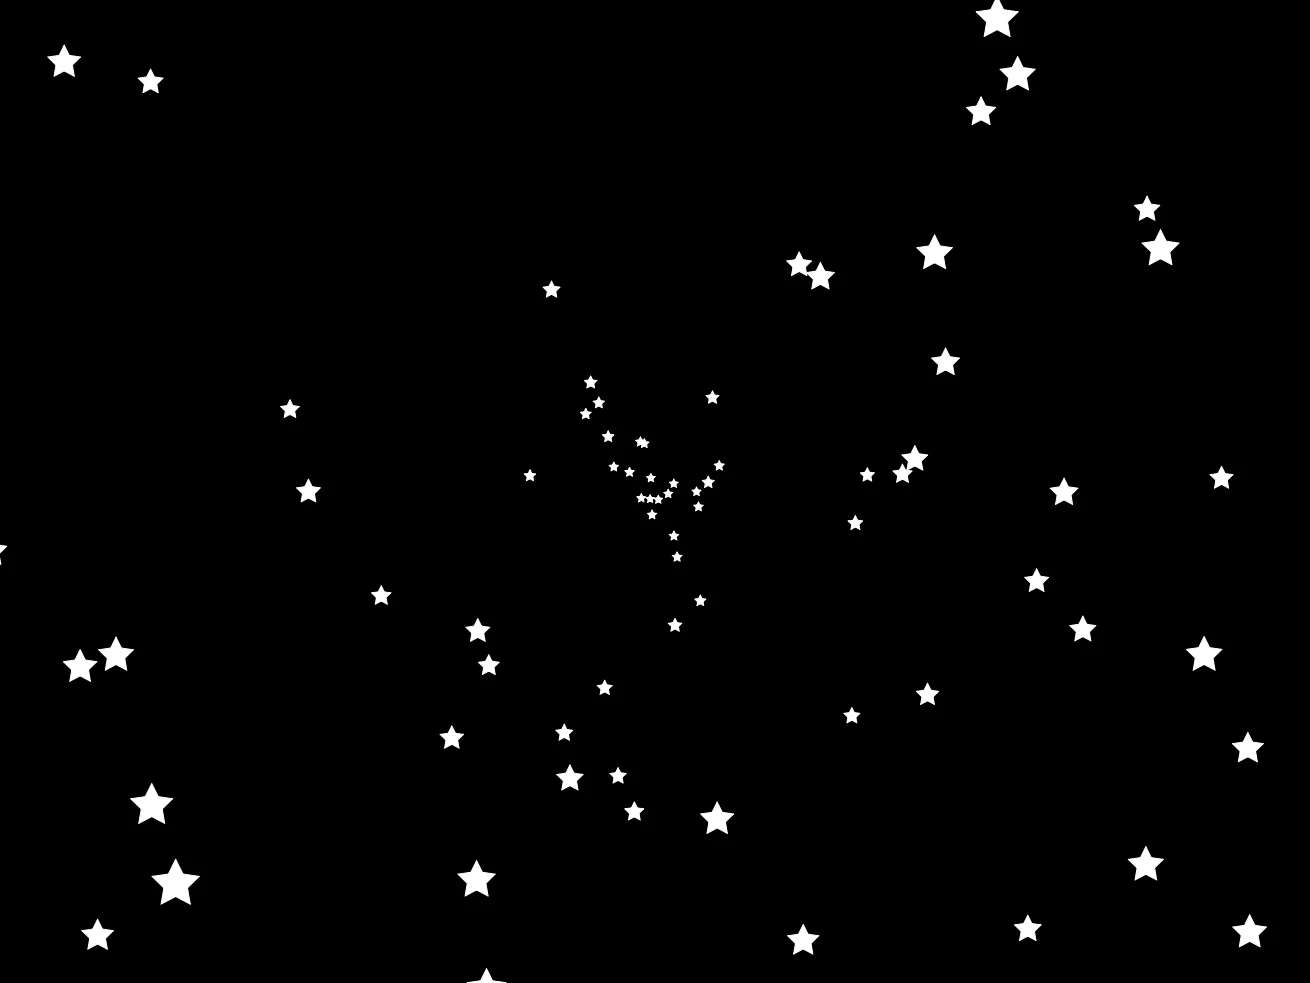
Ring of Stars?
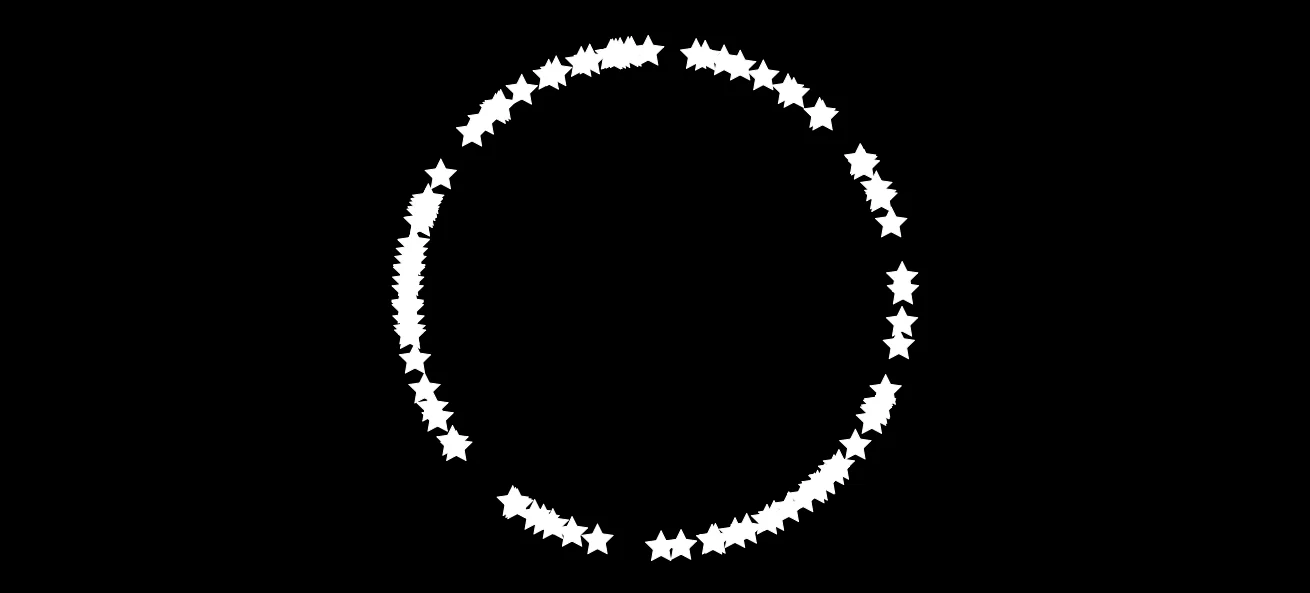
It's a Ring!
One odd quirk right now is that all the stars are forming a ring on the screen.
What we need to do is give each of the stars a random speed to go with their random angle.
Up where we do our Star Creation loop, we'll add a Speed to the Angle.
  Angle=Rnd(0,360)  // The angle the star should move in.
  Speed=Rnd(0.5,1.5)  // The speed the star should move in.
  Stars(J,StarXSpeed)=Cos(Angle)*Speed  // Cos is X
  Stars(J,StarYSpeed)=Sin(Angle)*Speed  // Sin is Y
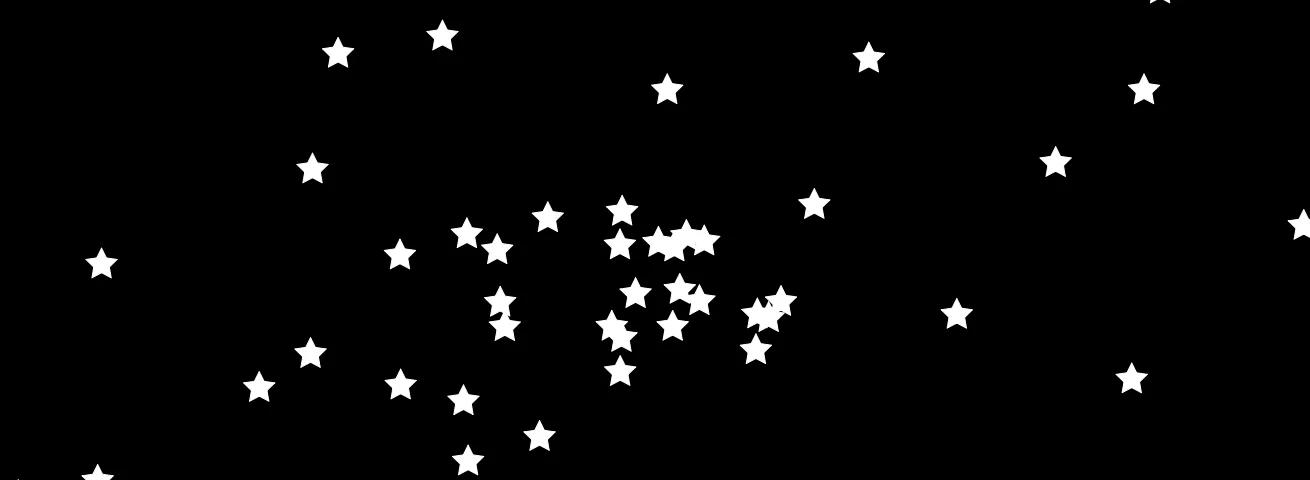
Much better!
Our Program So Far
// 3D Stars
// by Mr Green
// Created 2026/2/10

Dim Stars(100,10)
// Slot names
  StarX=1
  StarY=2
  StarXSpeed=3
  StarYSpeed=4

// Default Stars
For J=1 to 100
  Stars(J,StarX)=StartX
  Stars(J,StarY)=StartY

  Angle=Rnd(0,360)  // The angle the star should move in.
  Speed=Rnd(0.5,1.5)  // The speed the star should move in.
  Stars(J,StarXSpeed)=Cos(Angle)*Speed  // Cos is X
  Stars(J,StarYSpeed)=Sin(Angle)*Speed  // Sin is Y
Next


Repeat
CLS
ResetDraw

  // Drawing Loop
  MiddleX=320
  MiddleY=240

  For J=1 to 100
    DrawX=Stars(J,StarX)+MiddleX
    DrawY=Stars(J,StarY)+MiddleY
    Star DrawX,DrawY,16

  // Add speed to position
    Stars(J,StarX)=Stars(J,StarX)+Stars(J,StarXSpeed)
    Stars(J,StarY)=Stars(J,StarY)+Stars(J,StarYSpeed)

  // Check if this star is too far from the middle of the screen
    Far=Distance(DrawX,DrawY, 320,240)
    // Finds the distance between X1,Y1 and X2,Y2

    If Far>500
      // Reset the Star
      Stars(J,StarX)=0
      Stars(J,StarY)=0
    EndIf
  Next

Flip
Forever
Relativity
Something odd you might've noticed is that the stars seem faster in the middle than they do at the edges, even though they're moving at a constant speed.
This is because your eyes are used to things far away moving slower than things closer.
We can "cheat" this effect by simply making the stars speed up, as they move.
Hop back down to our Drawing loop, and add in a multiplier for the speed.
First, we'll add a new SpeedUp variable to our variable list
  // Drawing Loop
  MiddleX=320
  MiddleY=240
  SpeedUp=1.01
Then, inside the drawing loop itself, simply multiply the Speed by this new variable.
You can try changing the value, if you'd like, though.
"Warp factor five, Mr Sulu!"
Now that the speed is increasing over time, you'll find they shoot off too fast when they reset back to 0.
This is because we haven't reset our Speed, yet.
We'll add this to the Reset section at the end of our drawing loop.
    If Far>500
      // Reset the Star
      Stars(J,StarX)=0
      Stars(J,StarY)=0

      // Reset the Speed
      Angle=Rnd(0,360)  // The angle the star should move in.
      Speed=Rnd(0.5,1.5)  // The speed the star should move in.
      Stars(J,StarXSpeed)=Cos(Angle)*Speed  // Cos is X
      Stars(J,StarYSpeed)=Sin(Angle)*Speed  // Sin is Y
    EndIf
Now the stars will slow back down to their normal speed when they reset.
Refactoring
You might've noticed that the Reset Section is the same code as Default Stars section.
Since the code is exactly the same, let's take the step of moving it into a Subroutine, so we can reuse the code instead of duplicating it.
Instead of two copies, we only need one.
First, we'll copy and paste the duplicated code from either of the sections, and place it into a Labelled subroutine at the bottom of our program, underneath the "Forever".
.ResetStar
      // Reset the Star
      Stars(J,StarX)=0
      Stars(J,StarY)=0

      // Reset the Speed
      Angle=Rnd(0,360)  // The angle the star should move in.
      Speed=Rnd(0.5,1.5)  // The speed the star should move in.
      Stars(J,StarXSpeed)=Cos(Angle)*Speed  // Cos is X
      Stars(J,StarYSpeed)=Sin(Angle)*Speed  // Sin is Y
Return
And now, in both the "Default Stars" section, and the "If Far>500" section, we can replace all the code with a Gosub to our new Subroutine.
// Default Stars
For J=1 to 100
  Gosub ResetStar
Next
and
    If Far>500
      Gosub ResetStar
    EndIf
Our Shuffled Program
// 3D Stars
// by Mr Green
// Created 2026/2/10

Dim Stars(100,10)
// Slot names
  StarX=1
  StarY=2
  StarXSpeed=3
  StarYSpeed=4

// Default Stars
For J=1 to 100
  Gosub ResetStar
Next


Repeat
CLS
ResetDraw

  // Drawing Loop
  MiddleX=320
  MiddleY=240
  SpeedUp=1.01

  For J=1 to 100
    DrawX=Stars(J,StarX)+MiddleX
    DrawY=Stars(J,StarY)+MiddleY
    Star DrawX,DrawY,16

  // Add speed to position
    Stars(J,StarX)=Stars(J,StarX)+Stars(J,StarXSpeed)
    Stars(J,StarY)=Stars(J,StarY)+Stars(J,StarYSpeed)

  // Multiply the speed
    Stars(J,StarXSpeed)=Stars(J,StarXSpeed)*SpeedUp
    Stars(J,StarYSpeed)=Stars(J,StarYSpeed)*SpeedUp

  // Check if this star is too far from the middle of the screen
    Far=Distance(DrawX,DrawY, 320,240)
    // Finds the distance between X1,Y1 and X2,Y2

    If Far>500
      Gosub ResetStar
    EndIf
  Next

Flip
Forever


.ResetStar
      // Reset the Star
      Stars(J,StarX)=0
      Stars(J,StarY)=0

      // Reset the Speed
      Angle=Rnd(0,360)  // The angle the star should move in.
      Speed=Rnd(0.5,1.5)  // The speed the star should move in.
      Stars(J,StarXSpeed)=Cos(Angle)*Speed  // Cos is X
      Stars(J,StarYSpeed)=Sin(Angle)*Speed  // Sin is Y
Return
Bigger!
Now that we have our refactored code, it'll be easier to add additional changes to our stars.
Let's start with the size of stars. They really should grow as they get closer.
We'll start, up at the top of our code. Add an extra Slot Name for the size.
StarSize=5
Don't forget, this is the Slot in the array that we're using, not the value!
Next, hop back to the bottom of our code, and inside the ResetStar subroutine, to give the new size slot a value.
      // Give the star a Size
      Stars(J,StarSize)=4  // Not too big.  Not too small!
To increase this size, we'll use the same technique that we use to increase the speed.
  // Multiply the Size
    // We can use the same SpeedUp multiplier from earlier.
    Stars(J,StarSize)=Stars(J,StarSize)*SpeedUp
And finally, where we draw the star, let's change the size which is currently 16 to be this new array value.
Star DrawX,DrawY,Stars(J,StarSize)
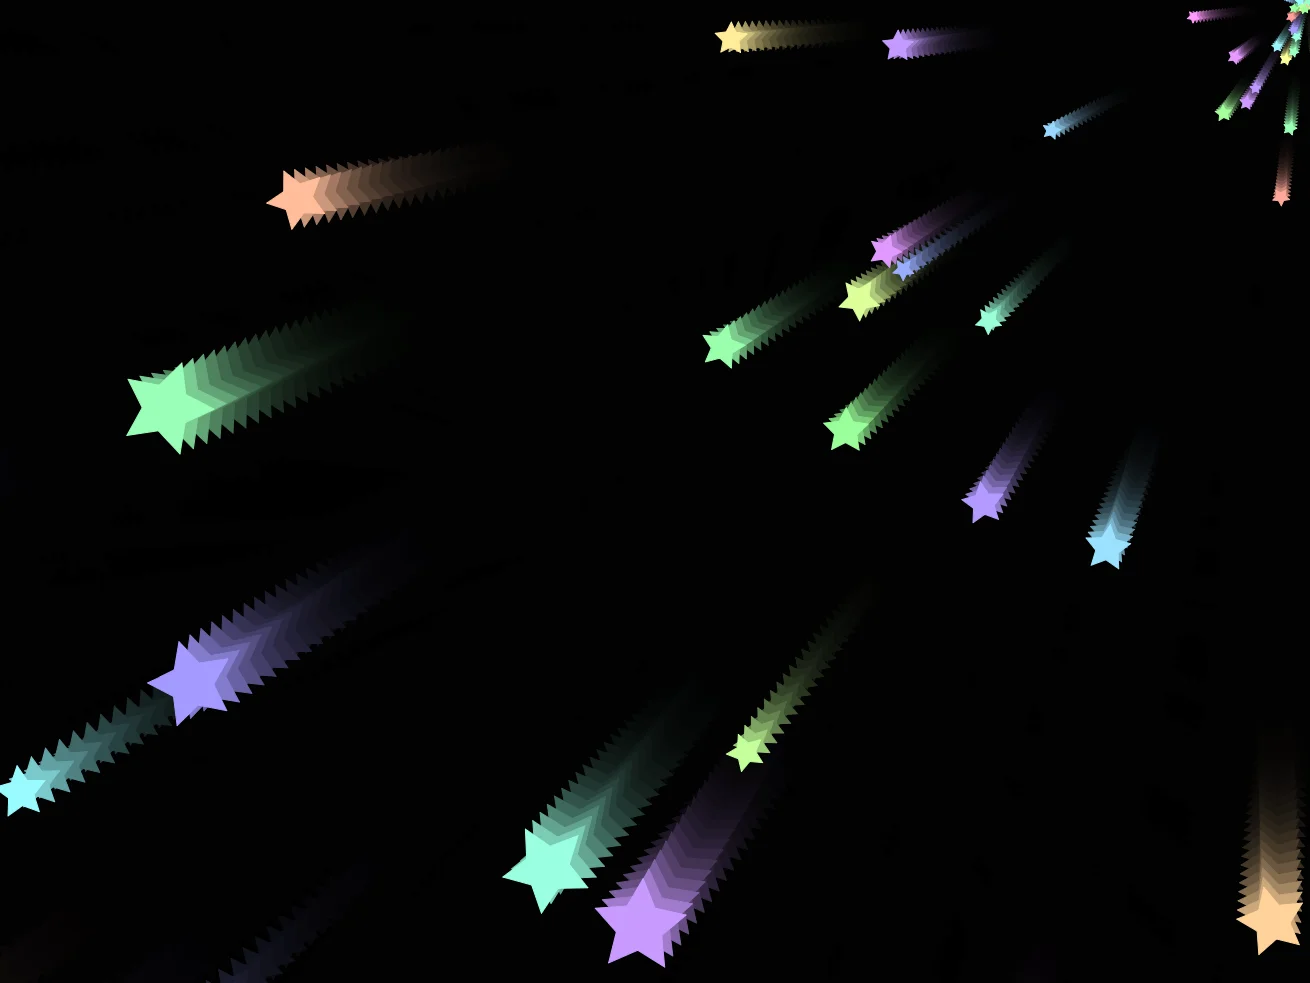
Getting bigger!
Quick Effects
And finally, let's try adding some fun effects.
First, we'll make things a bit more colourful.
Throw in a simple SetHue just before the Star command.
Instead of adding a new "StarColour" slot to the array, we can simply reuse the J value that the For-Next loop gives us.
    // Change Colour!
    SetHue J*3,0.4,1
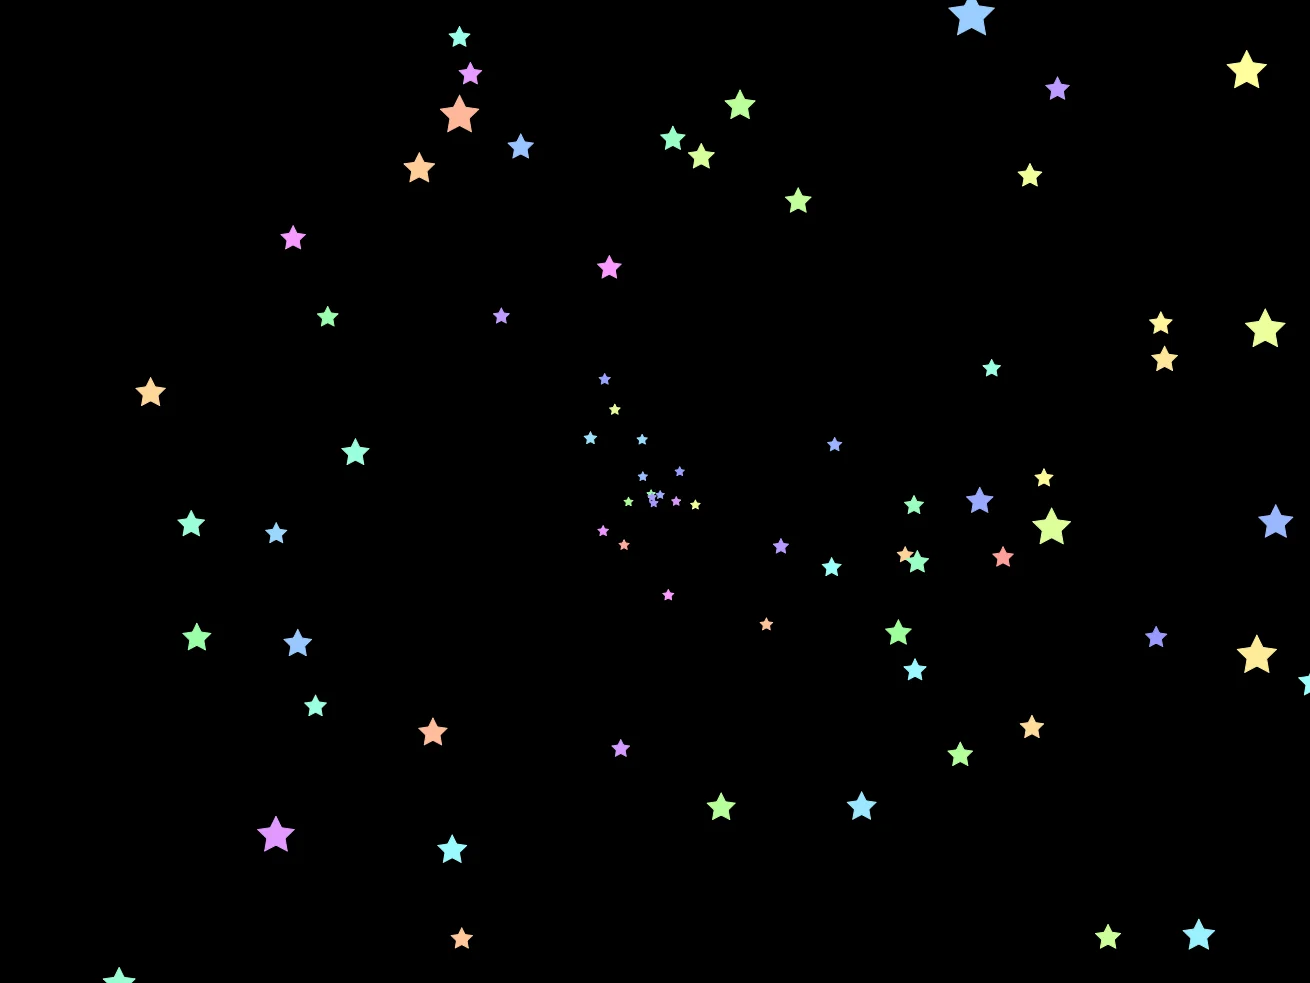
More Colour!
And we can add a quick trail to the whole effect by changing the CLS command.
CLS 0,0,0, 0.2 // A low alpha leaves the previous frame behind.
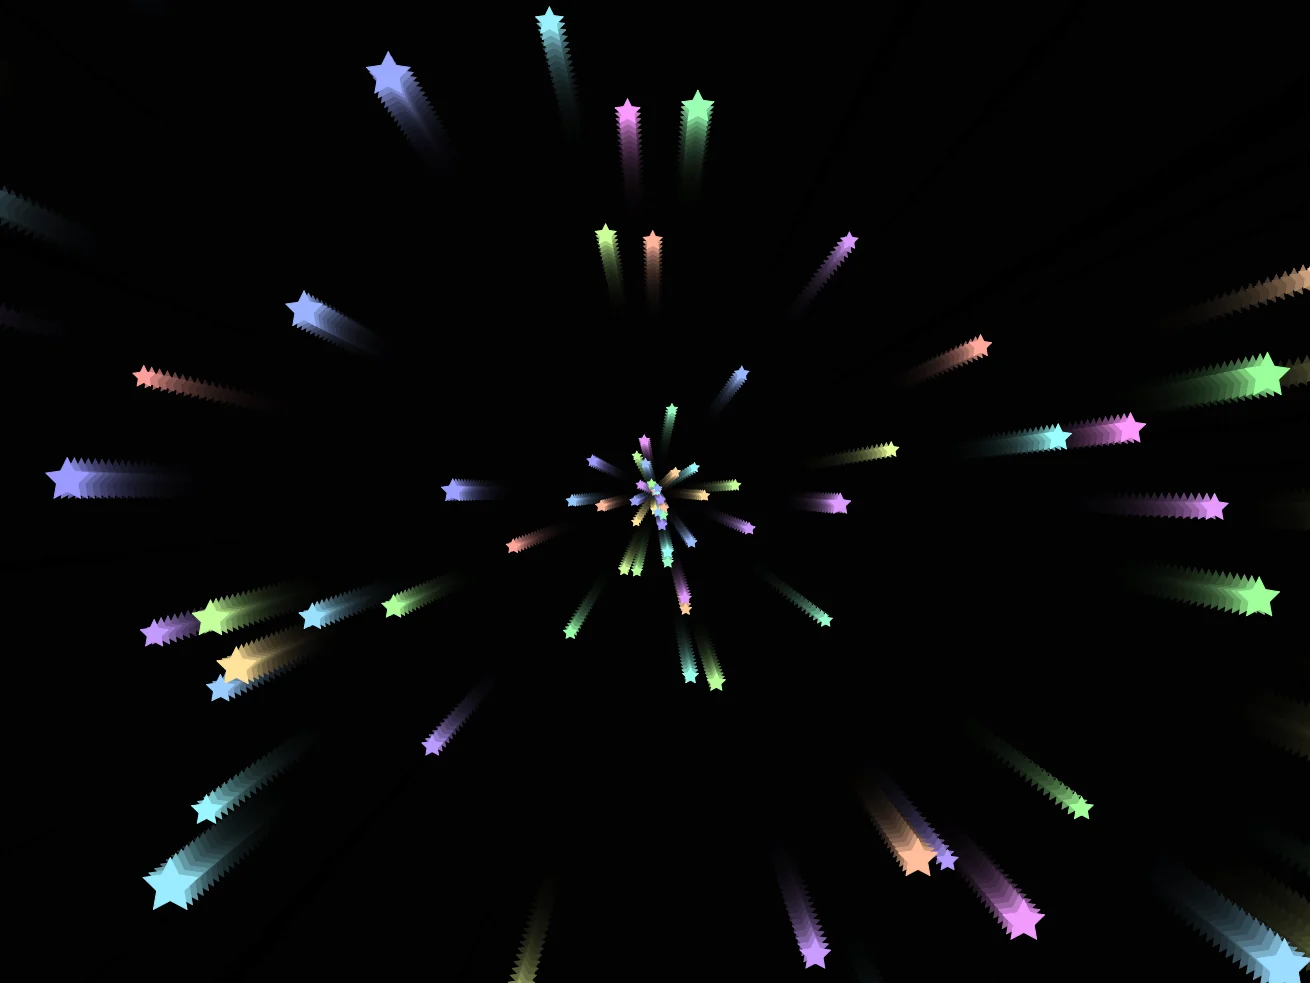
Feedback is Fun!
Our Final Program
// 3D Stars
// by Mr Green
// Created 2026/2/10

Dim Stars(100,10)
// Slot names
  StarX=1
  StarY=2
  StarXSpeed=3
  StarYSpeed=4
  StarSize=5

// Default Stars
For J=1 to 100
  Gosub ResetStar
Next

Repeat
CLS 0,0,0, 0.2 // A low alpha leaves the previous frame behind.
ResetDraw

  // Drawing Loop
  MiddleX=320
  MiddleY=240
  SpeedUp=1.01

  For J=1 to 100
    DrawX=Stars(J,StarX)+MiddleX
    DrawY=Stars(J,StarY)+MiddleY

    // Change Colour!
    SetHue J*3,0.4,1

    Star DrawX,DrawY,Stars(J,StarSize)

  // Add speed to position
    Stars(J,StarX)=Stars(J,StarX)+Stars(J,StarXSpeed)
    Stars(J,StarY)=Stars(J,StarY)+Stars(J,StarYSpeed)

  // Multiply the speed
    Stars(J,StarXSpeed)=Stars(J,StarXSpeed)*SpeedUp
    Stars(J,StarYSpeed)=Stars(J,StarYSpeed)*SpeedUp

  // Multiply the Size
    // We can use the same SpeedUp multiplier from earlier.
    Stars(J,StarSize)=Stars(J,StarSize)*SpeedUp


  // Check if this star is too far from the middle of the screen
    Far=Distance(DrawX,DrawY, 320,240)
    // Finds the distance between X1,Y1 and X2,Y2

    If Far>500
      Gosub ResetStar
    EndIf
  Next

Flip
Forever


.ResetStar
      // Reset the Star
      Stars(J,StarX)=0
      Stars(J,StarY)=0

      // Reset the Speed
      Angle=Rnd(0,360)  // The angle the star should move in.
      Speed=Rnd(0.5,1.5)  // The speed the star should move in.
      Stars(J,StarXSpeed)=Cos(Angle)*Speed  // Cos is X
      Stars(J,StarYSpeed)=Sin(Angle)*Speed  // Sin is Y

      // Give the star a Size
      Stars(J,StarSize)=4

Return
Add Rotation
Each of the stars can be spun around with the SetRot command.
Will it be better to add a new StarRotate slot to the array, or use some maths like we did for the colour?
Move the Middle.
We previously set MiddleX and MiddleY variables, but what happens if you change them?
What if you try setting the middle to the Mouse position?
Corner Stars
Colour Themes
Can you change the colour code so that it creates different themes of colour?
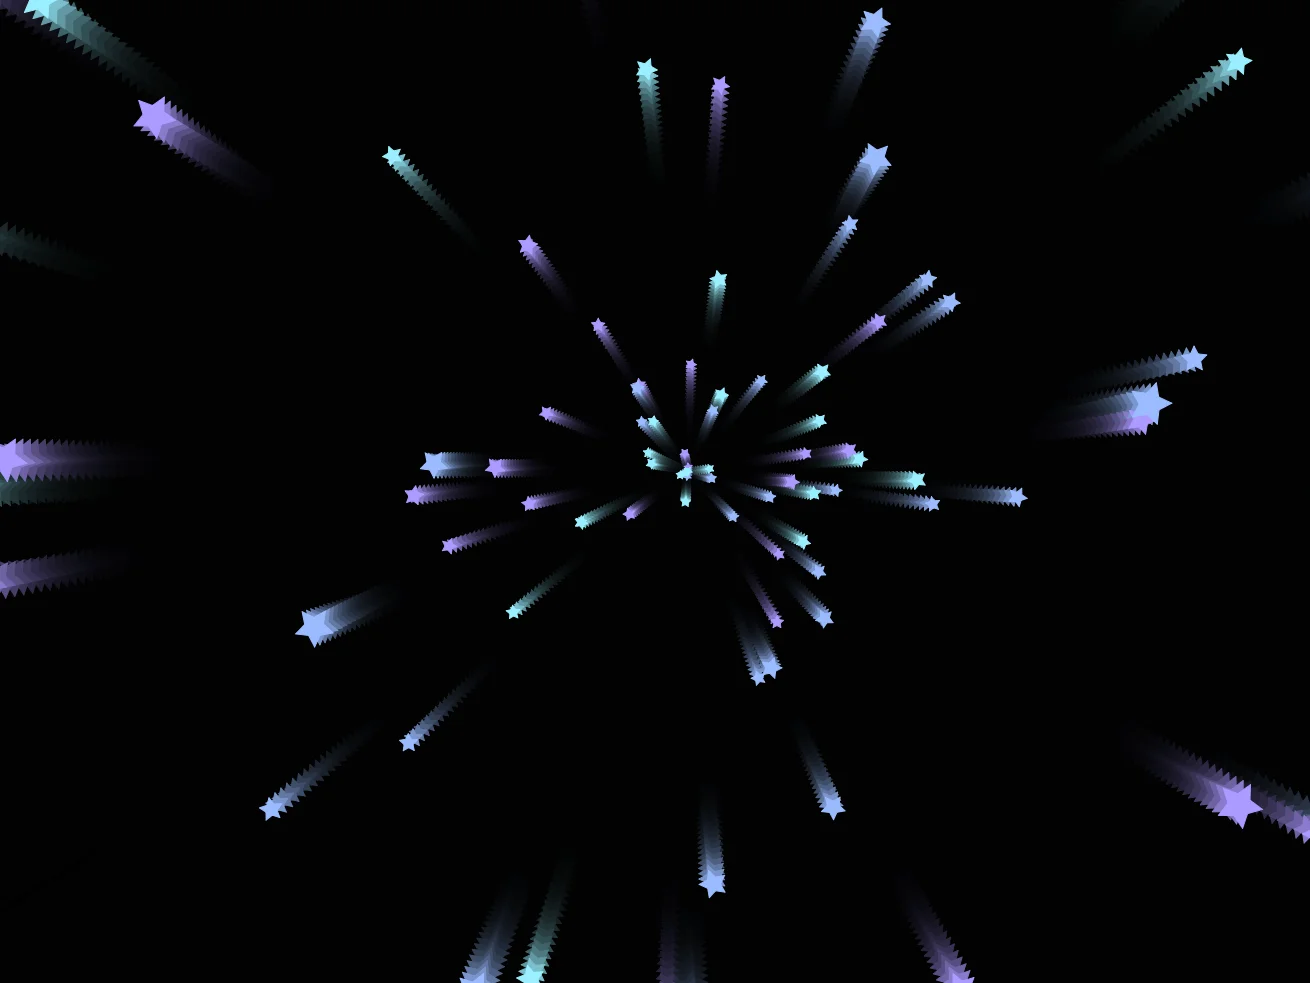
Looks a bit like a firework!