Let's Animate!
All Clear!
So far, we've drawn a lot of different things to the screen. We've also experimented with slowly drawing dots one by one with a Flip between each dot.
For X=0 to 640
  Plot X,100
  Flip  // Flip the "page" every loop.
Next
To give our dots the illusion of movement, we'll also need to be able to clear the screen, instead of letting all the dots build up into one long line.
We can use the CLS command to "CLear the Screen" back to an empty black screen.
For X=0 to 640
  CLS // Clear the screen every loop
  Plot X,100
  Flip
Next
.. I still have to squint, though.
Let's draw something bigger!
Rounded
Let's try drawing something a little more interesting to the screen.
How about an Oval?
For X=0 to 640
  CLS // Clear the screen every loop
  Oval X,100,32,64
  Flip
Next
Now we have a floating egg-like oval flying across the screen!
The Oval command uses the same Width and Height values that the Rect command takes, but this time the X and Y values are the middle of the Oval.
Of course, if we wanted a perfect circle, all we have to do is give the width and height the same size.
Sides of a Circle
We've seen that the Oval command takes the same parameters that the Rect command does.
But we can also add an extra parameter at the end to tell it how many sides it should have.
Top=100
Bottom=200

Size=60

For J=3 To 8
  // Work out X co-ordinates
  X=(J*80)-100

  // Filled ovals on top
  Oval X,Top,Size,Size,J

  // Outline ovals on bottom
  DrawOval X,Bottom,Size,Size,J
Next
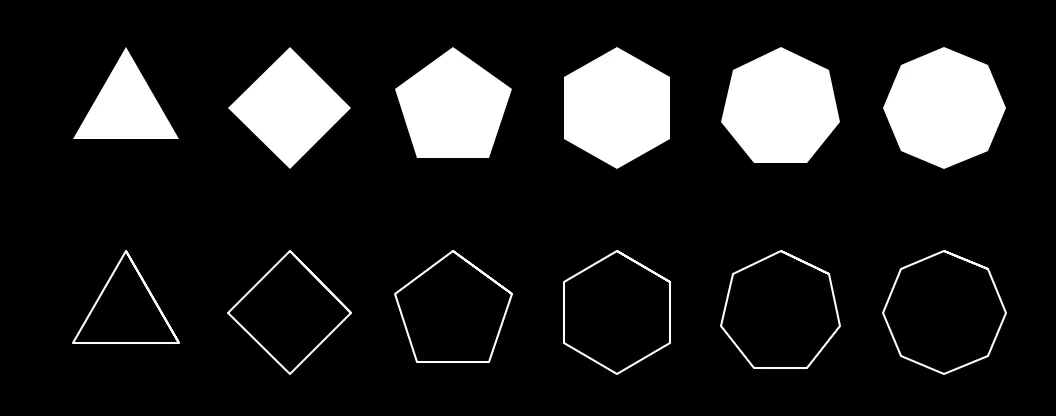
More shapes, just by changing the number of sides!
We can give ovals up to 128 sides, but drawing too many of those might slow down the computer.
Moving the Oval
Let's get back to our animation, then.
Let's try a different style.
X=320
Y=240
Repeat
CLS
  Oval X,Y,8,8
Flip
Forever
We've moved over to a Repeat-Forever loop, instead of a For-Next loop.
We'll keep drawing the Oval at the X and Y position.
If you run this program, you'll find the Oval is just a happy little static circle in the middle of the screen.
Now we need to move the X and Y, but what's a fun way to change those numbers?
How about we set the Oval so that it's where the mouse is?
Let's make things interactive.

Introducing MouseX() and MouseY()
MouseX() and MouseY() both tell us where the mouse is, on the screen.
Squeak!
In GotoJSE, MouseX() and MouseY() have brackets because we want to get values out of them.
So far we've used Do commands. Print, Oval, Line and others all "Do" things for us.
MouseX() and MouseY() are Return commands. They're only there to "Return" a Value, which we can then use inside Variables.
Let's make use of them in our program.
X=320
Y=240
Repeat
CLS

  // Copy the Mouse Position to Variables
  X=MouseX()
  Y=MouseY()

  Oval X,Y,8,8
Flip
Forever
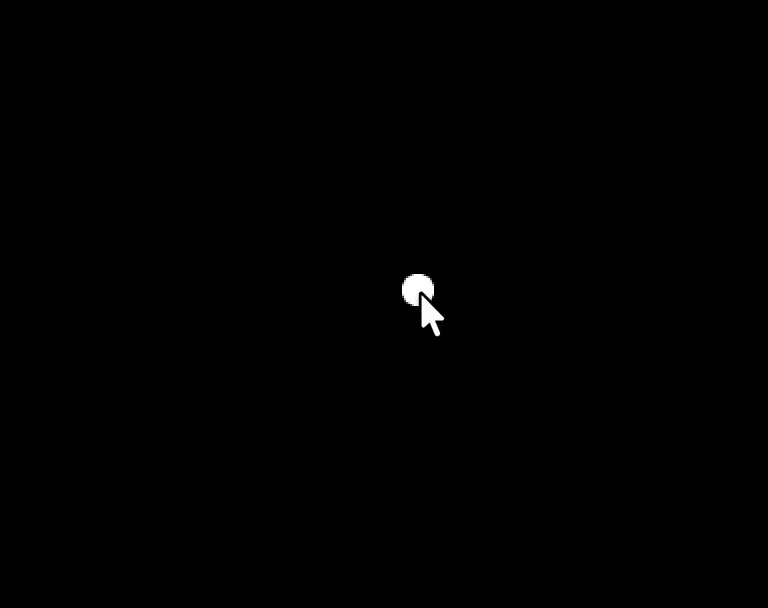
The Oval meets the Mouse!
Now when you run the program the X and Y variables are connected to the Mouse's X and Y co-ordinates.
If we draw the Oval at X,Y, it's now drawn at the Mouse cursor's position.
Doodle!
We've seen that animations can be created if we clear the screen. But what happens when we don't clear the screen, now that we have Mouse Control?
Let's try removing the CLS to see.
X=320
Y=240
Repeat

  // Copy the Mouse Position to Variables
  X=MouseX()
  Y=MouseY()

  Oval X,Y,8,8
Flip
Forever
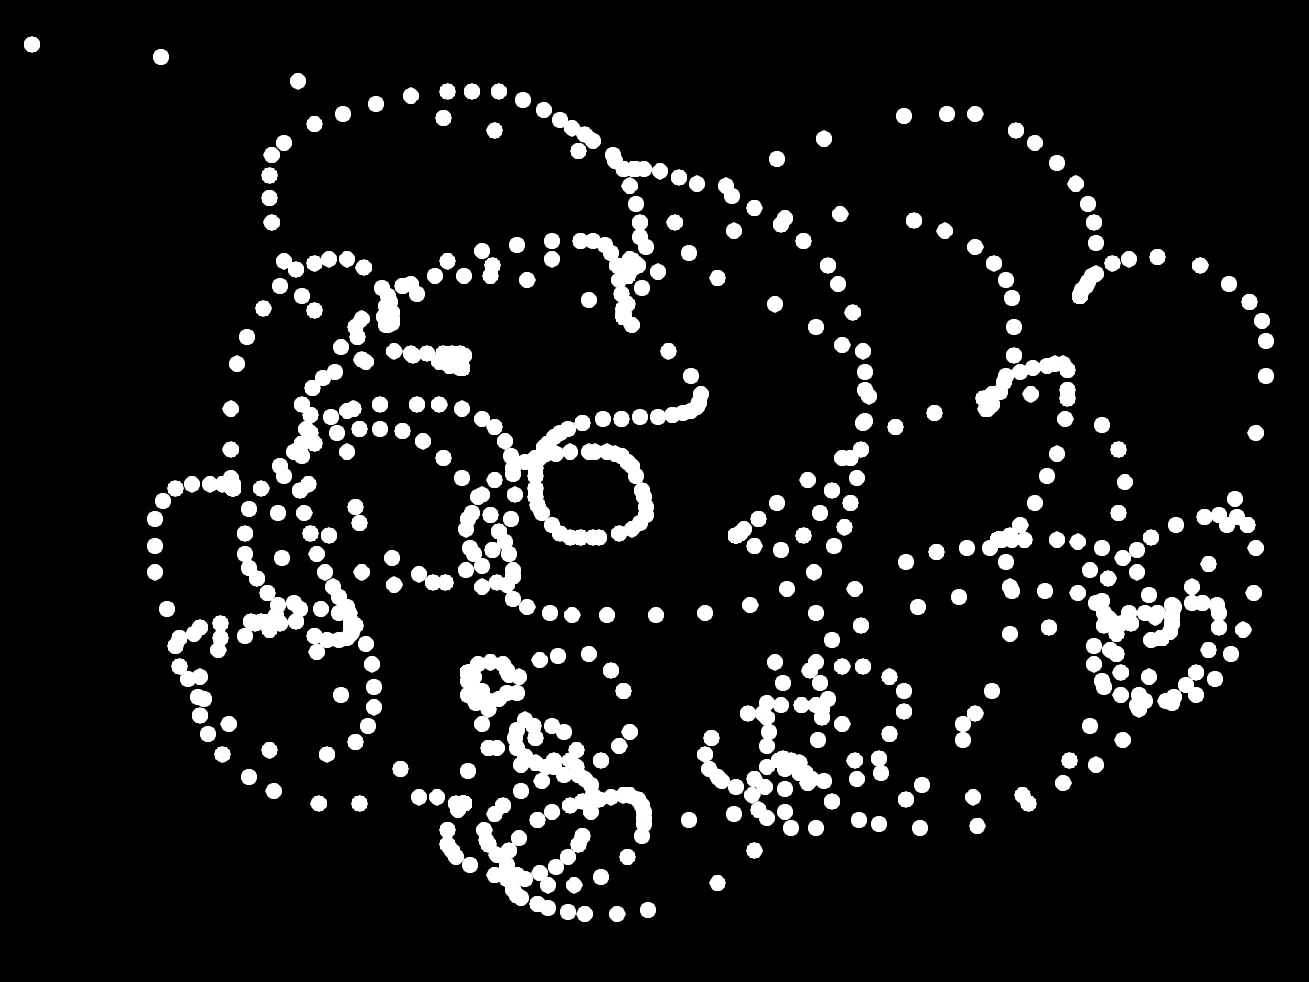
Oh, how interesting!
If we wanted a better doodle program, then we'd only want the "pen" to draw when we're holding the mouse button.
We can do that using the MouseDown() command.
X=320
Y=240
Repeat

  // Copy the Mouse Position to Variables
  X=MouseX()
  Y=MouseY()

  If MouseDown()==true then Oval X,Y,8,8
Flip
Forever
MouseDown() is "true" when the left mouse button is held down, so the Oval will only draw if the button is held.
You can now try drawing with the mouse like it's a pen.
You're doing great!
There's lots of things you can do to our Doodle program.
Here's a list of things to try.
Change the colour that the Oval draws by using the SetCol command.
Change the size of the Oval to make thicker and thinner "pens"
Change the shape of the Oval by giving it a different number of sides.
Spooky!