Pins and String
The Plan
In this chapter, I'd like to create a neat effect that we used to make in the days before computers.
Imagine a wooden board (or thick cardboard) with pins in in.
Once the pins are in place, we knot a piece of string into pin one, and loop the string through and around all the pins in order until we reach the end.
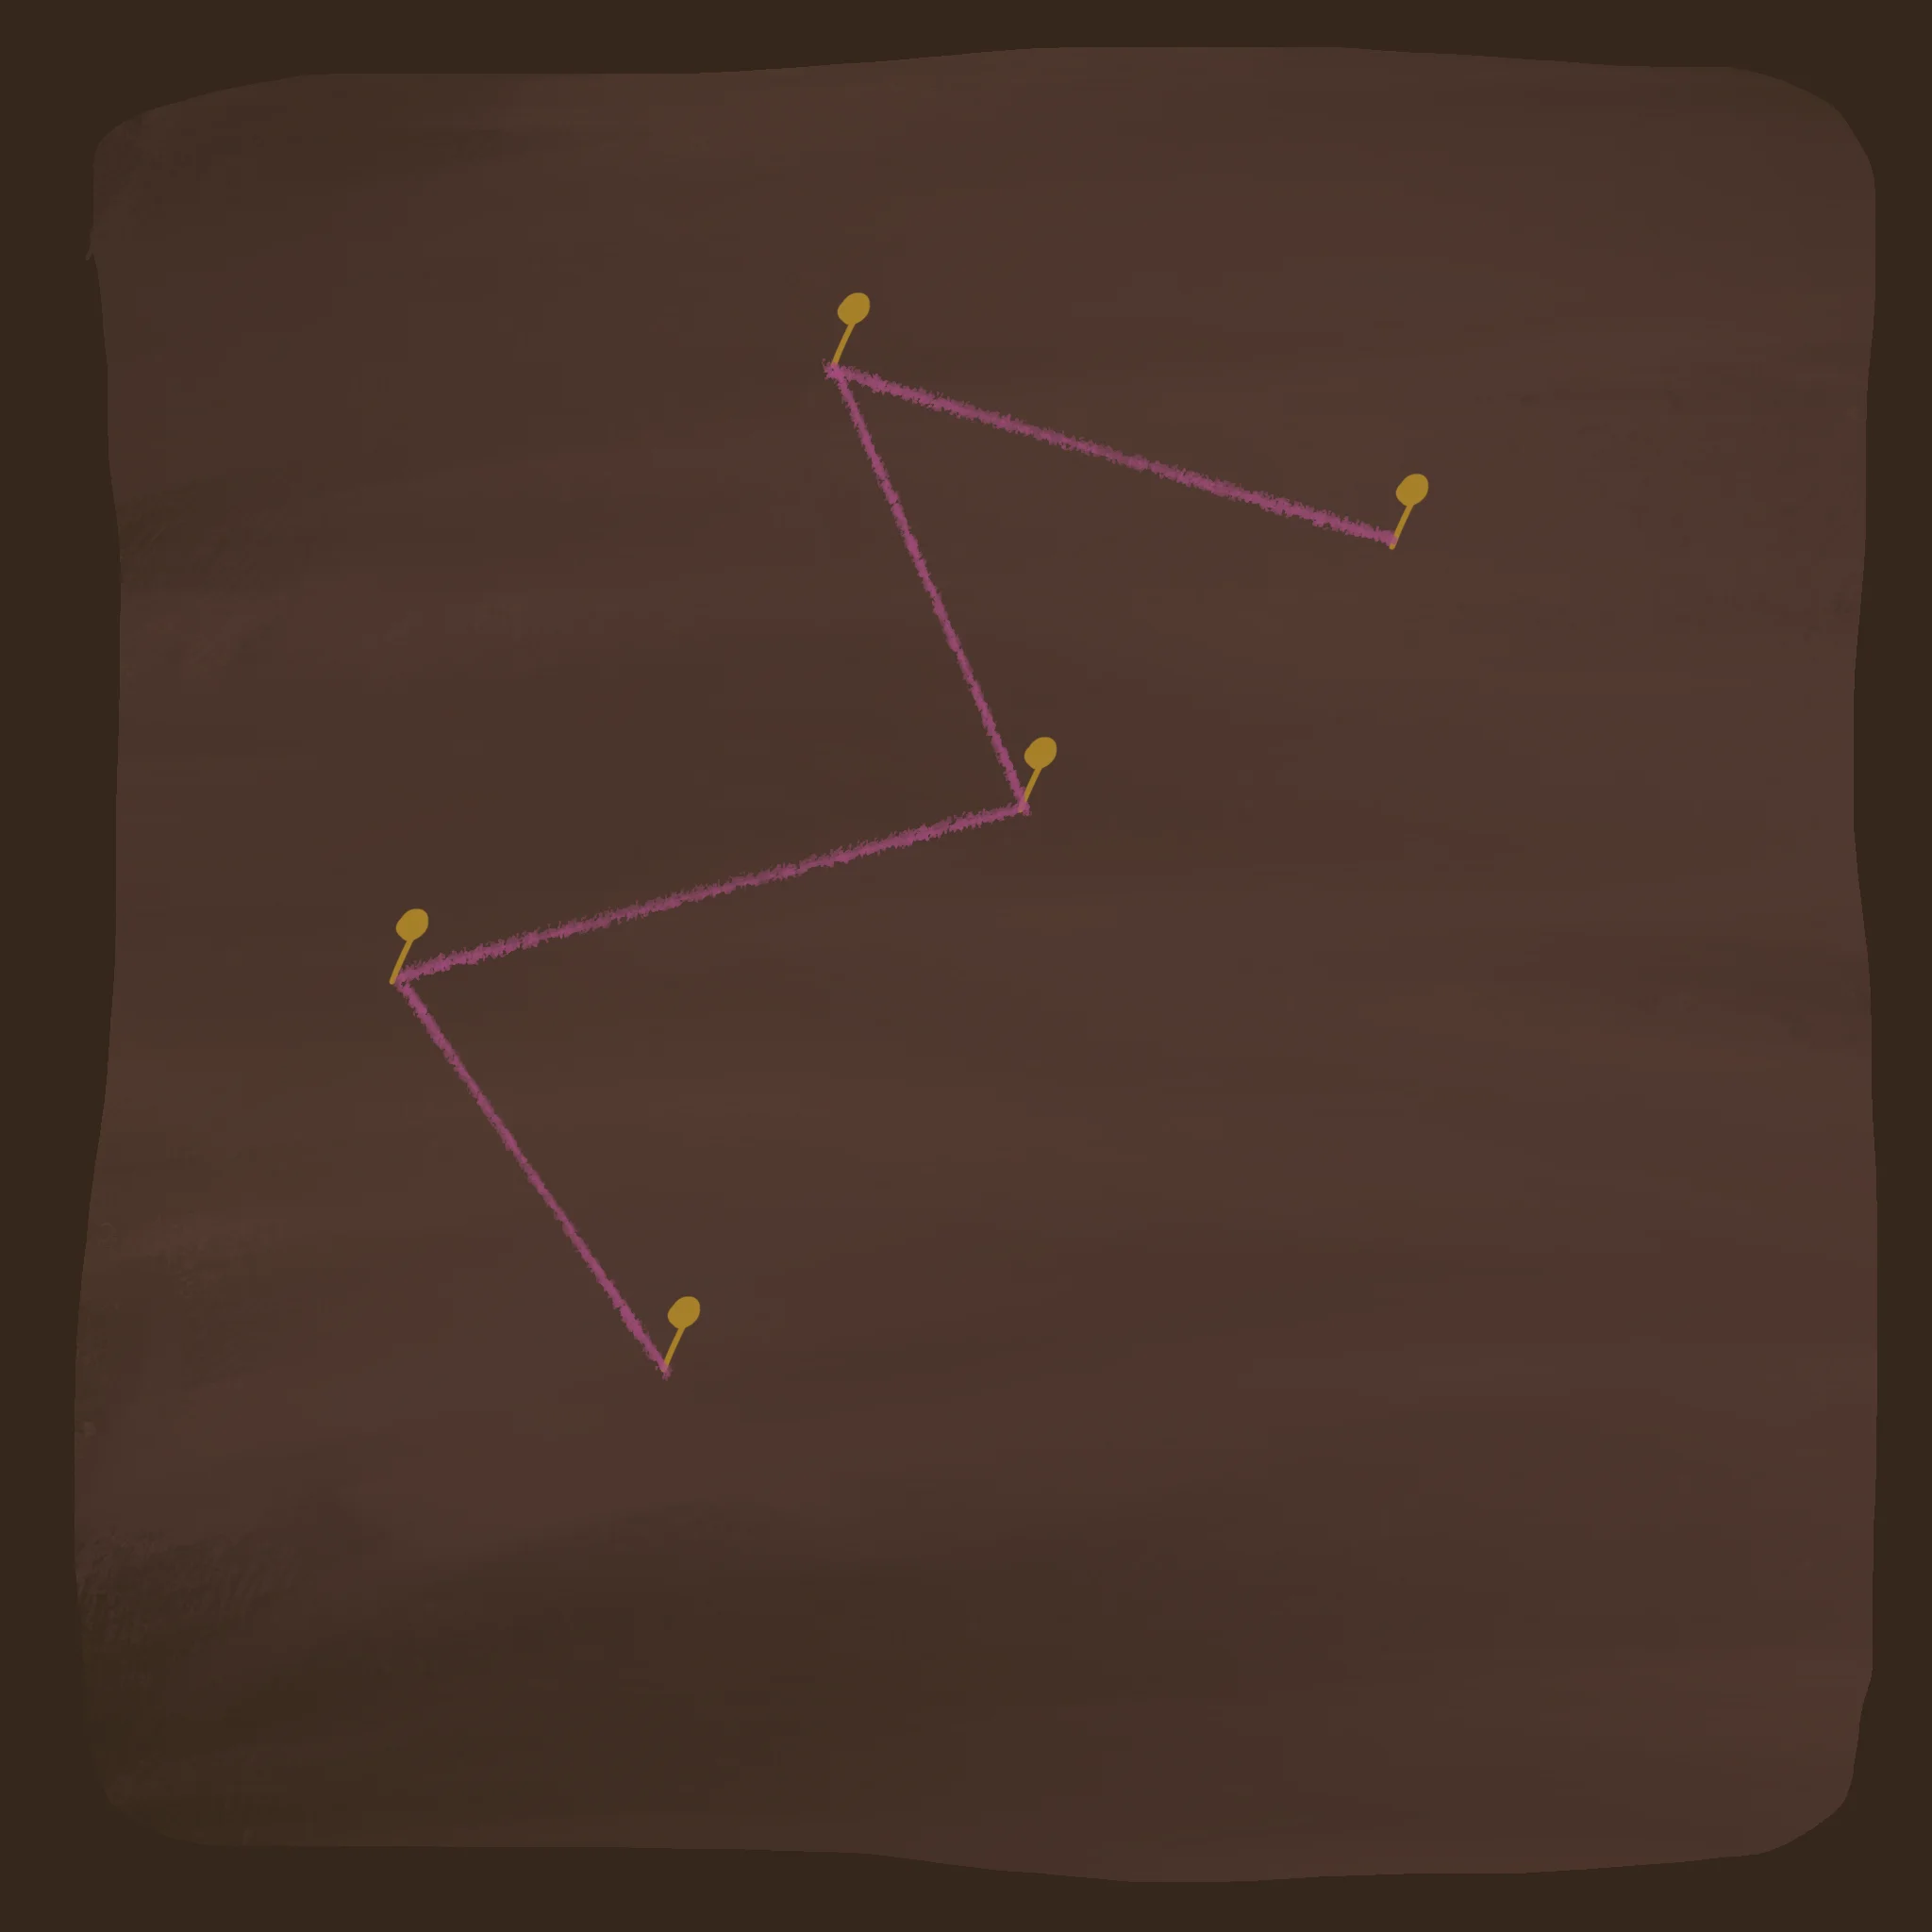
Pins and String!
Starting the Display
We need an array to place pins, and a counter to tell how many we've placed.
Let's limit it to 100 pins maximum. (Though, you can make it bigger if you want!)
Dim Pin(100,2)  // 100 pins, X and Y
PinTo=1      // This stores which Pin we're currently working with.
We've given each of our 100 pins 2 slots, so we can store and X and a Y position for each pin.
From here, we'll do a simple screen-refreshing loop, and draw any pins that have been placed.
Repeat
CLS
ResetDraw

// Draw all the pins
  For n=1 To PinTo
    Oval Pin(n,1),Pin(n,2),4,4,8
  Next

Flip
Forever
Placing Pins
We now need to be able to place some pins.
We can use the MouseHit() command to tell us when the mouse has been clicked.
If MouseHit()

EndIf
Inside this If, we need to..
2. Place the Mouse's X and Y co-ordinates into the PinTo's array slots
    PinTo=Limit(PinTo+1,0,100)  // Don't go over our limit!
    Pin(PinTo,1)=MouseX()
    Pin(PinTo,2)=MouseY()
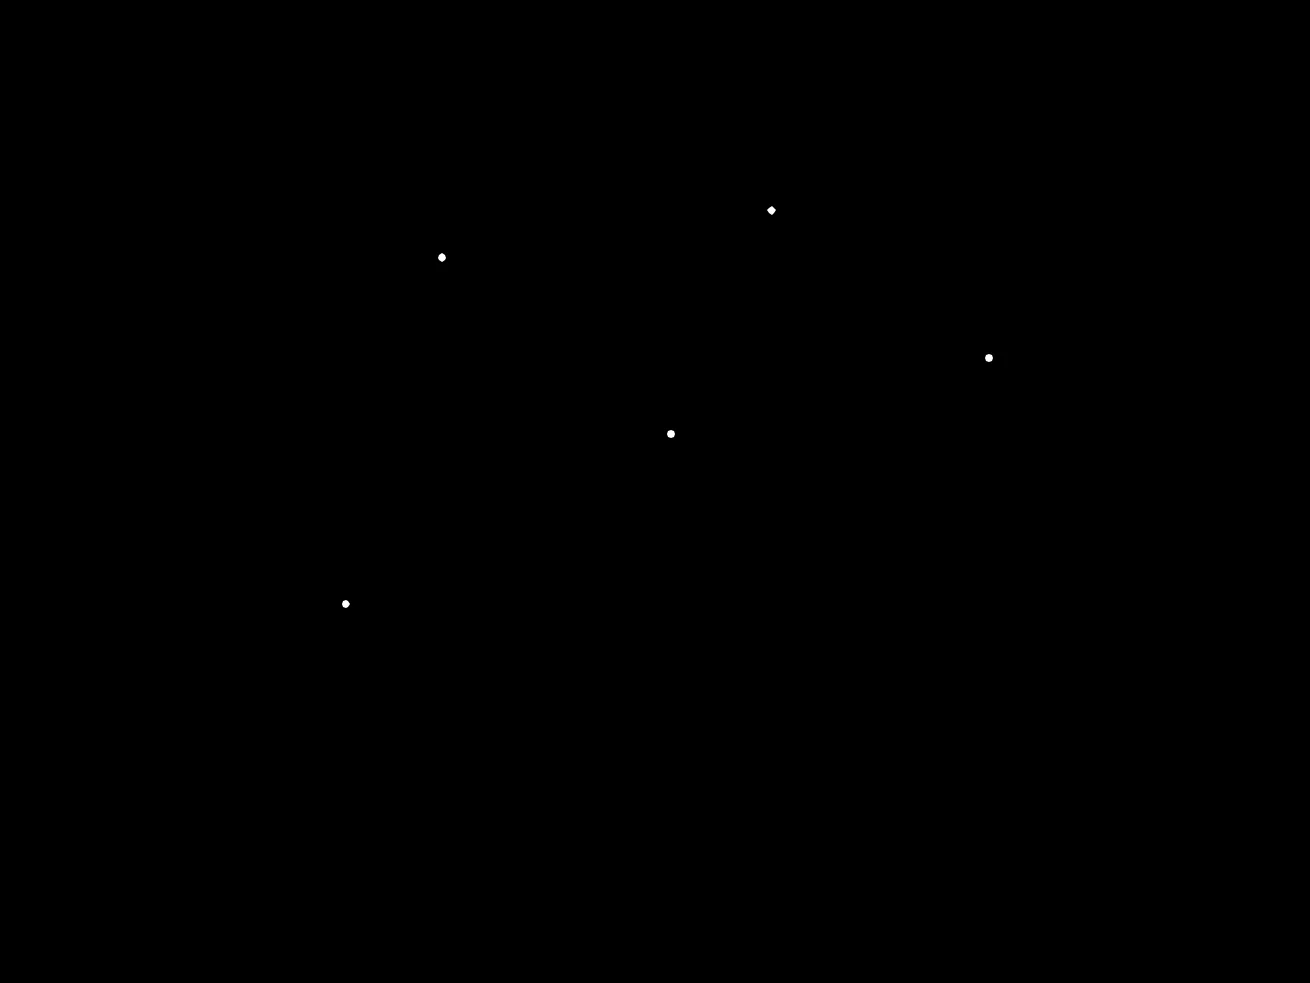
Pins!
Connect the Dots
We already have the dots in order, so all we really need to do is draw lines between them all.
We can only draw lines if there are more than one pin on the board, so we'll start with an If for that.
// Draw the String
If PinTo>1

EndIf
To start drawing our string, we'll Move the drawing pen to the first Pin
  // Move to the first pin
  Move Pin(1,1),Pin(1,2)
And from there, do a For-Next loop that draws a LineTo each of the other pins in order.
    For n=2 to PinTo    // Don't forget to start at Pin 2!
      LineTo Pin(n,1),Pin(n,2)
    Next
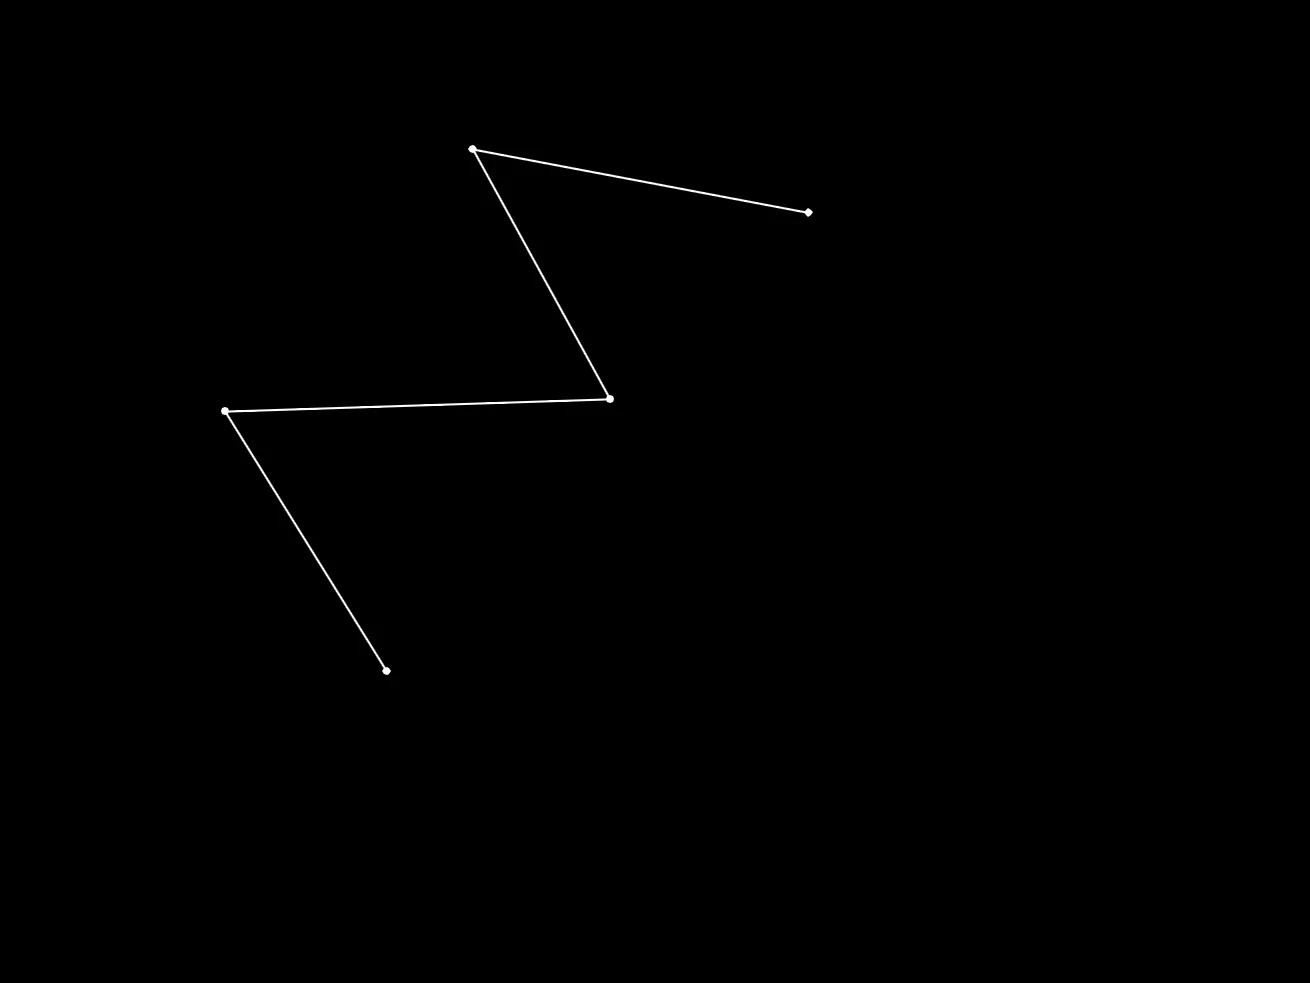
Pins and Strings!!
Better Pins
The pins don't quite look as nice as they could. Let's fix that.
Instead of just drawing an oval, let's draw coloured ovals for the pin heads, and for the pin, we'll draw silver lines.
Inside our Pin drawing loop, let's move the Oval drawing up and right a bit, and then draw a line to the true pin point.
Be sure to change the colours between the two different draws.
    SetCol 160,160,160  // Grey for the metal pin
    Line Pin(n,1)+8,Pin(n,2)-8,Pin(n,1),Pin(n,2)
    SetCol 255,80,40  // Red for the head of the pin
    Oval Pin(n,1)+8,Pin(n,2)-8,4,4,8

Getting there!
Nicer String
We can use SetThick to make the string thicker, and might as well change the colour, too.
    SetThick 2
    SetCol 200,200,80
You can place this piece of code inside the "If PinTo>1" section, so it changes the string without impacting the pins that we just drew.
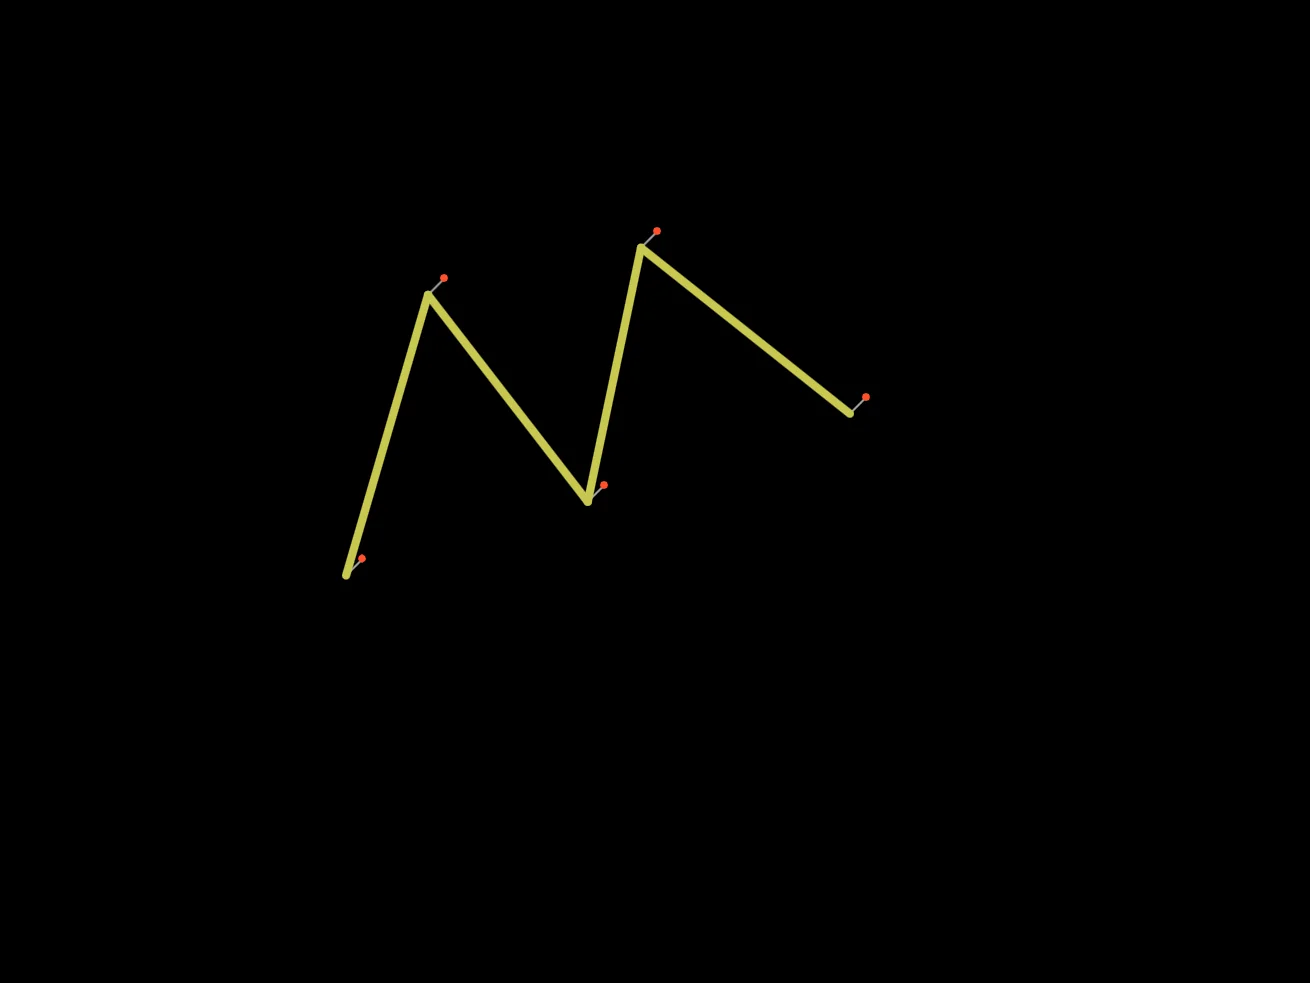
That's a lovely pinboard!
Our Code
// Pins and Strings
// by Mr Green
// Created 2026/1/13

Dim Pin(100,2)  // 100 pins, X and Y
PinTo=0      // This stores which Pin we're currently working with.

Repeat
CLS
ResetDraw

// Draw all the pins
  For n=1 To PinTo
    SetCol 160,160,160  // Grey for the metal pin
    Line Pin(n,1)+8,Pin(n,2)-8,Pin(n,1),Pin(n,2)
    SetCol 255,80,40  // Red for the head of the pin
    Oval Pin(n,1)+8,Pin(n,2)-8,4,4,8
  Next

  If MouseHit()
    PinTo=Limit(PinTo+1,1,100)  // Don't go over our limit!
    Pin(PinTo,1)=MouseX()
    Pin(PinTo,2)=MouseY()
  Endif

  If PinTo>1
    // Move to the first pin
    Move Pin(1,1),Pin(1,2)
    SetThick 2
    SetCol 200,200,80
    For n=2 to PinTo    // Don't forget to start at Pin 2!
      LineTo Pin(n,1),Pin(n,2)
    Next
  Endif

Flip
Forever
Change some of the colours!
The heads of the pins could be changed for a little variety.
You might also like to change the colour of the string as it flows in-between the pins.
Making Pictures
Did you know, if you hit the ' or ; key on your keyboard when running a program, it'll automatically save the current screen as a screenshot!

You could draw a giant star
Or a curious shape
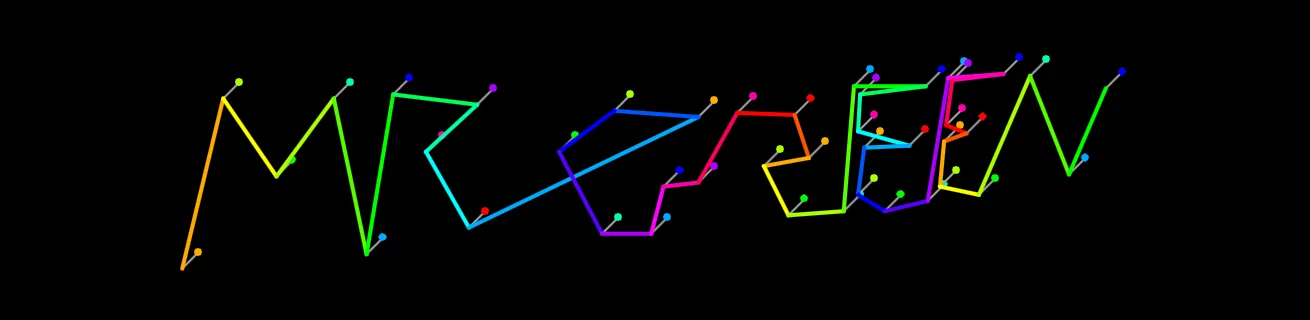
Or write your name in lights!
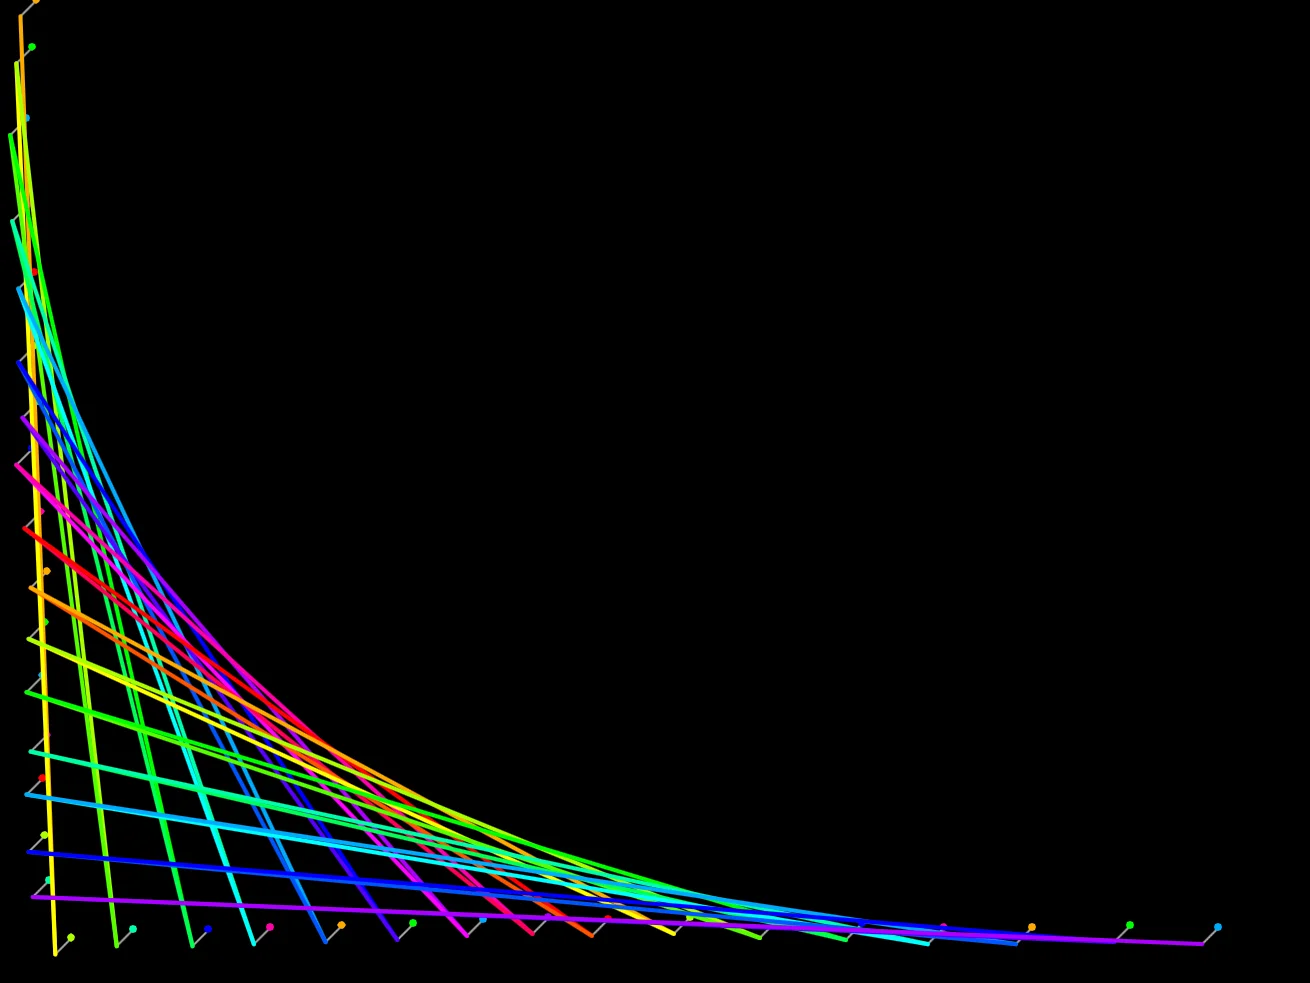
Twisted Lines
A more complicated pin and string artwork would see each pin joined to every other pin, with the string intertwining to produce an even more elaborate image.
If you created a Nested Loop, could you find a way to draw lines between every pin?
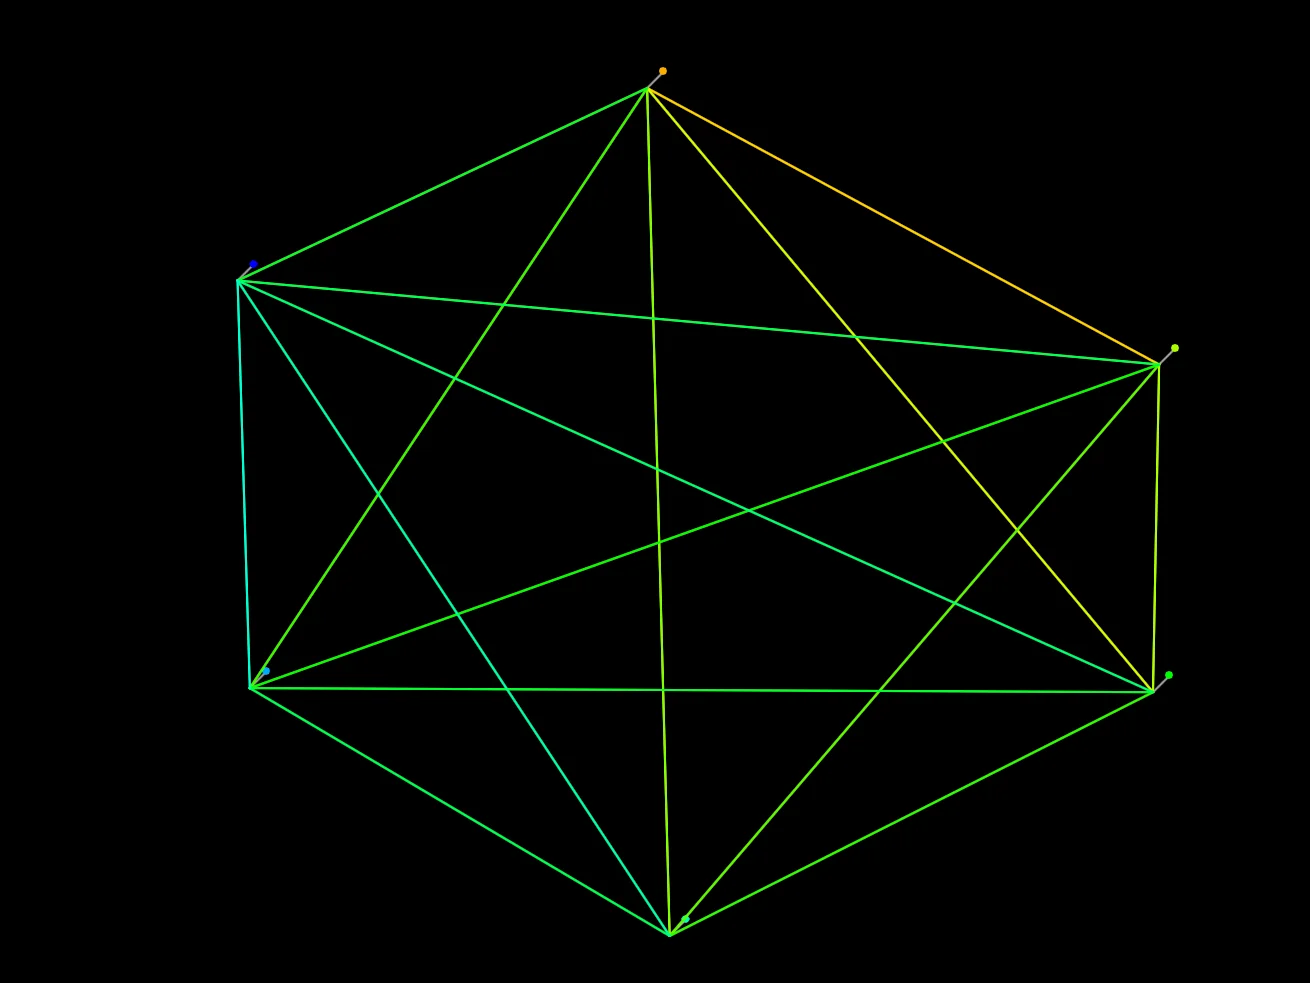
Back and forth, and around and around.