Grid of Stars
Let's make a Game!
Ok, it's time to make our first proper game!
Here's what we're going to make.
We'll draw a grid of white stars on the screen.
The player will get to click five of the stars.
That star will "Open", and the player is given the "Reward" of that star.
When five stars are clicked, the player is shown their total Score.
Does that sound like a fun game?
Start with the Array
Let's start with an Array of slots for our game.
The 10 x 10 grid, and each of those should have two slots.
One value will be the "Reward" that the player earns when they click on the star, and the other will be "Open" so that we know to show that reward.
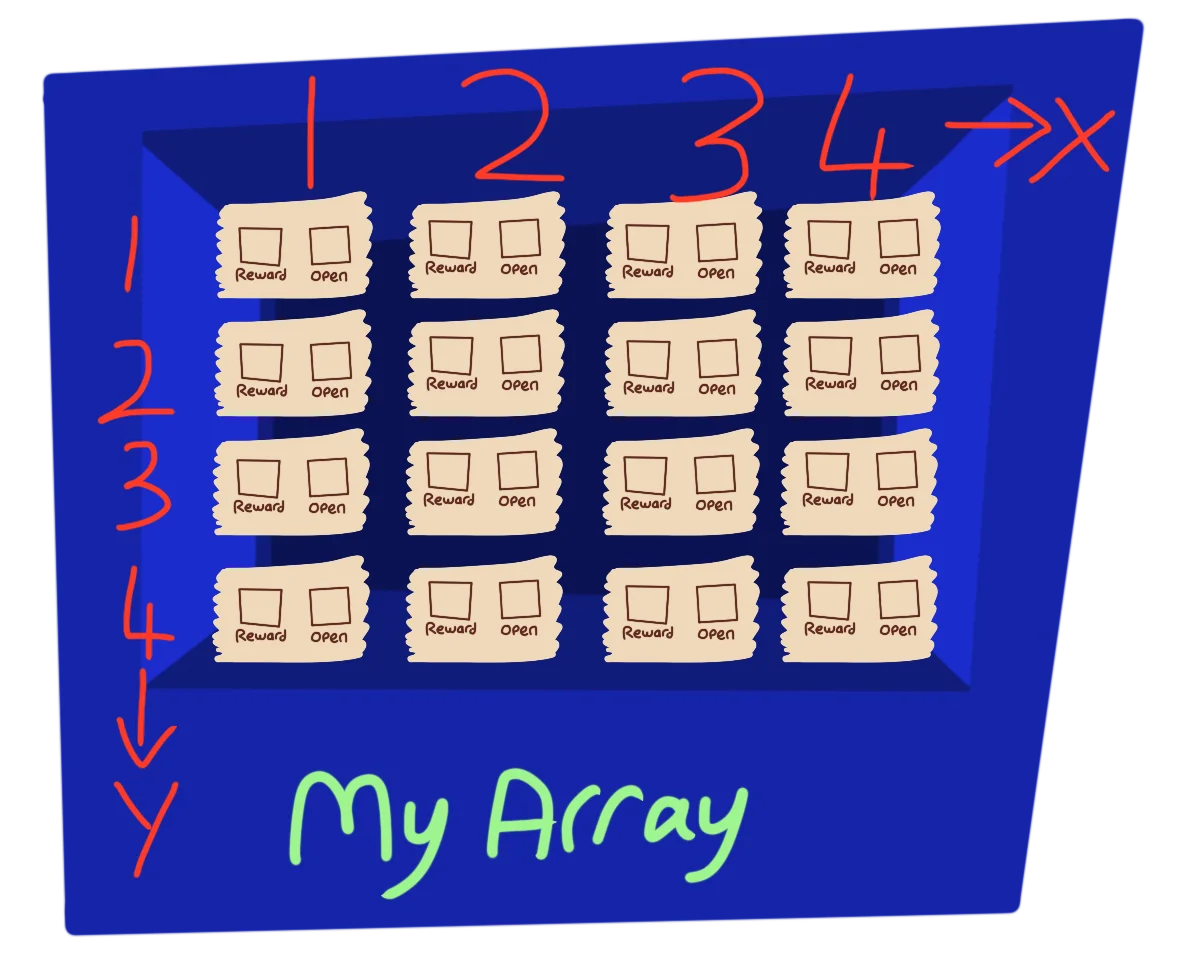
Each X and Y array element has two slots.
We'll need a "Three Dimensional Array" for this, (oooh!) so we have a grid of 10 x 10 boxes for the stars, and a third dimension of 2 to hold the Values.
// Create the Array
  // Gosh, Three dimensions!
Dim MyArray(10,10,2)
As far as code position goes, we should always have the Dim right at the start of our program, so that the rest of the program knows how the Array is set up.
Setup Phase
The next section of the code, we'll call the Setup Phase.
Here, we'll set the slot names for our Array, and then use them while we build up the array.
// Set up phase

// Slot Names
Reward=1
Open=2

// Place random numbers into the Array
For X=1 To 10
  For Y=1 To 10
    MyArray(X,Y,Reward)=Rand(1,10)
    MyArray(X,Y,Open)=0
  Next
Next
For each of the X,Y stars, a Reward is given that's between 1 and 10, and the star's Open value is set to 0.
Three Sections
Three Sections
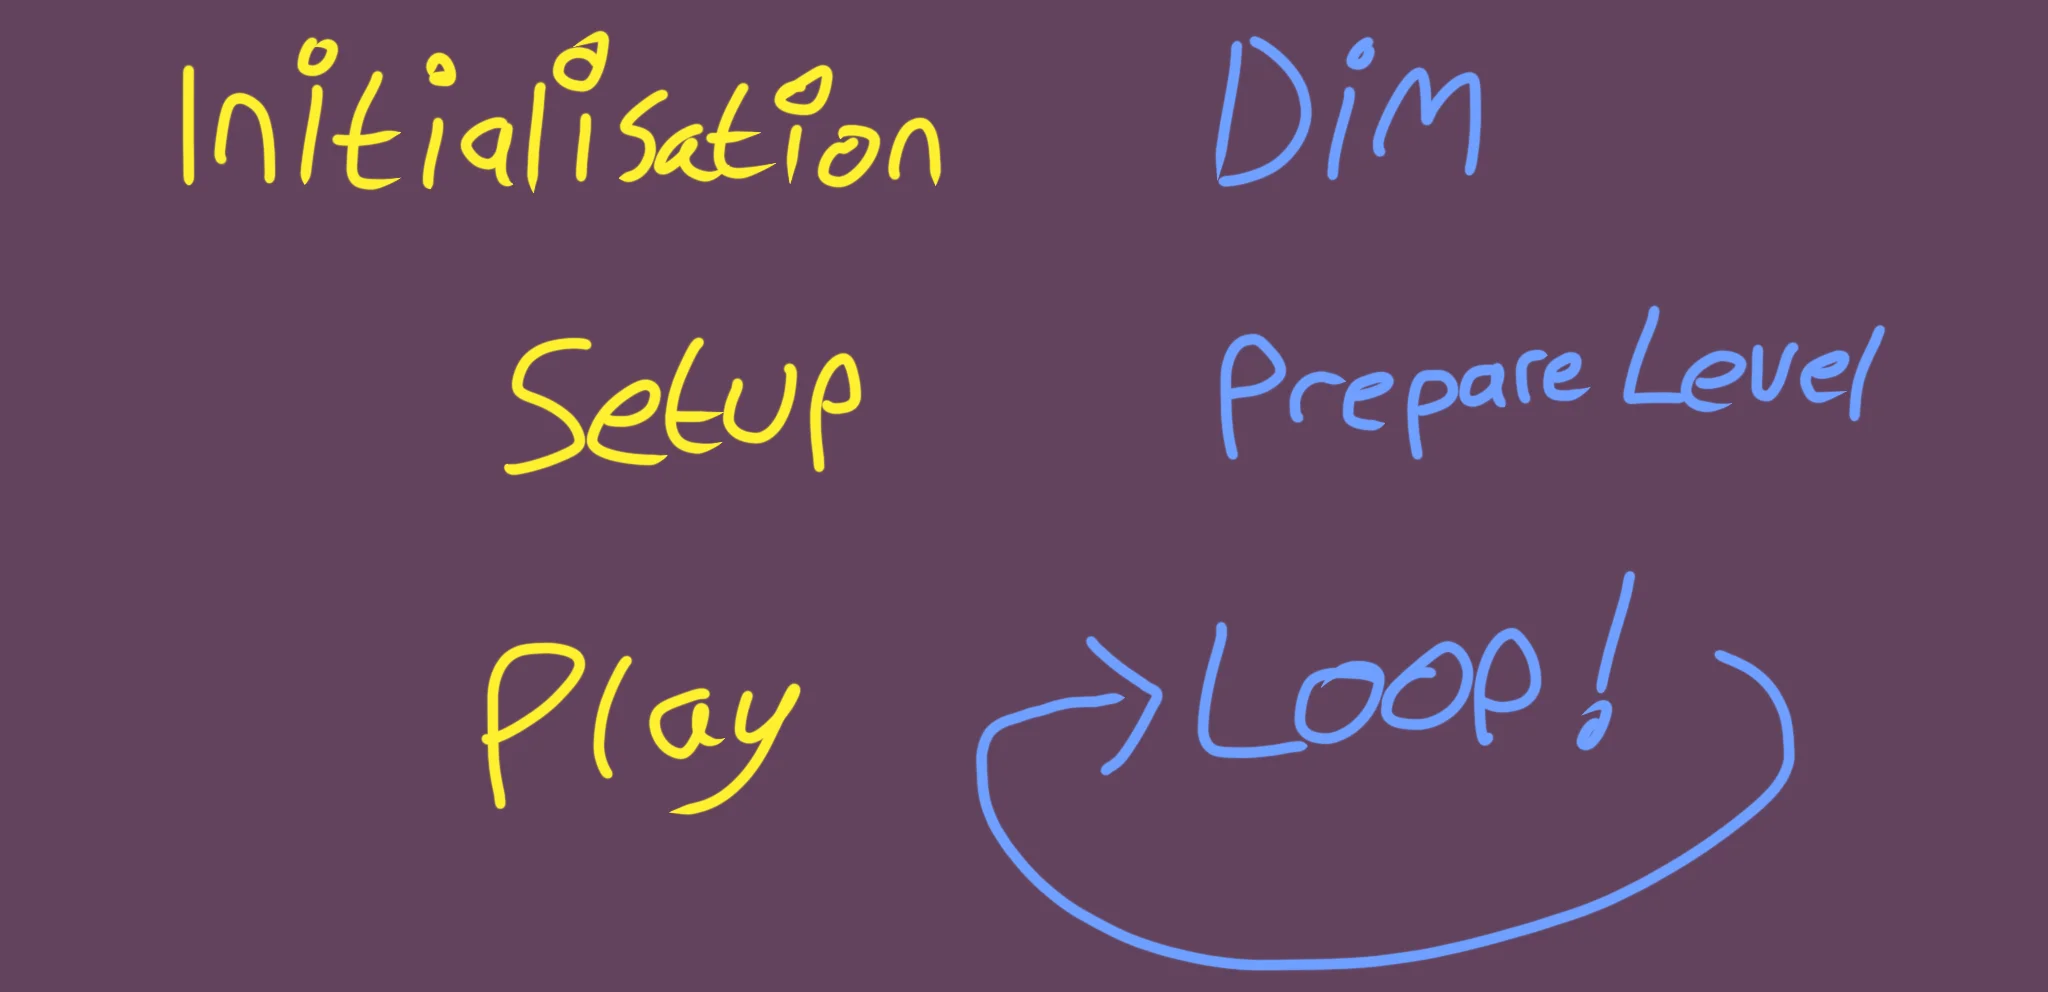
We're building our game in three Sections.
The very top is "Initialisation", where we declare our Dim which will be used through the rest of the code.
The next segment, which is this section, is the "Setup" Phase, where we prepare our game's "Level" for the player.
Underneath this segment we'll have our main loop, where the actual gameplay will run.
Alignment
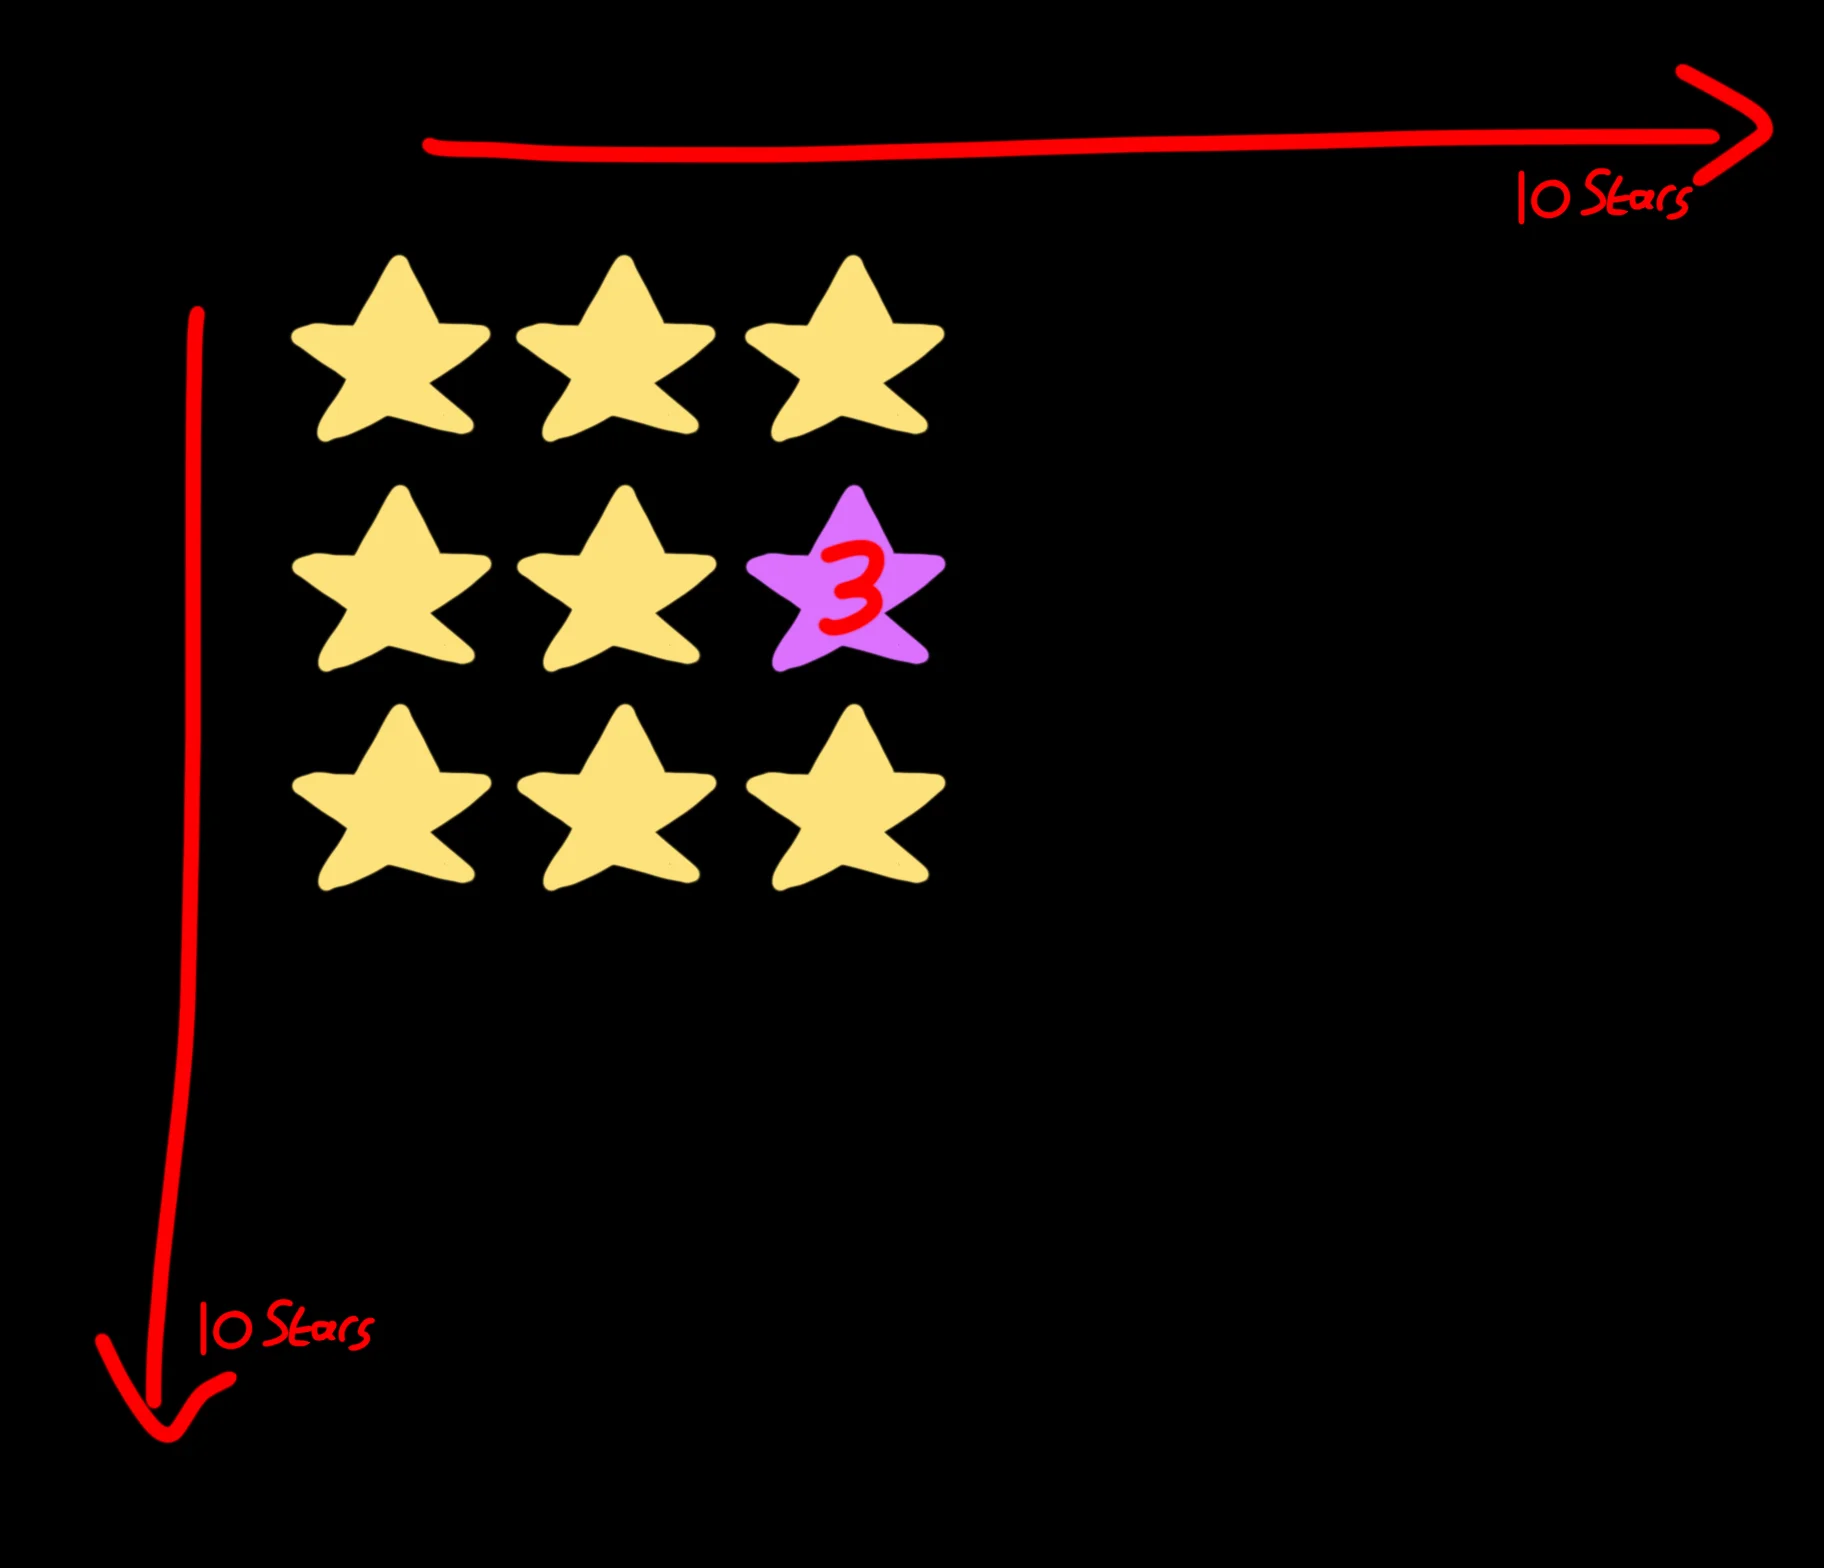
To draw the stars, all we have to do is flick through the X and Y and draw the stars at maths-based position.
We're working with 10 stars down the screen, and the height of the screen is 480 pixels.
That should be easy, right? 480 divided by 10 = 48
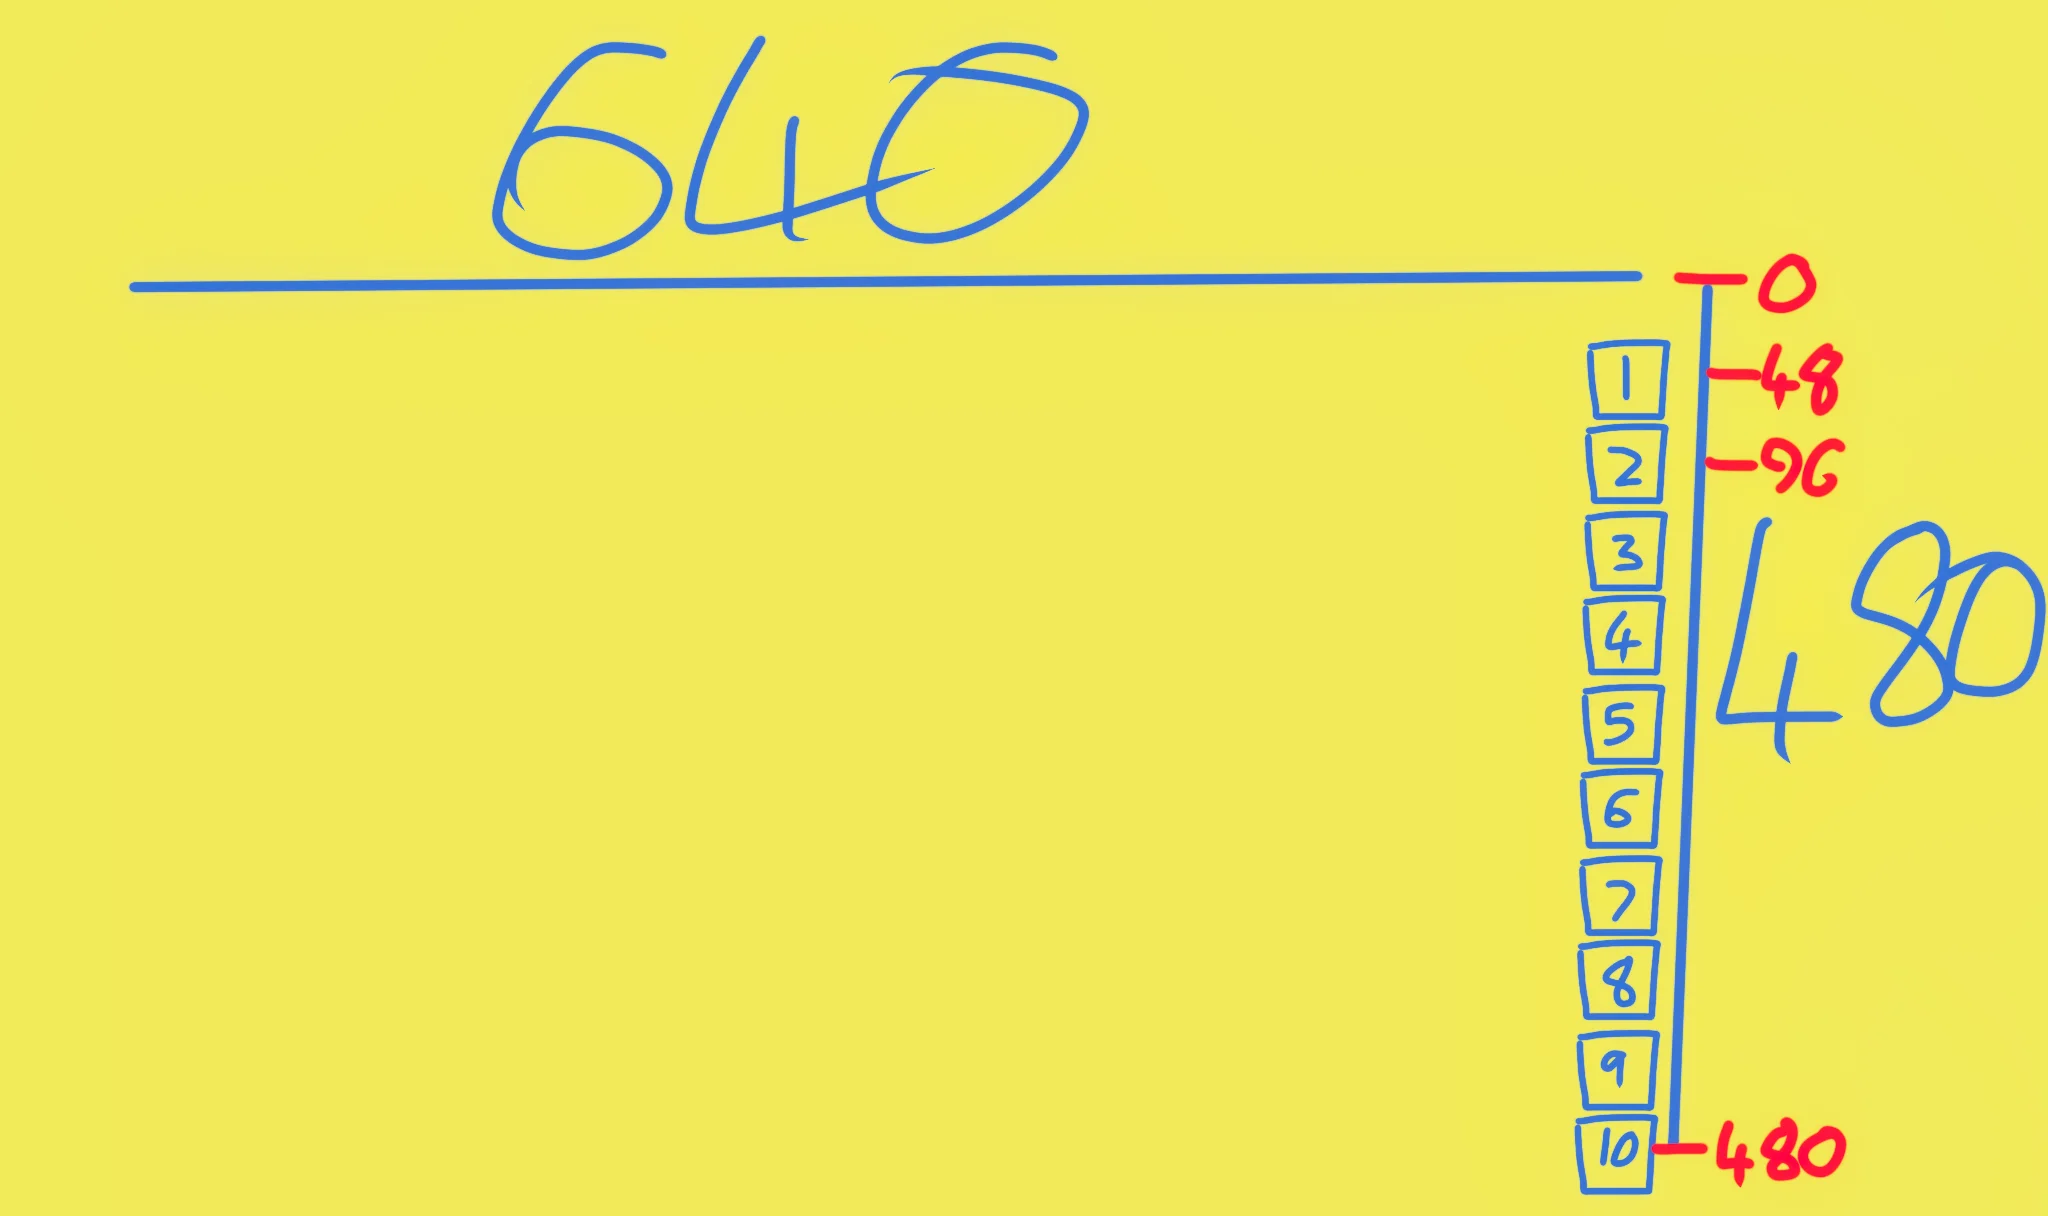
Everything's off a bit!
The first star will be drawn "1 * 48" down the screen, whilst the last one is drawn at "10 * 48", which ends up off the bottom of the screen.
Because of this, we need to bump everything up by half-a-star, so that it fits better on the screen.
The Main Loop
OK, here's where all the fun will happen.
Let's create a loop that defines the positions, taking away half-a-star from the Y value as we go.
// Previous code goes here ^^

// Main Game Loop
Repeat
CLS

  // Draw a grid of Stars
  For X=1 To 10
    For Y=1 To 10
      // Define the position of the star
      DrawX=X*48
      DrawY=Y*48 - 24 // Bump up half a star

      // Draw the star
      SetCol 255,255,0
      Star DrawX,DrawY,24,16
    Next
  Next

Flip
Forever
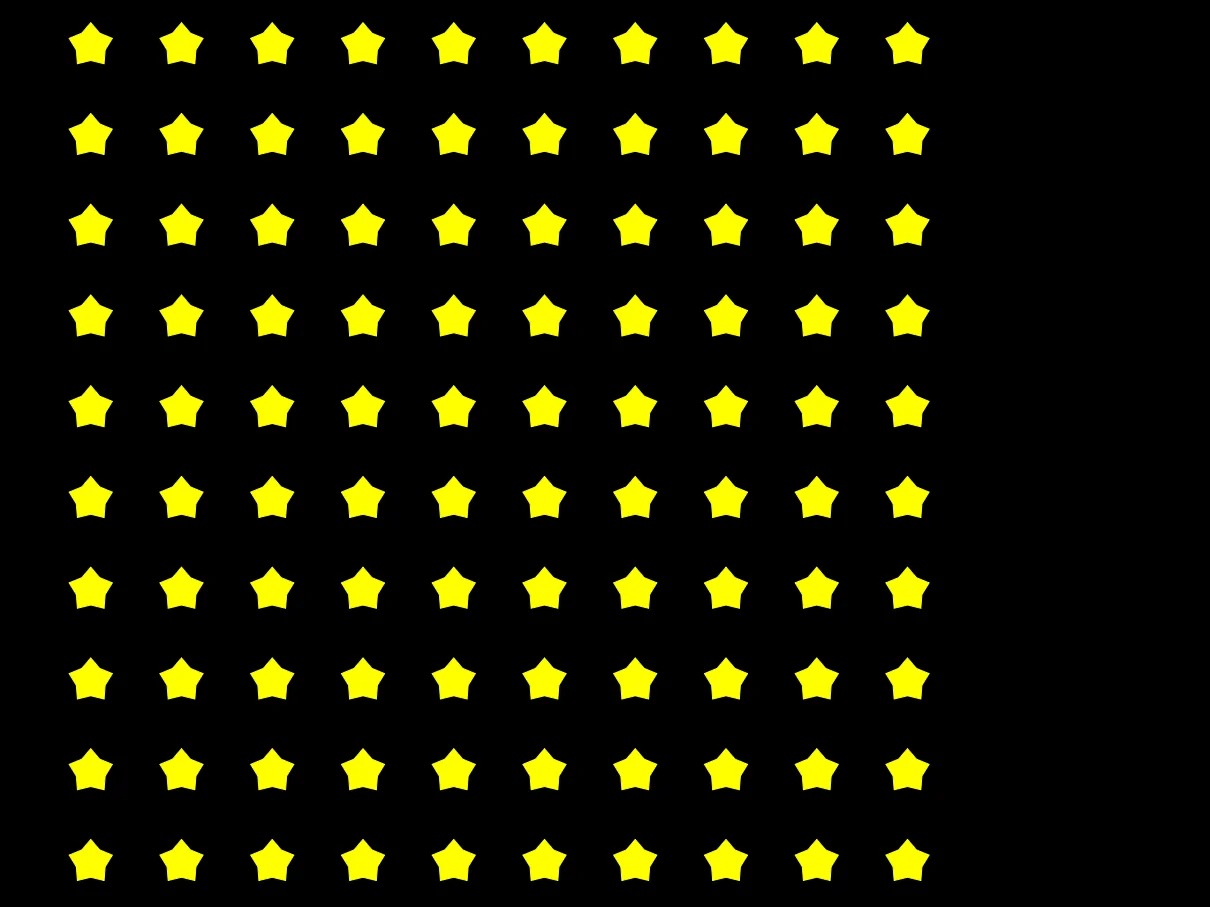
A grid of stars, waiting to be clicked!
Things to try
Change the colours of the stars.
Maybe you can make it as colourful like we did to the Times Table in Chapter 12?
Change the rotation of the stars.
Maybe each star can be a different angle?
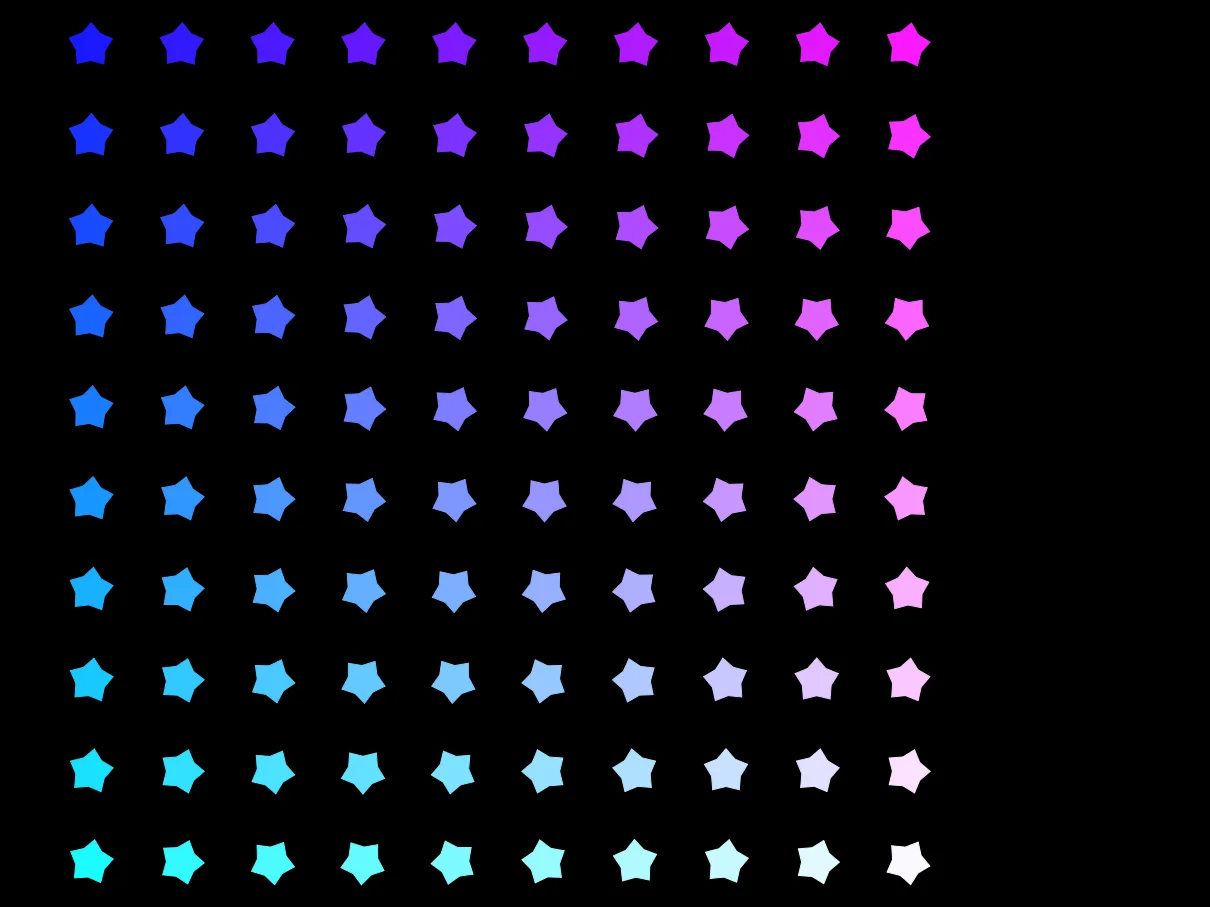
Can you make the Grid of Stars look like this?