Fades and Wipes
The Test
Sometimes our game might need to fade out, so we can gently switch between levels or such.
Let's build a quick example so we can play with fades.
// Start with Level One
Level=1
LevelCol=RGB(0,80,0)

Fade=0

Repeat
CLS LevelCol
ResetDraw

// Draw the game
  SetFontSize 128
  Text 320,240,Level,1


// Then over the top of everything, draw a fade
  If Fade>0
    // We'll add our fade in a moment.
  Endif

// We'll add a trigger for our Fade
  If MouseHit() then Fade=1

Flip
Forever
This is a simple loop which draws a great big number in the middle of the screen.

Big One!
You can pretend that this is your game, and that everything's running nice and smoothly.
We'll be focusing on the "If Fade>0" section from here on. This is where the fading occurs. Everything else, imagine it's a game!
If the mouse is clicked, the Fade will begin.
Fade to Black
OK, first we need to count out our fade. For our purposes, we'll use 1 to 200.
That's 200 "flip" frames of the game, which is about 3 seconds in real time.
For 1 to 100, we'll make the fade increase, and then for the other 101 to 200, the fade will decrease.
Each loop, we'll add 1 to our Fade, and then define a FadeAmount value, depending on whether Fade is above 100 or not.
  If Fade>0
    // Increase the fade
    Fade=Fade+1
    FadeAmount=Fade

    // If the Fade is over 100, reduce our amount.
      //  Since Fade goes up to 200,
      //  Subtracting the value from 200 inverts the value.
    if Fade>100 then FadeAmount=200-Fade

    // If we reach 100, increase the Level
    If Fade==100 then Level=Level+1

    // If we reach 200, reset the fade to 0
    If Fade>=200 then Fade=0:FadeAmount=0

    // Debug the FadeAmount value
    SetFontSize 8
    Text 32,32,FadeAmount

    // Fade Goes Here!
  Endif
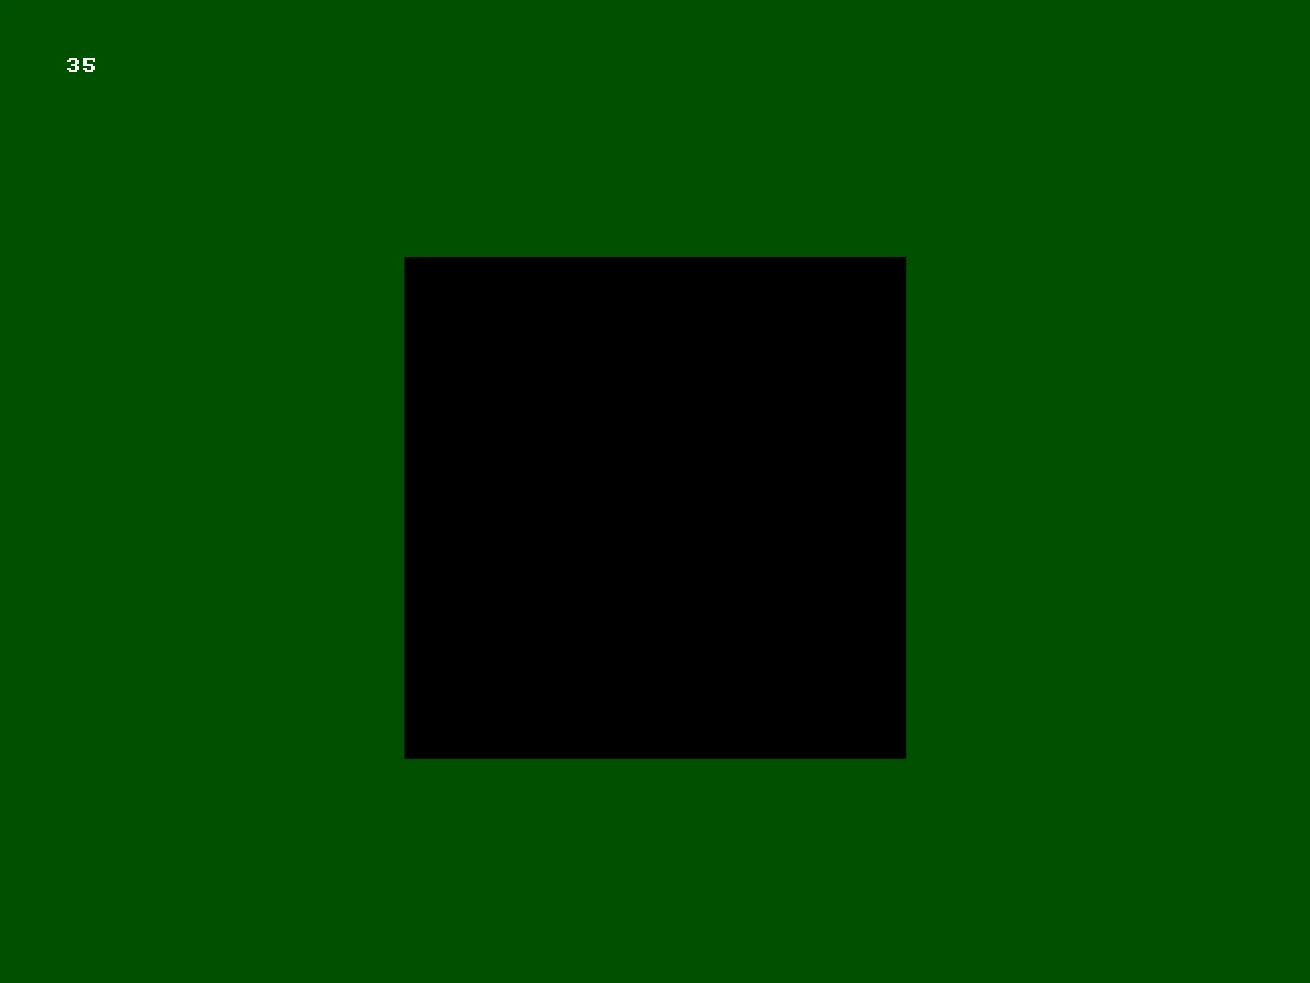
For our first fade, all we have to do is draw a black rectangle over the screen.
    // Fade Goes Here!
    SetCol 0,0,0  // A fade to Black
    Rect 0,0,640,480
But a solid rectangle isn't a very good fade, so instead, we'll set the Alpha amount, based on our FadeAmount.
    // Fade Goes Here!
    SetCol 0,0,0  // A fade to Black
    SetAlpha FadeAmount/100
    Rect 0,0,640,480
Alpha is how transparent the drawing will be. 0 is nothing is shown, 0.5 is half, 1.0 is full.
Since our FadeAmount goes between 0 and 100, all we have to do is divide it by 100 to convert the value between 0.0 and 1.0.
Our Program so Far
// Fading
// by Mr Green
// Created 2026/2/3

// Start with Level One
Level=1
LevelCol=RGB(0,80,0)

Fade=0

Repeat
CLS LevelCol
ResetDraw

// Draw the game
  SetFontSize 128
  Text 320,240,Level,1

// Then over the top of everything, draw a fade
  If Fade>0
    // Increase the fade
    Fade=Fade+1
    FadeAmount=Fade

    // If the Fade is over 100, reduce our amount.
      //  Since Fade goes up to 200,
      //  Subtracting the value from 200 inverts the value.
    If Fade>100 then FadeAmount=200-Fade

    // If we reach 100, increase the Level
    If Fade==100 then Level=Level+1

    // If we reach 200, reset the fade to 0
    If Fade>=200 then Fade=0:FadeAmount=0

    // Debug the FadeAmount value
    SetFontSize 8
    Text 32,32,FadeAmount

    // Fade Goes Here!
    SetCol 0,0,0  // A fade to Black
    SetAlpha FadeAmount/100
    Rect 0,0,640,480
  Endif

// We'll add a trigger for our Fade
  If MouseHit() then Fade=1


Flip
Forever
Overlay
Another neat type of fade might be to have a shape appear from the middle of the screen.
Let's try changing from an Alpha to a Size.
    // Fade Goes Here!
    SetCol 0,0,0  // A fade to Black
    FadeSize=7*FadeAmount
    Rect 320,240,FadeSize,FadeSize,1
This time, we're keeping the colour solid black, but setting a FadeSize based on the FadeAmount.
Starting from 0, the FadeSize will increase to 700 pixels in size, and then back to 0.
By drawing this size of Rectangle in the middle of the screen, we get a nice zooming block that gradually covers the screen.
    // Fade Goes Here!
    SetCol 0,0,0  // A fade to Black
    FadeSize=10*FadeAmount // This is bigger!
    Oval 320,240,FadeSize,FadeSize,64
Note that we've had to make the size larger, here.
What other shapes can you try drawing, here?
Outline
Let's try making the inside of the fade hollow, and grow it from outside of the screen instead.
    // Fade Goes Here!
    SetCol 0,0,0  // A fade to Black
    FadeSize=10*FadeAmount
    SetThick FadeSize    // The thickness of the lines
    DrawRect 320,240,1000,1000,1  // Draw only the outline of the rectangle

A fade from the outside!
Here, we're leaving the size of the Rectangle at 1000,1000 pixels (the same size we drew our Oval earlier), but are instead changing the thickness of the lines.
We can do the same with the oval, too.
    // Fade Goes Here!
    SetCol 0,0,0  // A fade to Black
    FadeSize=10*FadeAmount
    SetThick FadeSize    // The thickness of the lines
    DrawOval 320,240,1000,1000,64  // Draw only the outline of the oval
Why not try adding different colours!
What if you tried to move the middle of the fade, so that it fades into the corners?
Slide
Let's try something different.
We can use the Scroll command to slide the image on the screen.
    // Fade Goes Here!
    Scroll 0,FadeAmount*5
Since we redraw everything in the middle, every "flip", Scrolling by an increased amount will create the effect of a gradual slide.
Anything over the edge of the screen will get filled with the current CLS colour.
That colour is still green, though, since that's the colour we used for the CLS command earlier in the program.
We can change it, for the scroll, by setting the CLS Colour back to black before doing our scroll.
    // Fade Goes Here!
    SetCLSColor 0,0,0  // Set the CLS colour back to black.
    Scroll 0,FadeAmount*5

Sliding away!
See if you can get the screen to scroll in different directions.
Wipe
For our last fade style, let's create a wipe that crosses the screen.
We'll do a wipe from left to right with a big thick line.
Let's start with a thick chunky line.
    SetCol 0,0,0
    SetThick 800  // Big chunky line!
    X=320
    Line X,0,X,480
In order to move the X co-ordinate from the left to the right, we need to start from a minus number to a plus number. (left = -, right = +)
We'll take 100 away from Fade, so that the values run from -100 to +100, instead.
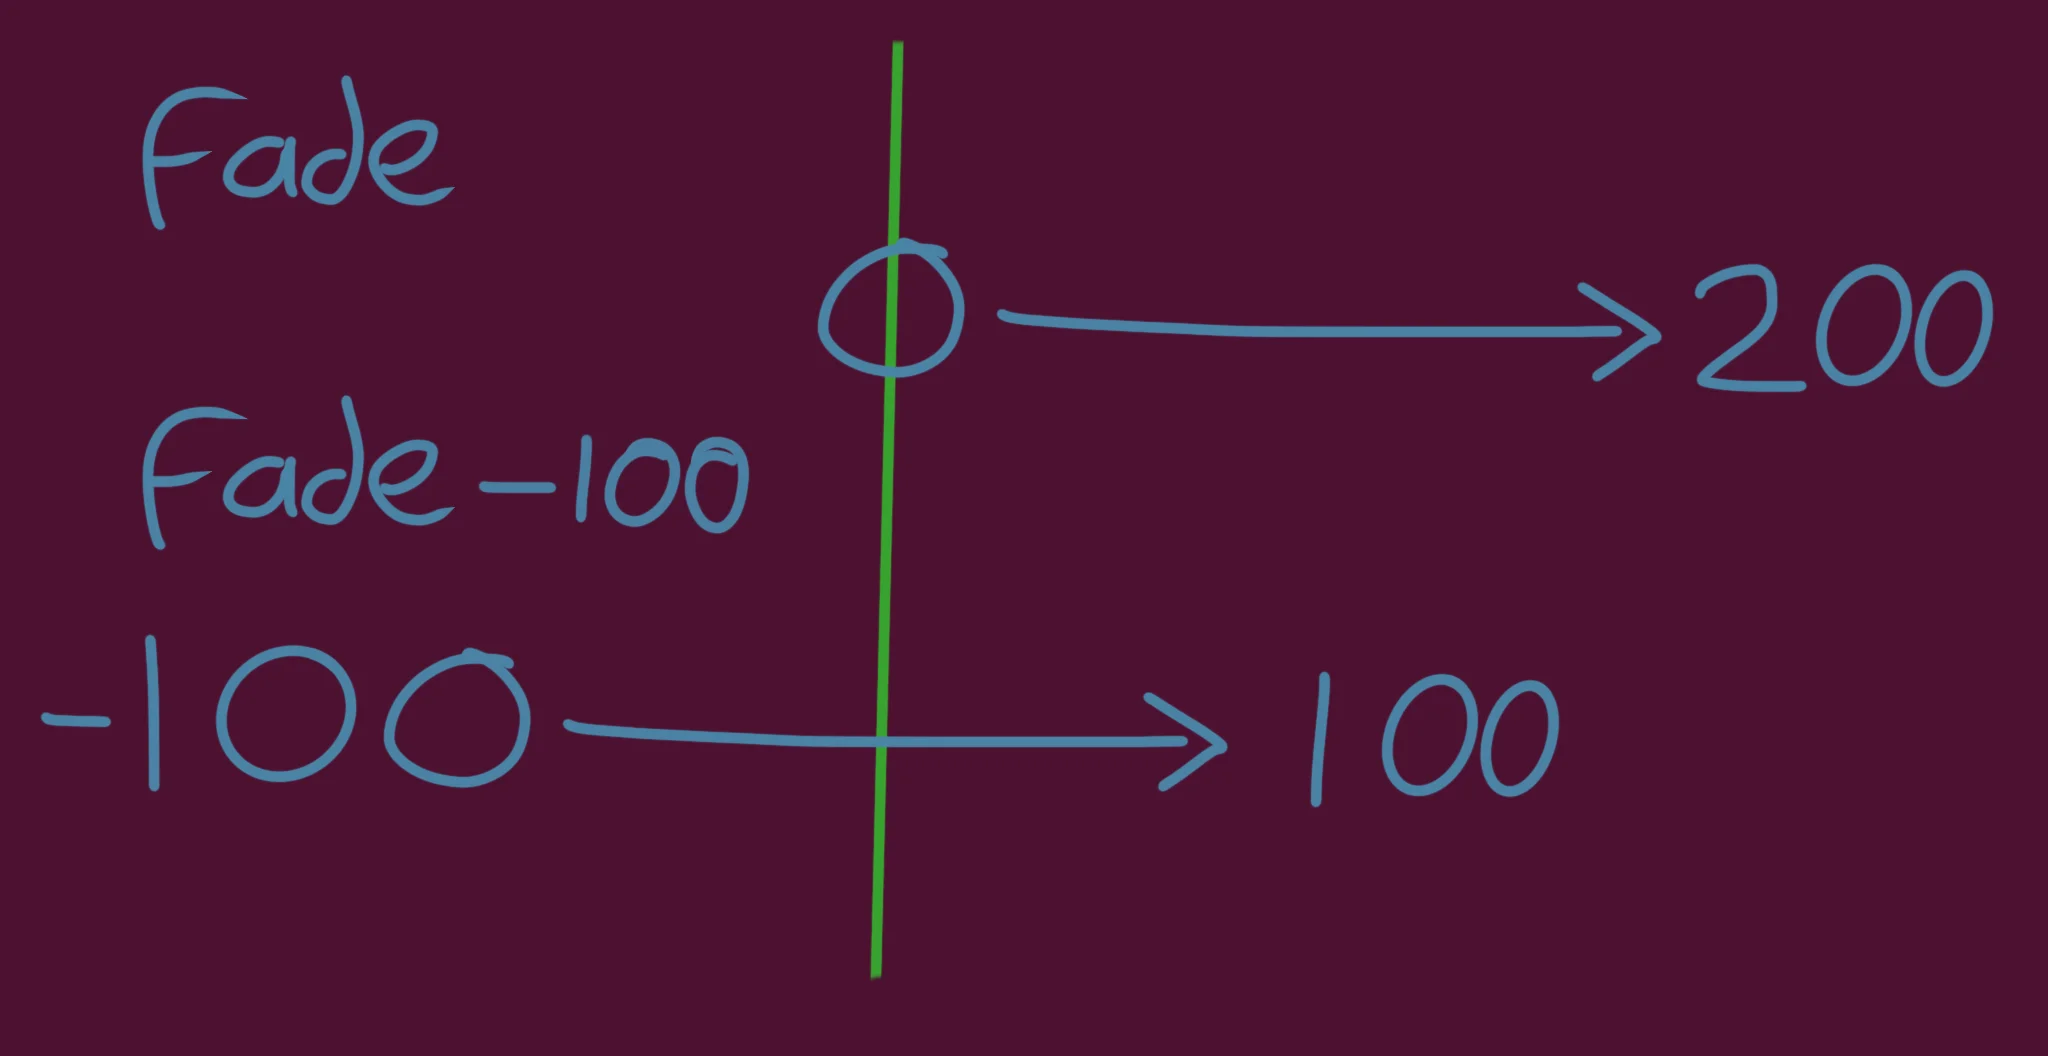
Subtracting 100 centres the values so the middle of our fade is 0.
    // Fade Goes Here!
    SetCol 0,0,0
    SetThick 800  // Big chunky line!
    X=320
    // Reduce FadeAmount so that it goes from -100 to 100
    FadeAmount=Fade-100
    X=X+FadeAmount
    Line X,0,X,480
And then we'll multiply FadeAmount by 10 again, like we did earlier.
    SetCol 0,0,0
    SetThick 800  // Big chunky line!
    X=320
    // Reduce FadeAmount so that it goes from -100 to 100
    FadeAmount=Fade-100
    FadeAmount=FadeAmount*10
    X=X+FadeAmount
    Line X,0,X,480
Can you make it wipe in different directions?
The Multi-Star Fade!
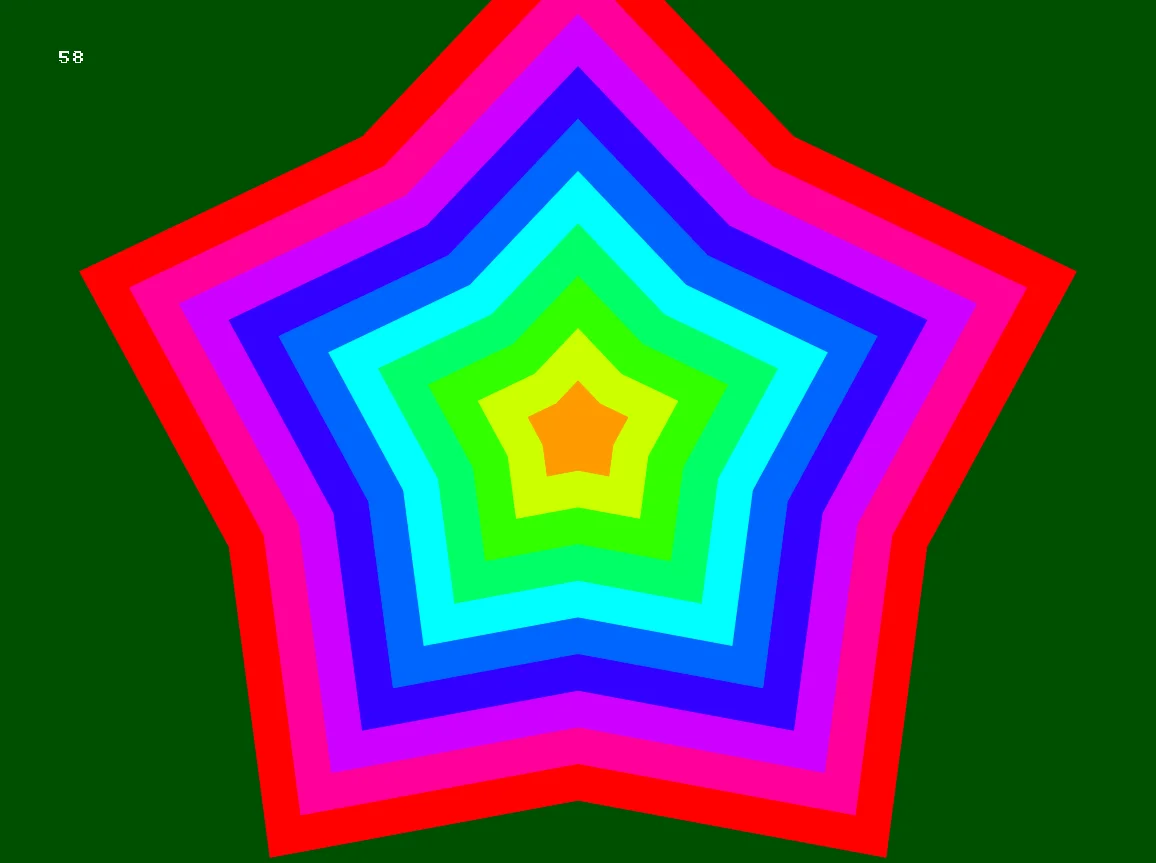
So many colours!
I created this effect by using a For-Next loop, and drawing several different coloured Stars, using the technique we learned for the overlay fade.
Can you reproduce this effect?