Fun with Ovals
Highlights
In this chapter, we're going to be playing with Ovals (Circles!)
Let's start with something simple.
Repeat
CLS
ResetDraw

  // Draw an oval where the mouse is
  Oval MouseX(),MouseY(),64,64,32

Flip
Forever
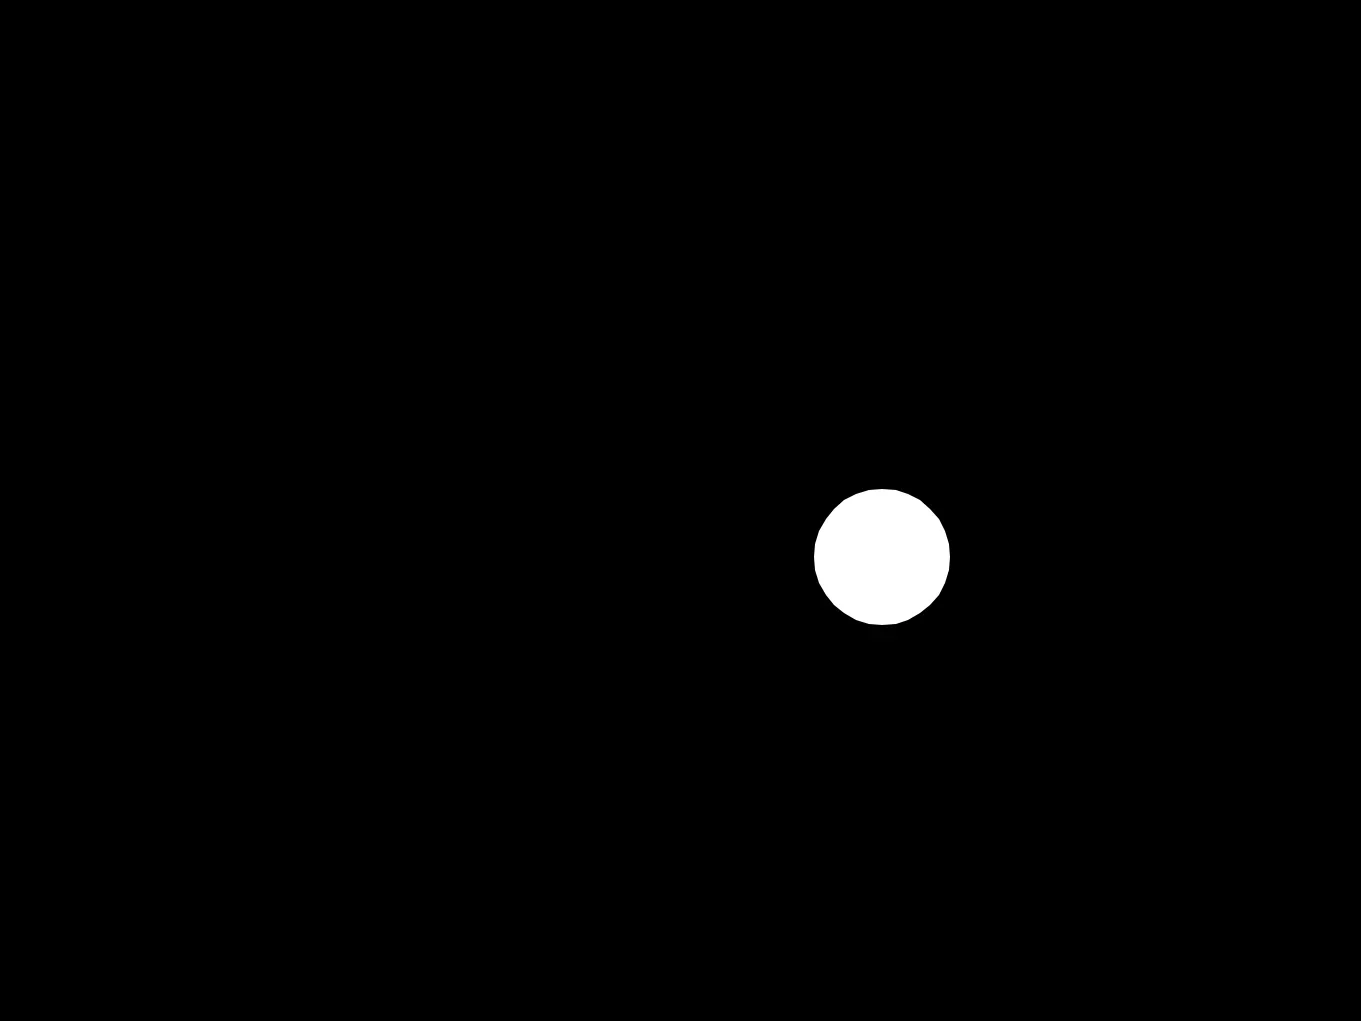
Circle!
It's a simple white circle drawn where the mouse is.
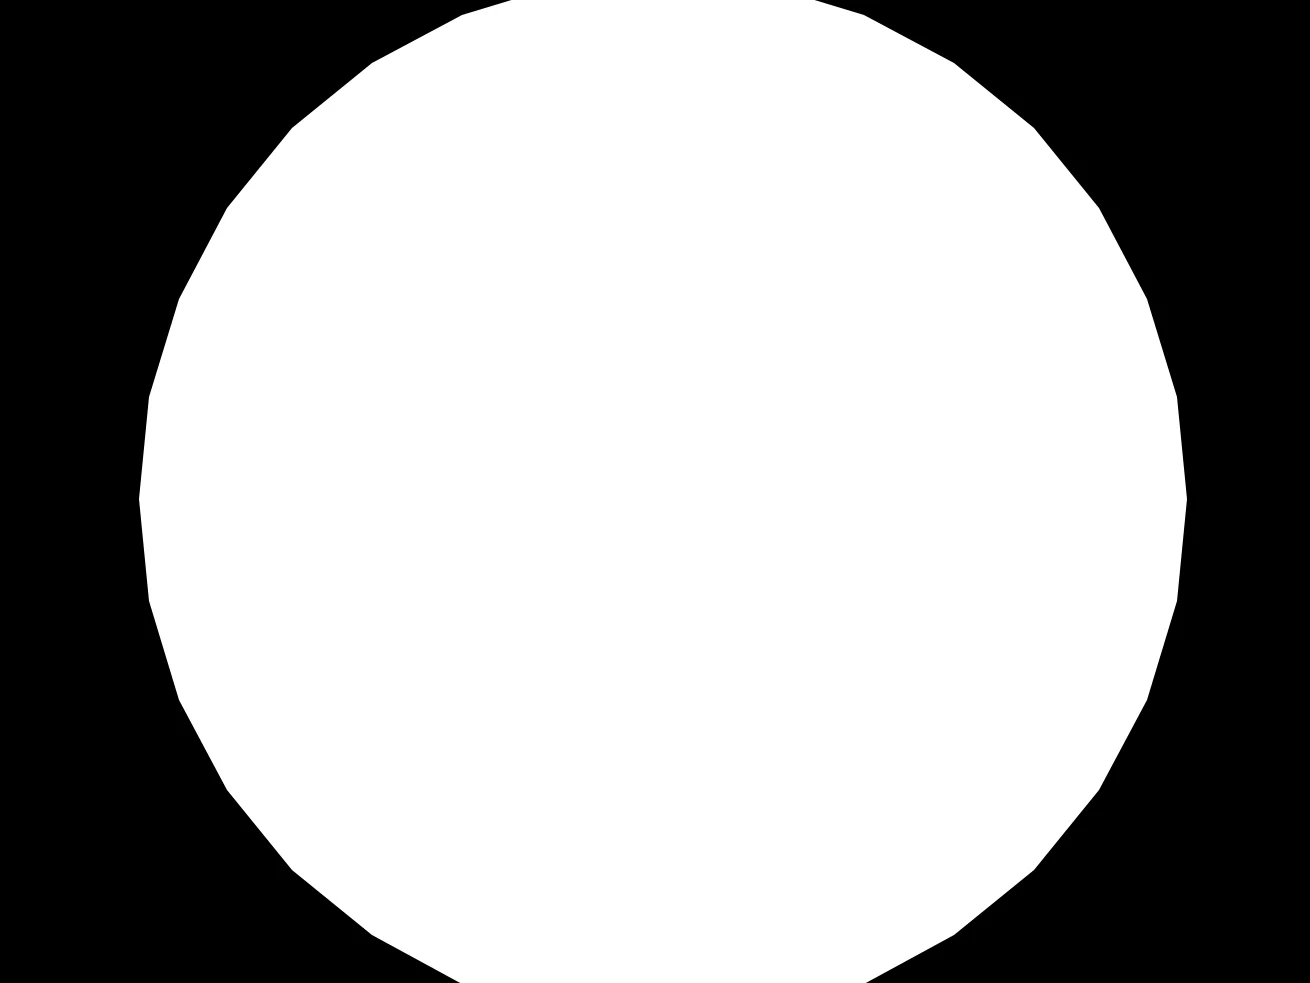
Bigger!
Let's play with the size of our Oval.
We'll change the drawing line to allow for a size.
Oval MouseX(),MouseY(),OvalSize,OvalSize,32
And now we can use a variable to alter the size of the oval.
  OvalSize=128
  Oval MouseX(),MouseY(),OvalSize,OvalSize,32
If we make this bigger, the oval becomes smoother.
Now let's make the Oval grow on its own.
First, we'll add a Grow variable to the size of the Oval, as well as limiting it so it doesn't get any smaller than 64, or any bigger than 256.
OvalSize=Limit(OvalSize+OvalGrow,64,256)
Next, we should add the OvalGrow variable. Let's start off with a value of 1, so that every frame our oval grows by 1 pixel.
OvalGrow=1
Interactive Size
How about we let the player shrink the Oval by holding the Mouse Button?
We can add a simple If command that toggles OvalGrow to a negative (minus) value.
If MouseDown() then OvalGrow=-1
You can place this anywhere after the OvalGrow=1 line, but before the OvalSize=Limit(...) line.
The logic is that the program first sets OvalGrow to 1, then changes it to -1 if the mouse is held, and finally adds OvalGrow to OvalSize.
If we put these lines in any other order, it likely won't work as we're expecting it to, because things will happen out of order.
Bigger!
Now the player has more control over the Oval!
Four Ovals
We can add extra ovals to our screen, by mirroring against the right and bottom of our screen.
  // Draw an oval from the right of the screen
  Oval 640-MouseX(),MouseY(),OvalSize,OvalSize,32

  // Draw an oval from the bottom of the screen
  Oval MouseX(),480-MouseY(),OvalSize,OvalSize,32

  // And then one more from the bottom right
  Oval ??? // Can you finish this line?
Can you complete the last Oval command so there are four ovals on the screen?
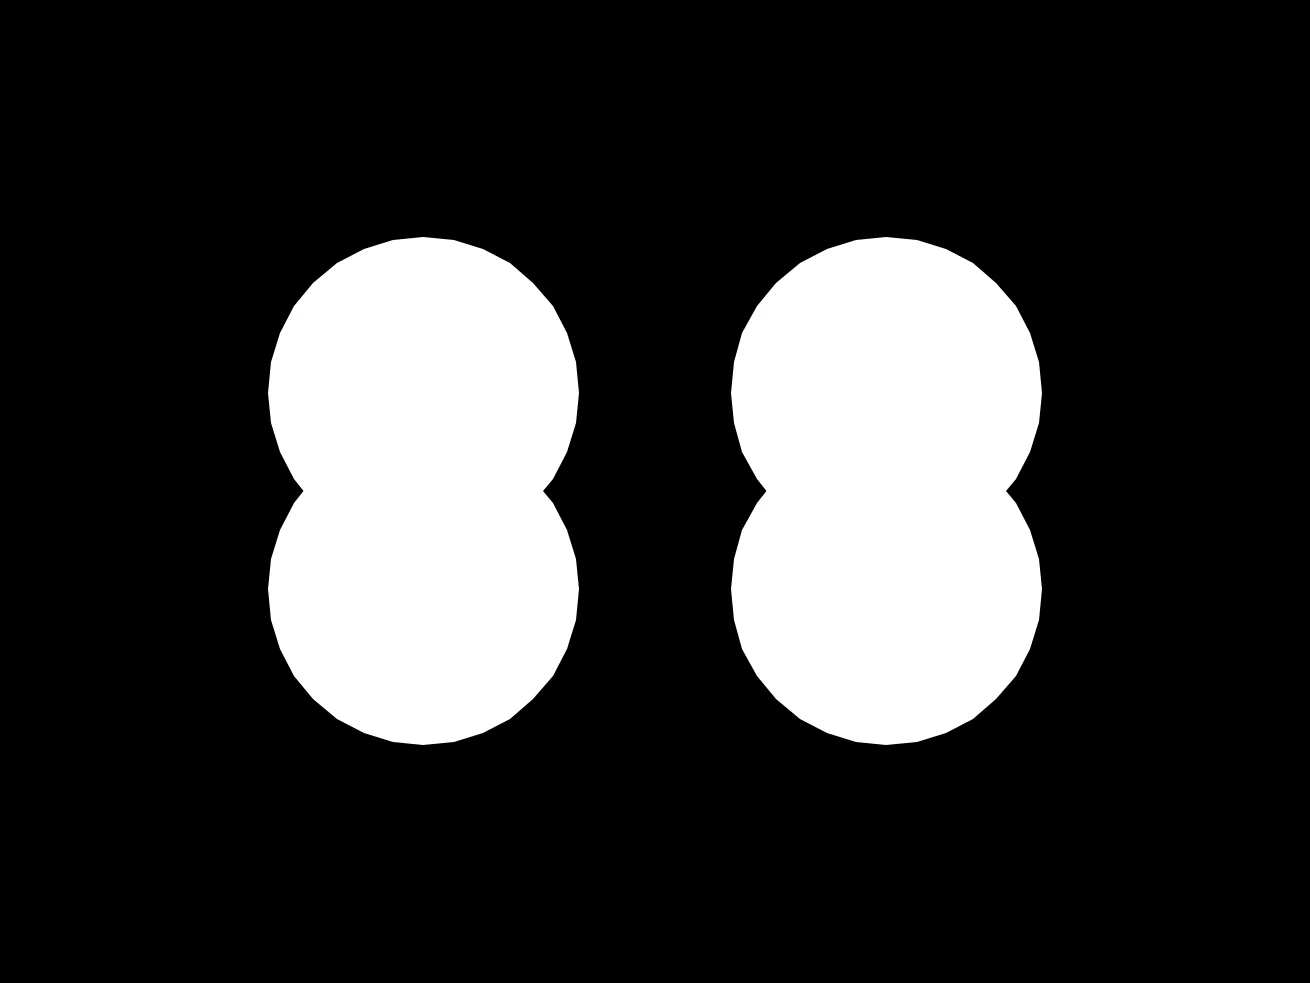
Looks a bit like a pair of snowmen!
More Color!
If we set the colour of each Oval, we can make a nice colour mixer.
Give each of our ovals a different colour.
Let's have a Red, Yellow, Green and Blue.
  // Draw an oval where the mouse is
  SetCol 255,0,0
  Oval MouseX(),MouseY(),OvalSize,OvalSize,32

  // Draw an oval from the right of the screen
  SetCol 255,255,0
  Oval 640-MouseX(),MouseY(),OvalSize,OvalSize,32

  // Draw an oval from the bottom of the screen
  SetCol 0,255,0
  Oval MouseX(),480-MouseY(),OvalSize,OvalSize,32

  // And then one more from the bottom right
  SetCol 0,128,255
  Oval ??? // Can you finish this line?
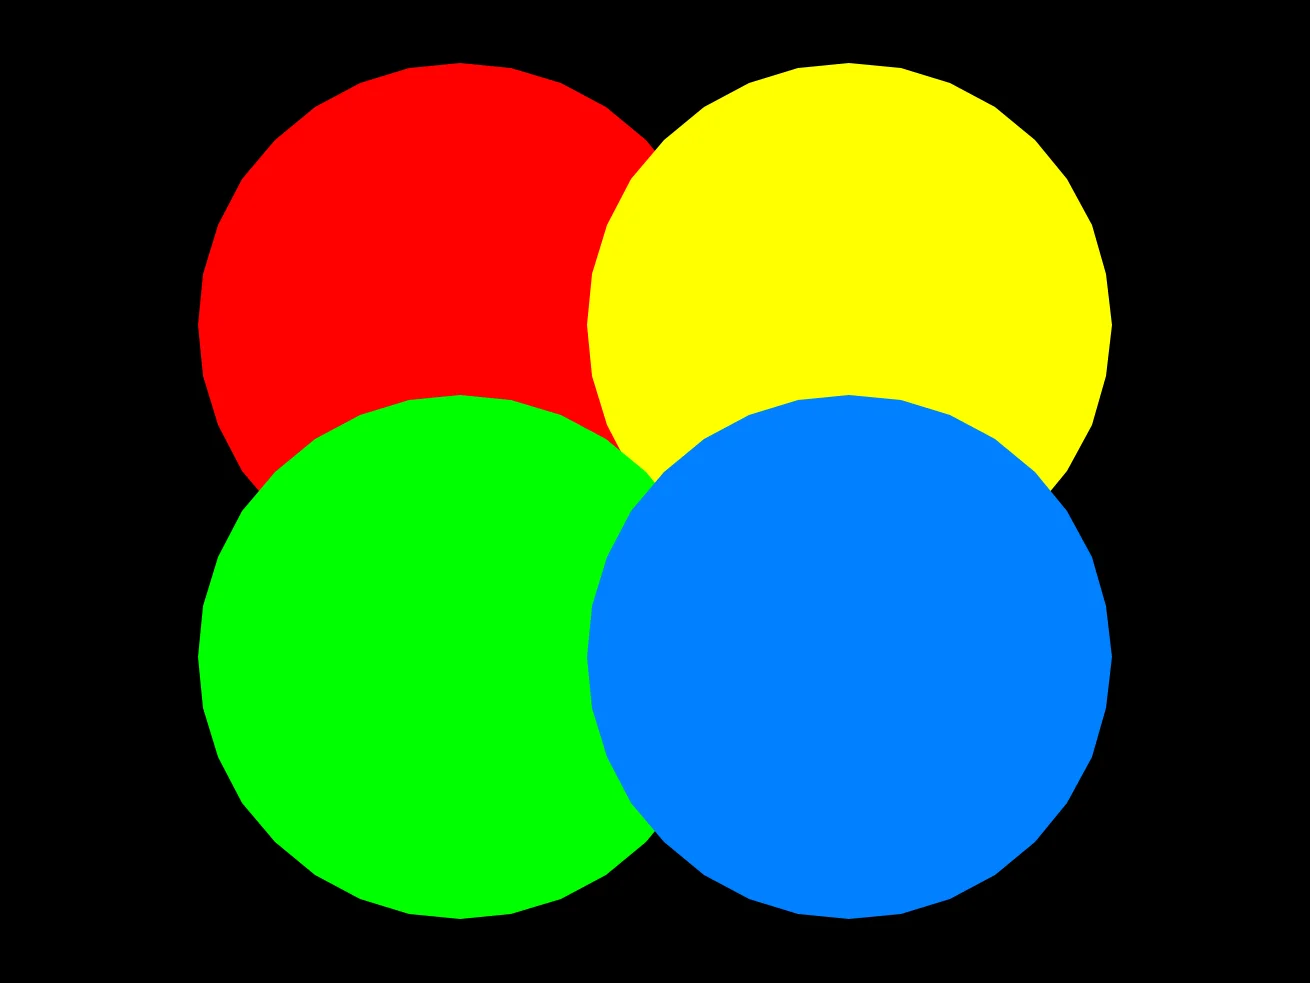
Four colourful Ovals
Blending
By default, anything that GotoJSE draws gets drawn over the top of anything before it.
If we change the Blend mode, however, we can make some different effects.
Let's change the Blend to "Light" mode, so that each of our Ovals behaves like a light.
SetBlend "Light"
You should place this command after the ResetDraw but before the Oval commands.
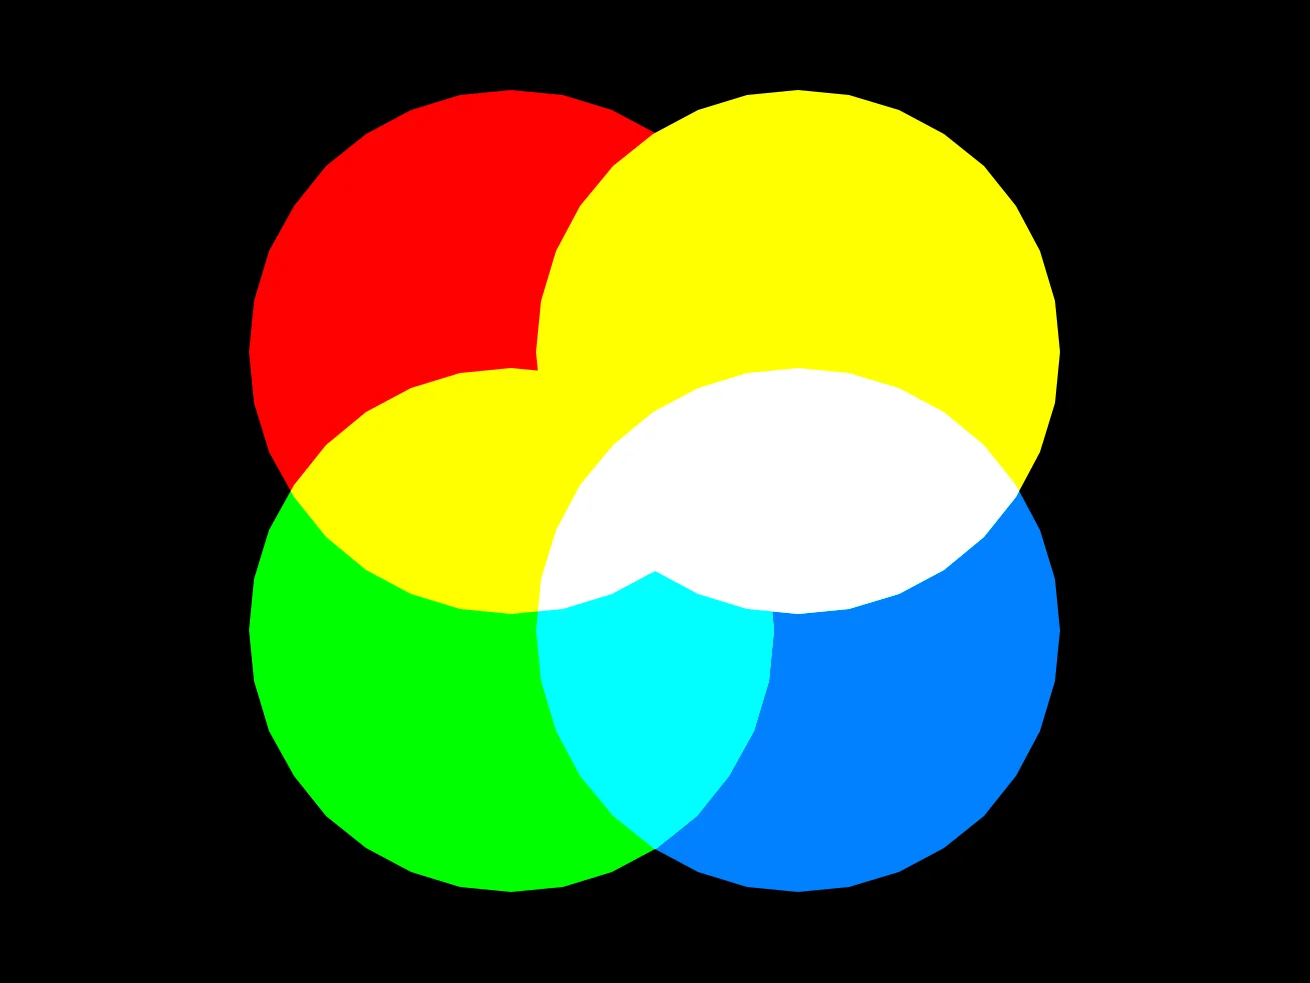
Light Mixing!
Now anything we draw gets mixed like a Lightbulb!
*Almost* Complete Code
// Big Ovals
// by Mr Green
// Created 2026/1/25

Repeat
CLS
ResetDraw

SetBlend "Light"

  // Resize logic
  OvalGrow=1
  If MouseDown() then OvalGrow=-1
  OvalSize=Limit(OvalSize+OvalGrow,64,256)

  // Draw an oval where the mouse is
  SetCol 255,0,0
  Oval MouseX(),MouseY(),OvalSize,OvalSize,32

  // Draw an oval from the right of the screen
  SetCol 255,255,0
  Oval 640-MouseX(),MouseY(),OvalSize,OvalSize,32

  // Draw an oval from the bottom of the screen
  SetCol 0,255,0
  Oval MouseX(),480-MouseY(),OvalSize,OvalSize,32

  // And then one more from the bottom right
  SetCol 0,128,255
  Oval ??? // Can you finish this line?

Flip
Forever
Different Colours
Why not try changing the colours of the Ovals, to see what unique colour combinations you can make.
Don't forget to experiment with darker colours and alpha transparency, too, to see how those interact.
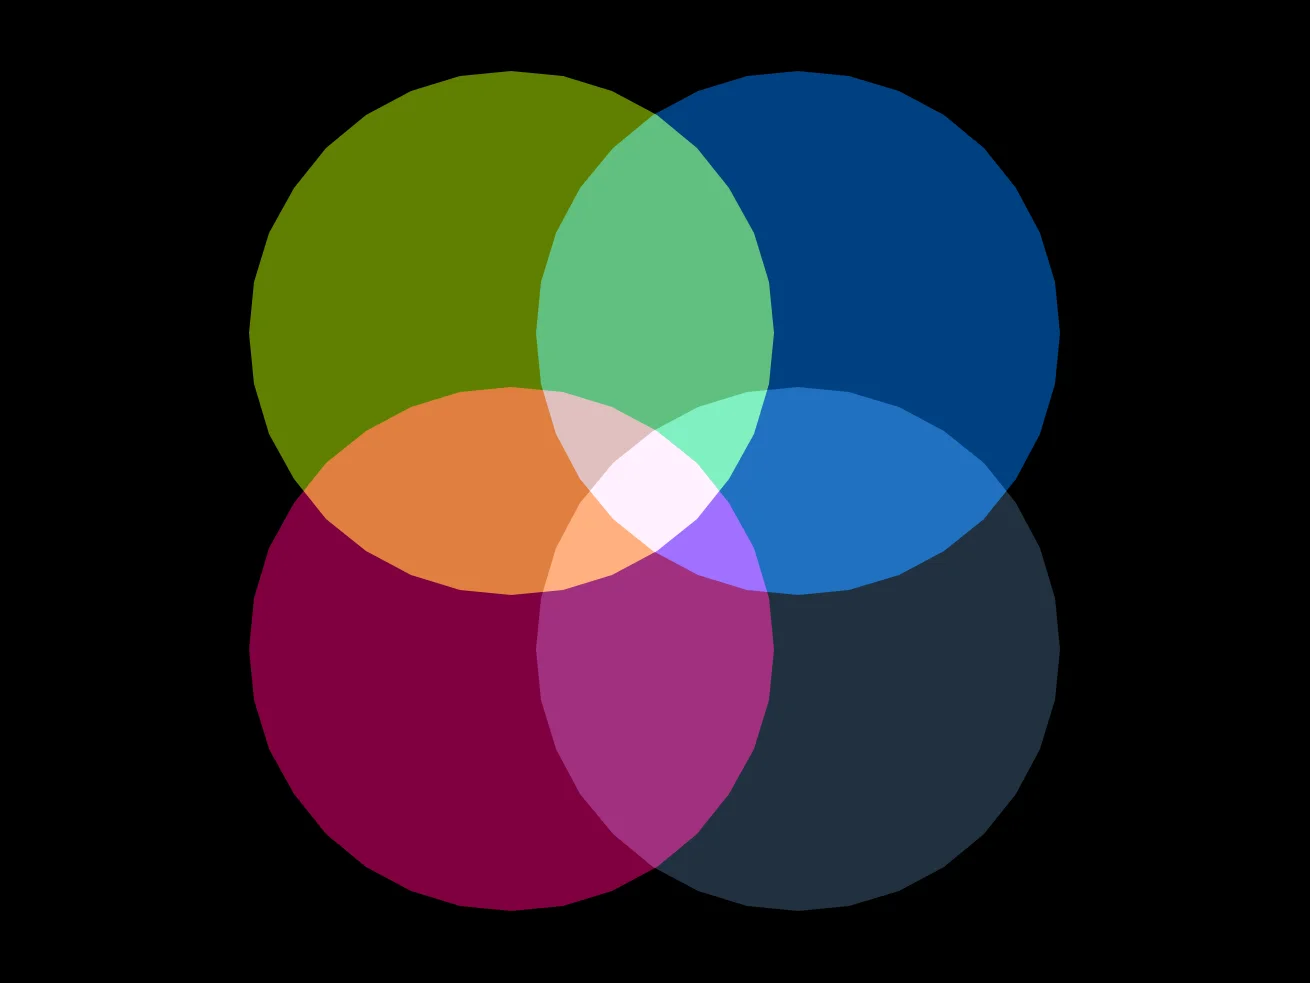
Different colours
Different Drawing Commands
Blend settings also work with different shapes (Blended Stars?) as well as text and even sprites.
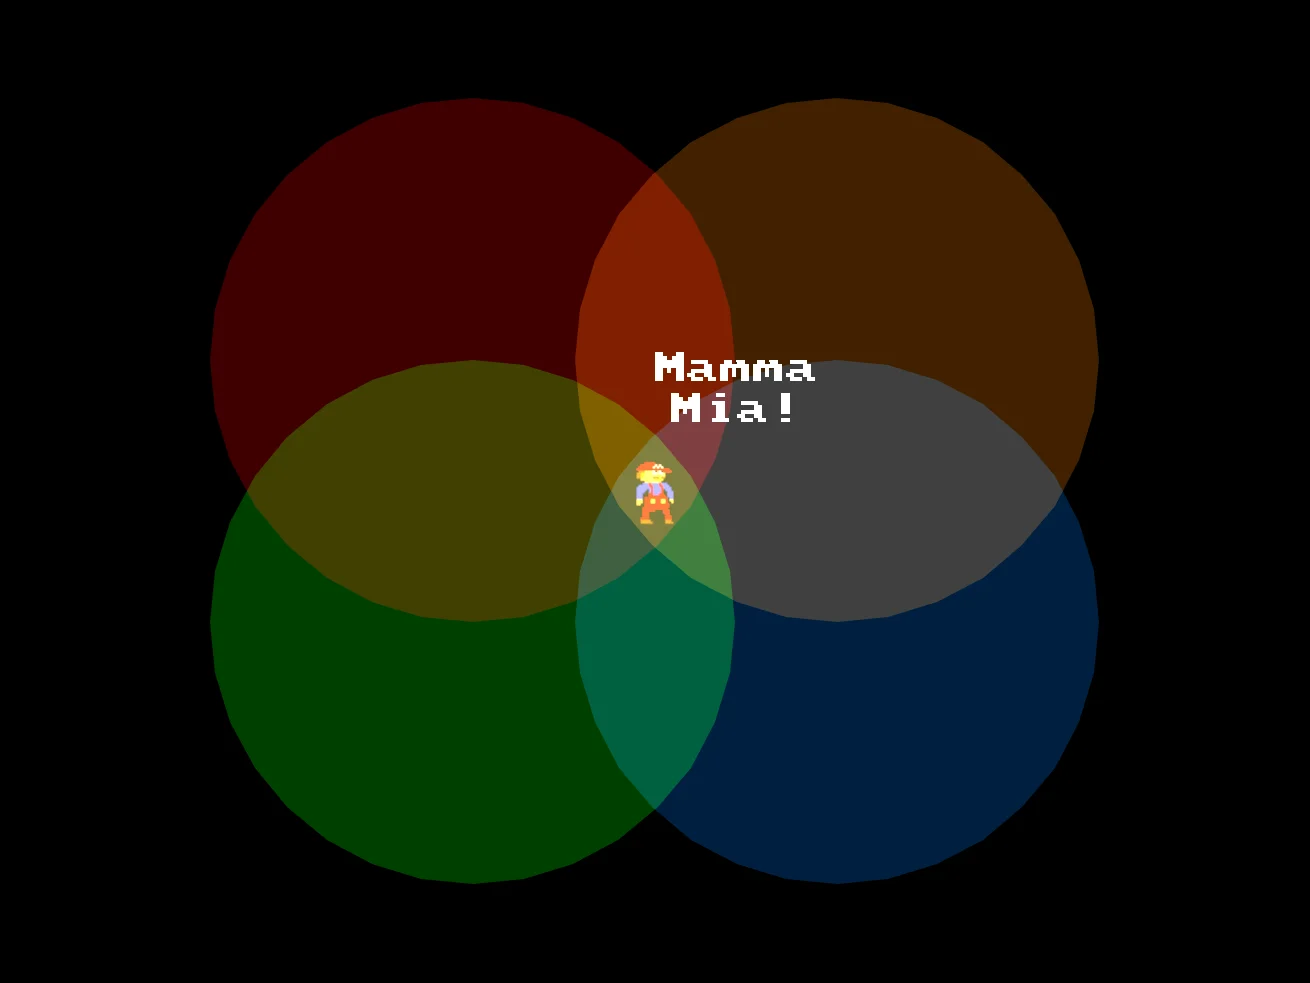
Different draw types